Advertisement
Quick Links
CT5
M8 Fender
Washer
M8 Spring
Washer
TK-M8x25
© Copyright Utemaster NZ Ltd.
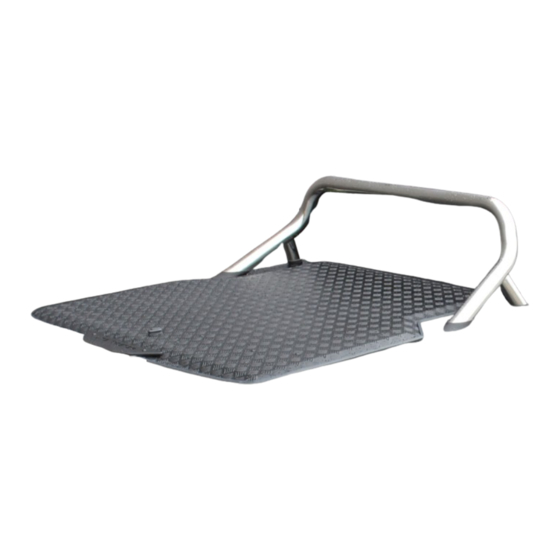
GWM Cannon Double Cab
Sports Bar Load-Lid™
Under Rail Liner
Despatch list:
x4
x4
x4
x4
NZ Support:
P:
0800 683 352
E:
sales@utemaster.co.nz
W:
www.utemaster.co.nz
M6x40 Button
Head Bolt
M6 Medium
Washer
M6 Spring
Washer
Australia Support:
P:
1800 43 345
E:
sales@utemaster.com.au
W:
www.utemaster.com.au
90-120 minutes
x4
x4
x4
1
Advertisement

Summary of Contents for Utemaster Load-Lid GWM Cannon Double Cab
- Page 1 GWM Cannon Double Cab Sports Bar Load-Lid™ Under Rail Liner 90-120 minutes Despatch list: M6x40 Button Head Bolt M8 Fender Washer M6 Medium Washer M8 Spring M6 Spring Washer Washer TK-M8x25 © Copyright Utemaster NZ Ltd.
- Page 2 NZ Support: Australia Support: 0800 683 352 1800 43 345 sales@utemaster.co.nz sales@utemaster.com.au www.utemaster.co.nz www.utemaster.com.au Remove the sports bars from the vehicle (if installed) Remove the three bolts from each side of the wellside, as indicated below: © Copyright Utemaster NZ Ltd.
- Page 3 Scan the QR code. Remove the rubber feet from the sports Sports Bar bar. Preparation Video https://wi.st/2Zx4JOI Remove the mounting brackets from the sports bar. Cut the rubber feet as per the video. © Copyright Utemaster NZ Ltd.
- Page 4 3) M6 spring washer Bolts go into existing threaded holes in the sport bar. Begin threading the bolt using a hex key to prevent cross- threading Use lubricant if the thread is too tight © Copyright Utemaster NZ Ltd.
- Page 5 Australia Support: 0800 683 352 1800 43 345 sales@utemaster.co.nz sales@utemaster.com.au www.utemaster.co.nz www.utemaster.com.au 1. Customer provided cardboard. Note: Place cardboard between cab and tray to protect the paint from scratching during installation. Load-Lid™ Fitting Video https://wi.st/2OW7L7N © Copyright Utemaster NZ Ltd.
- Page 6 NZ Support: Australia Support: 0800 683 352 1800 43 345 sales@utemaster.co.nz sales@utemaster.com.au www.utemaster.co.nz www.utemaster.com.au Pull Load-Lid™ back to ensure face plate tab is sitting firmly against the tray. © Copyright Utemaster NZ Ltd.
- Page 7 NZ Support: Australia Support: 0800 683 352 1800 43 345 sales@utemaster.co.nz sales@utemaster.com.au www.utemaster.co.nz www.utemaster.com.au Make sure the Load-Lid is sitting firmly on BOTH SIDES. Ensure Load-Lid™ Is sitting square on the tray. © Copyright Utemaster NZ Ltd.
- Page 8 NZ Support: Australia Support: 0800 683 352 1800 43 345 sales@utemaster.co.nz sales@utemaster.com.au www.utemaster.co.nz www.utemaster.com.au Only clamp through the rear two slots marked ‘A’ at this stage. 1.______ 2.______ 3.______ 4.______ © Copyright Utemaster NZ Ltd.
- Page 9 NZ Support: Australia Support: 0800 683 352 1800 43 345 sales@utemaster.co.nz sales@utemaster.com.au www.utemaster.co.nz www.utemaster.com.au Clamp through the two remaining slots. 1.______ 2.______ 3.______ © Copyright Utemaster NZ Ltd.
-
Page 10: Important Note
Your Load-Lid™ is now fully fitted and ready to use. We recommend frequently tightening the clamps and greasing the lock to enjoy the full benefits of your Load-lid. Thank you again for using Utemaster and don’t forget to keep checking our website for our latest innovations!


Need help?
Do you have a question about the Load-Lid GWM Cannon Double Cab and is the answer not in the manual?
Questions and answers