Table of Contents
Advertisement
Quick Links
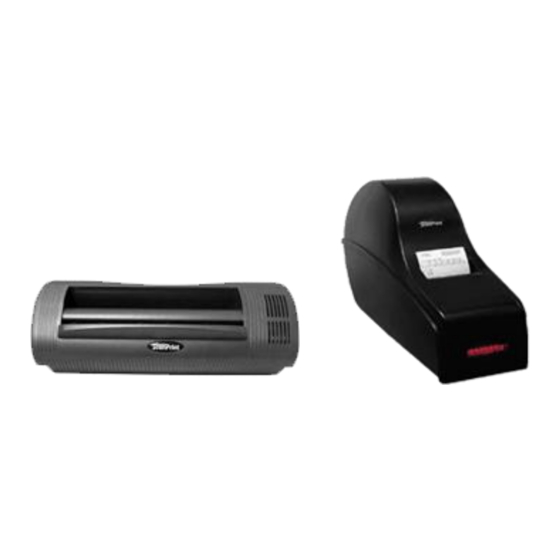
ScanPrint Scanner
SP5001
ScanPrint Printer
SP7000
Installation and User Manual
Contents
Installation and User Manual .............................................................................................................. 1
1. Preface .......................................................................................................................................... 2
1.1
Who should read this guide ................................................................................................ 2
2. Installing Printer and Scanner Software ......................................................................................... 3
2.1 Supported platforms ................................................................................................................. 3
2.1.1 Processor requirements ..................................................................................................... 3
Advertisement
Table of Contents

Subscribe to Our Youtube Channel
Summary of Contents for ScanPrint SP5001
-
Page 1: Table Of Contents
ScanPrint Scanner SP5001 ScanPrint Printer SP7000 Installation and User Manual Contents Installation and User Manual ......................1 1. Preface ............................2 Who should read this guide ....................2 2. Installing Printer and Scanner Software ..................3 2.1 Supported platforms ......................... 3... -
Page 2: Preface
ScanPrint. 1.1 Who should read this guide This guide is for installation engineers responsibly for the installation and maintenance of ScanPrint printers and scanners. -
Page 3: Installing Printer And Scanner Software
(90 mm x 210mm) with traditional mark sense boxes, a low-spec processor is adequate. 2.1.2 Minimum specification ScanPrint recommend a minimum Specification of Windows XP with 1G of DDR3 memory 3. Installation Note: ScanPrint recommend that if any previous ScanPrint or Cyberview software/drivers have been... -
Page 4: Installing Driver Software
3.1 Installing Driver Software 3.1.1 Windows 32-bit Download and install the following drivers for Windows 32-bit Operating Systems: http://www.scanprint.co.uk/download/files/scanprintdriver-32bit.msi 3.1.2 Windows 64-bit Download and install the following drivers for Windows 64-bit Operating Systems: http://www.scanprint.co.uk/download/files/scanprintdriver-64bit.msi 1) Run scanprintdriver-64bit.msi and click ‘next’... -
Page 5: Scanner Functional Verification
Extract the .dll and replace the old version in the Engbench2 folder. 4.1 Working with EngBench2 EngBench2.exe is a utility that aids the development, testing and performance tuning of ScanPrint scanners, printers and barcode readers. It activates all the low-level functions available through... -
Page 6: Calibrating The Scanner
4.2 Calibrating the Scanner Scanners require calibration prior to use. Calibration involves inserting a blank piece of paper into the scanner. The piece of paper should be A4 or letter format size and white; using other white paper may result in scanning errors. Select CAL from the EngBench2 menu bar. - Page 7 If the calibrations was successful OK will be displayed. The status message, Init KO, indicates that the scanner is not properly connected. Verify all connections and ensure the power supply is on. If you select the ‘M’ button a message box will appear with additional information on what’s happening within the Engbench2 application.
-
Page 8: Verifying The Scanner
4.4 Verifying the Scanner To verify scanner operation: Insert a betting slip into the scanner. The scanner features an anti-jam mechanism and rejects documents placed too close to one side. Form input Once scanned, examine the image displayed and ensure it matches the original. If the expected image is not displayed, try each of the following and retry the scan. - Page 9 Place both thumbs on the green toothed lock levers and push backwards until both lever-tails are oriented upwards. Remove the feed roller by holding both green lock tails and lifting straight up. The image sensor glass is now exposed. Gently wipe the glass from side to side using a new cleaning wipe provided ensuring the glass surface is completely free from deposits.
- Page 10 Replace the feed roller ensuring the toothed gear wheels are seated securely. Replace the scanner cover.
Need help?
Do you have a question about the SP5001 and is the answer not in the manual?
Questions and answers