Advertisement
Quick Links
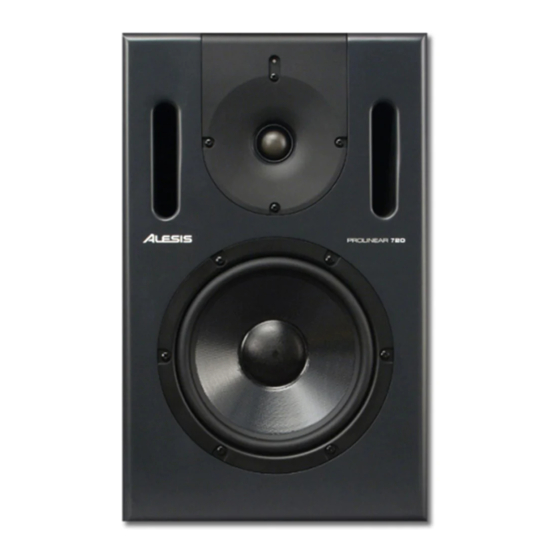
ALESIS
Prolinear 720/820
(AS4/AS5)
Service Manual
P/N: 8-31-0132-A
ATTENTION!
THIS DOCUMENT CONTAINS SENSITIVE
PROPRIETARY INFORMATION. ALL
RECIPIENTS MUST HAVE A CURRENT NON-
DISCLOSURE AGREEMENT ON FILE WITH
ALESIS, LLC.
DO NOT DISTRIBUTE THIS DOCUMENT IN
ELECTRONIC FORM
The information in this document contains privileged and confidential information.
It is intended only for the use of those authorized by Alesis. If you are not the
authorized, intended recipient, you are hereby notified that any review,
dissemination, distribution or duplication of this document is strictly prohibited. If
you are not authorized, please contact Alesis and destroy all copies of this
document. You may contact Alesis at support@Alesis.com.
Copyright © 2003 Alesis, LLC
Confidential
Alesis Service Manual
8-31-0132-A
Advertisement


Need help?
Do you have a question about the Prolinear 720 and is the answer not in the manual?
Questions and answers