Advertisement
Quick Links
Advertisement

Related Manuals for Bosch IDS BOVA 1.0


Summary of Contents for Bosch IDS BOVA 1.0
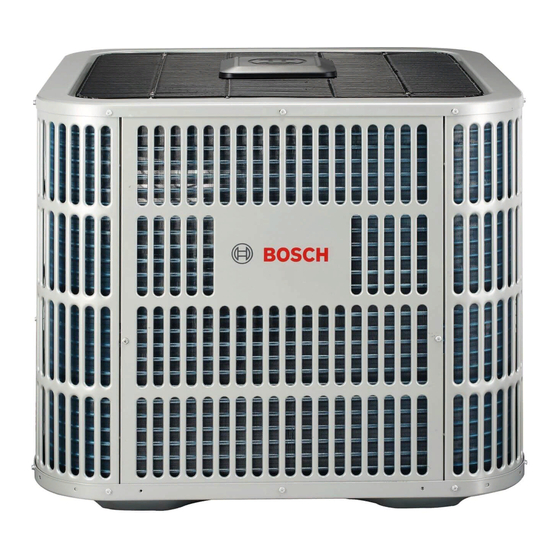
- Page 1 Technical Instructions E-Box Replacement Bosch IDS BOVA 1.0 3 Ton...
- Page 2 Technical Instructions IDS BOVA E-Box Replacement - BTC 761702110 B (09.2022)
- Page 3 Technical Instructions Table of Contents 1 Key to Symbols and Safety Instructions 1.1 Key to Symbols 2 Outdoor Unit Model Numbers 3 Components 4 Replacement Instructions IDS BOVA E-Box Replacement - BTC 761702110 B (09.2022)
-
Page 4: Key To Symbols And Safety Instructions
Figure 1 Components 2 Outdoor Unit Model Numbers U pdated wiring diagram included in kit. Replace the old wiring diagram Bosch Part Bosch Model Number Description Number on the back of the access panel. 7739832068 BOVA-36HDN1-M18M 36kBTU, Inverter Condensing Unit Table 1 ODU Model &... -
Page 5: Replacement Instructions
Technical Instructions 4 Replacement Instructions T o remove T3 and T4 sensors, remove white cover to disconnect sensor. See Figure 3. 1. Turn off power to the unit and wait at least 3 minutes. WARNING: HAZARDOUS VOLTAGE 380 VOLTS DC Push in ... - Page 6 Technical Instructions 7. Carefully pull the wires from the bottom left and right hole through the back of the E-Box. See Figure 5. Slide upward Figure 6 E-Box Removal 9. Unscrew 2 screws (red) on the panel and 2 screws (blue) mounting the “true suction”...
- Page 7 Technical Instructions 11. Unscrew 4 screws to remove reactor box and white wiring harness. This is not 13. Slide in the new E-box in from the top and secure with screws saved in Step needed for the new control board. Refer to Figure 8. 8.
- Page 8 Technical Instructions 14. Route the compressor wires and compressor ground to the top of the E-box 16. Mount new Bottom Access Panel on with 4 screws and secure the true and secure using wire clip. Refer to Figure 11. suction service port. Careful when sliding the true suction service port into the slot on the panel.
- Page 9 Technical Instructions 20. Connect all wires according to the wiring diagram. See Figure 15. BLUE BLACK Note: Compressor color labels on PCB are different than the actual color of the compressor wires Note: Blue Wire (10k Resistance) at CN7 does not need to be connected. To Thermostat &...
- Page 10 Technical Instructions 21. Feed thermostat wires through the Bottom Access Panel to the CN9 wire 24. Connect L1 and L2 to high voltage terminal block. Refer to Figure 19. harness on the control board. Splice wires and use fi eld supplied wire nuts to make connection.
- Page 11 Technical Instructions | 11 IDS BOVA E-Box Replacement - BTC 761702110 B (09.2022)
- Page 12 United States and Canada Bosch Thermotechnology Corp. 65 Grove St. Watertown, MA 02472 Tel: 866-642-3198 Fax: 603-965-7581 www.bosch-thermotechnology.us BTC 761702110 B / 09.2022 Bosch Thermotechnology Corp. reserves the right to make changes without notice due to continuing engineering and technological advances.
Need help?
Do you have a question about the IDS BOVA 1.0 and is the answer not in the manual?
Questions and answers