Advertisement
Quick Links
Advertisement

Related Manuals for Autotrol 255/760


Summary of Contents for Autotrol 255/760
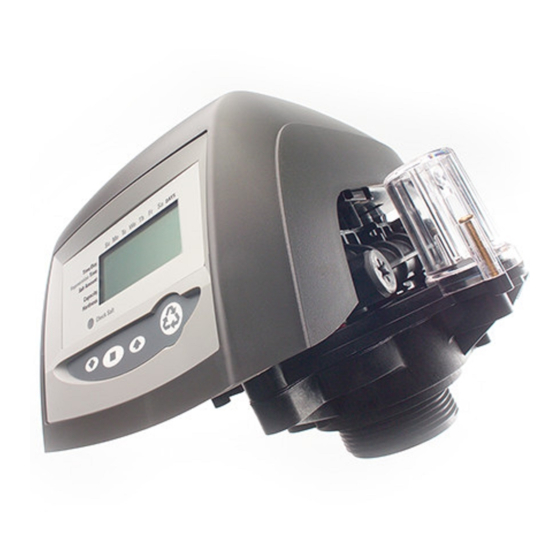
- Page 1 AUTOTROL 255/760 MeTeRed WATeR SOf TeneR › I n s ta l l at I o n G u I d e v1.0...
-
Page 2: Salt Setting
SQUARE / SET button Day Override 14 Days to set it and continue on to the next setting. A more in-depth guide to programming the Autotrol 255/760 □ < 10 gpg: L - Low page 11 begins on of this guide. - Page 3 › P R e FaC e Thank you for your purchase of a new water softener with Autotrol 255/760 Meter Control Valve from QualityWaterForLess.com! We have put together these instructions as reference and to be used as gen- It is always recommended that a licensed plumber perform all installa- eral installation guidelines.
- Page 4 1 ›Ca lCul atInG H aRdness, CaPaCIt y, a nd BRIne FIll Water Test: Before start-up, it is crucial that you know your water’s hARdneSS and IROn levels in order to set up your unit properly. If your unit is not programmed with your particular hardness level, it will either regenerate too early or too late.
- Page 5 TAnK SIZe: section Tank Size In the first column, identify the containing your softener by either its grain capacity, amount of cubic feet, or dimensions. To calculate the amount of cubic feet, take the grain capacity of your tank and divide it by 32K.
- Page 6 › P R e - I n s ta l l at I o n Before assembly of your new system, be sure that the following conditions have been met for the place- ment of your system: • Level, firm surface, such as concrete, on which • Access to the water main coming into your to place the softener tank and salt tank (also home.
- Page 7 2) Next, install the mesh) using the included silicone lubricant packet, lubri- to the bottom of the Autotrol 255/760 Valve cate the inner and outer o-rings on the bottom of as seen in Figure 7-E (you may need to strip the the Autotrol 255/760 Valve as shown in Figures groove tabs with a razor before attaching).
- Page 8 4) Push the bypass valve snugly to the back of the assembly that was shipped with your system, Autotrol 255/760 valve and use the screws and attach the three o-rings to the rear of the valve nuts to secure the bypass valve as shown in...
- Page 9 IN and OUT ports on ible connections, plumb the system according to In order to prevent If using copper pipe, the Autotrol 255/760 Valve. all local plumbing codes. damage to your home and to the softener please pre-fabricate at least a 12” section...
- Page 10 3) Locate the included section of Brine Tubing and 4) Locate the brine well and remove the cap. may also take this moment to prepare and assemble the brine fitting to the brine tubing. insert the brine support grid determined from Finger-tighten the nut and then use a wrench to pages 4 and 5 2310 Brine float...
- Page 11 6 › P R o G R a m m I n G t H e au t o t R o l 2 5 5 / 76 0 Va lV e 1) Before programming may begin, the power cord must 2) Locate the included transformer power pack, and be connected to the 760 timer on your valve.
- Page 12 Regeneration Time Calendar Override 7) Now you will see the . Press 8) Next is the . This overrides the the SET to enter edit mode and use the UP or meter triggered regeneration by initiating a regen- i note DOWN buttons to change to 2:00 AM.
-
Page 13: Initial Start-Up
› C o n G R at u l at I o n s Your new softener with Autotrol 255/760 Valve is now properly installed and programmed! Please maintain your system by keeping the softener plugged-in and always keep your brine tank filled with salt to at least above the water level.
Need help?
Do you have a question about the 255/760 and is the answer not in the manual?
Questions and answers