Advertisement
Quick Links
Advertisement

Summary of Contents for Comfort Products Graham 50-1801WN
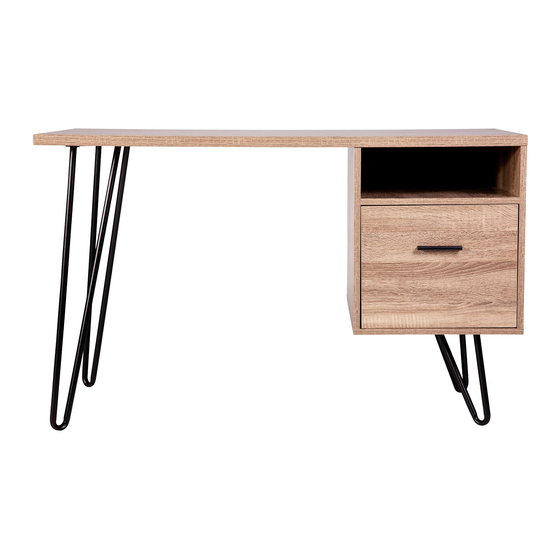
- Page 1 ASSEMBLY INSTRUCTIONS ASSEMBLY INSTRUCTIONS Graham Writing Desk, Walnut...
- Page 2 Overview...
- Page 3 Parts List ITEM DESCRIPTION STOCK# 51-1801WNA Desktop 51-1801WNB Left Wall 51-1801WNC Right Wall 51-1801WND Bottom...
- Page 4 Parts List (cont.) 51-1801WNE Shelf 51-1801WNF Back Board 51-1801WNG Drawer Front 51-1801WNH Drawer Back 51-1801WNI Drawer Left Side 51-1801WNJ Drawer Right Side 51-1801WNK Drawer Bottom 51-1801WNL Short Leg 51-1801WNM Long Leg 51-1801WNN File Rod...
-
Page 5: Hardware Kit
HARDWARE KIT 51-1801WNHA ITEM# DESCRIPTION Cam Bolt Dowel Cam Lock 6x12mm Screw 4x35mm Wood Screw 4x18mm Screw 3.5x12mm Screw Drawer Handle 1 SET Drawer Slides 7x55mm Wood Screw... - Page 6 STEP Separate the Drawer Slides by fully extending the slide, then pressing down on the black lever on the inside of the INNER most SLIDE. Continue to pull the Inner Slide until it is free of the OUTTER SLIDES. Do this to both slides. OUTER SLIDES INNER SLIDE...
- Page 7 STEP Turn four Cam Bolts (1) into the Desktop (A) and the Drawer Front (G) each. STEP Insert four Dowels (2) into the Shelf, Left Wall, and Right Wall (E B, C) each.
- Page 8 STEP • Fasten the Outter Slides to the Left and Right Walls (B and C) using two 3.5x12mm Screws (7) each. • Fasten the Inner Slides to the Left and Right Drawer Sides (I and J) in the same manner. •...
- Page 9 STEP • Lay the Desktop on the floor upside down (A). • Push four Cam Locks (3) into the bottom of the Shelf (E). • Push two cams into the top of the Left and Ride Walls (C and B) each.
- Page 10 STEP Fasten the Bottom (D) onto the Walls using four 7x55mm Wood Screws (10).
- Page 11 STEP Fasten the Short Legs (L) onto the Bottom (D), and the two Long Legs (M) to the Desktop (A) using four 6x12mm Screws (4) each.
- Page 12 STEP • Mount the Drawer Sides (J and I) onto the Drawer Front (G) by first inserting two Cam Locks (3) each, and then sliding the Drawer Sides onto the Cam Bolts on the Drawer Front. • Insert the File Rods (N) into the holes on the Drawer Front, and Insert the Drawer Bottom (K).
- Page 13 STEP Insert the Drawer. Ball Bearing Retainer Left Side Right Side Disconnect Levers...
- Page 14 FINISHED Insert the Drawer.
- Page 15 PLEASE VISIT WWW.COMFORTPRODUCTS.NET FOR WARRANTY INFORMATION Comfort Products warrants this product to be free from defects in material and workmanship for one (1) year. This warranty is made by Comfort Products only to the original end-user customer acquiring the product directly from Comfort Products’ authorized dealers as shown by the original sales receipt.


Need help?
Do you have a question about the Graham 50-1801WN and is the answer not in the manual?
Questions and answers