Advertisement
Quick Links
™
OneSpace is a Trademark of Comfort Products, Inc.
ASSEMBLY INSTRUCTIONS
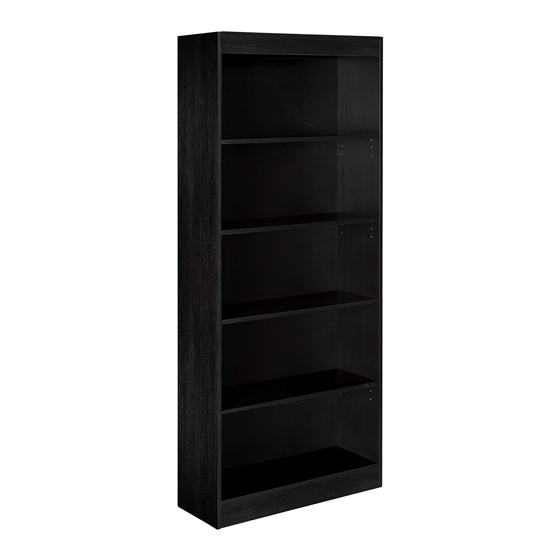
MODEL 50-LD0105SHLF
SUPPLIER CODE: LDCZ
Essential Book Case, Black
CUSTOMER SERVICE
For fastest service on claims, requests for replacment parts,
or questions, please visit our website at:
www.comfortproducts.net/support
- e
m
l i a
c :
s u
o t
m
e
s r
r e
i v
e c
@
o c
m
f
r o
p t
o r
d
c u
s t
n .
t e
Keep your sales receipt as documentation of your ownership.
Advertisement

Related Manuals for Comfort Products OneSpace 50-LD0105SHLF


Summary of Contents for Comfort Products OneSpace 50-LD0105SHLF
- Page 1 ™ OneSpace is a Trademark of Comfort Products, Inc. ASSEMBLY INSTRUCTIONS MODEL 50-LD0105SHLF SUPPLIER CODE: LDCZ Essential Book Case, Black CUSTOMER SERVICE For fastest service on claims, requests for replacment parts, or questions, please visit our website at: www.comfortproducts.net/support l i a...
- Page 2 Overview...
-
Page 3: Parts List
Parts List ITEM DESCRIPTION STOCK# 51-LD0105SHLFA Front Trim 51-LD0105SHLFB Left Wall 51-LD0105SHLFC Right Wall 51-LD0105SHLFD Back Trim 51-LD0105SHLFE Bracing Shelf 51-LD0105SHLFF Bottom Shelf 51-LD0105SHLFG Bottom Trim 51-LD0105SHLFH Back Panel (x5) 51-LD0105SHLFI Shelf (x3) 51-LD0105SHLFJ... -
Page 4: Hardware Kit
HARDWARE KIT 51-LD0105SHLFHA ITEM# DESCRIPTION Calm Bolt Cam Lock Dowel Feet Tacs Backing Tape... - Page 5 STEP Turn nine Cam Bolts (1) into the Left Wall and Right Wall each (C and D). Insert six Pegs (3) into each wall. Insert Feet Tacs (5) into the bottom of each wall.
- Page 6 STEP Inset four Dowels (3) into the ends of the Top, Bottom Shelf, and Bracing Shelf (A, G, F). Turn four Cam Bolts (1) into the Top (A) and two Cam Bolts into the Bottom Shelf (G).
- Page 7 STEP Push two Cam Locks (2) into the Front Trim, Back Trim, and Bottom Trim (B, E, and H). Place the Front and Back Trim (B and E) onto the Cam Bolts onto the Top (A). Place the Bottom Trim (H) onto the Bottom Shelf (G). Tighten cams by turning the Cam Lock 180 degrees using a screw driver.
- Page 8 STEP Push Cam Locks (2) into one end of the Top, Bracing Shelf, and Bottom Shelf each, and into the attached Trim Pieces as shown. Then place onto the Cam Bolts in the Right Wall (D) as shown, and tighten. CAUTION: Do not overtighten cams.
- Page 9 STEP Insert the Back Panels (I) into the provided slots, as shown.
- Page 10 STEP Push Cam Locks (2) into the remaining holes as shown, then set the Left Wall (C) onto the shelf and tighten the Cam Locks. Next, apply the four strips of Backing Tape (5) where the Back Panels meet, to secure them together.
- Page 11 STEP Mount the Drawer Sides (J and I) onto the Drawer Front (G) by first inserting two Cam Locks (3) each, and then sliding the Drawer Sides onto the Cam Bolts on the Drawer Front.
- Page 13 FINISHED...
- Page 14 PLEASE VISIT WWW.COMFORTPRODUCTS.NET FOR WARRANTY INFORMATION Comfort Products warrants this product to be free from defects in material and workmanship for one (1) year. This warranty is made by Comfort Products only to the original end-user customer acquiring the product directly from Comfort Products’ authorized dealers as shown by the original sales receipt.
Need help?
Do you have a question about the OneSpace 50-LD0105SHLF and is the answer not in the manual?
Questions and answers