Advertisement
Quick Links
Advertisement

Related Manuals for Veethree T Series


Summary of Contents for Veethree T Series
- Page 1 INSTALLATION MANUAL for installing Veethree displays...
- Page 2 Telephone: Europe & Worldwide +44 (0) 1202 973 023 USA & Canada +00 1 941 538 7775 Email: International Sales Team – info@veethree.com USA Sales Team – sales@veethree.com veethree.com...
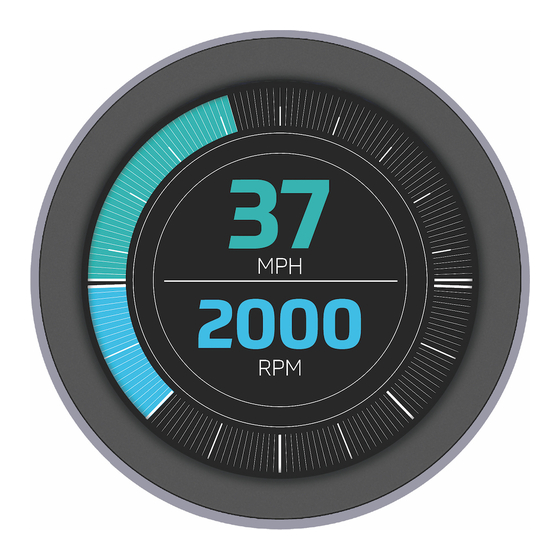
- Page 3 Installation Manual CONTENTS: 1: Mounting the display page ... 4 2: Connecting your display page ... 6 3: Maintenance and troubleshooting page ... 7 4: Connectors page ... 8 T-Series - Touch screen colour displays R-Series - Round housing displays...
- Page 4 Installation Manual 1. Mounting the display Display Mounting Units are designed to be mounted onto a bulkhead, dashboard, or panel. The method is described below. The only required components are the mounting bracket and hardware. Instructions Allow adequate clearance behind the display for cable connection (to ensure that the cables are not unduly stressed), and for ventilation.
- Page 5 ”) x ”) 70mm (2.75”) x 70mm (2.75”) Typical mounting method Fixing Template ”) x ”) Overall size 95mm (3.74”) x 95mm (3.74”) Mounting templates can be downloaded Fixing Hole Positions 70mm (2.75”) x 70mm (2.75”) from our website at 70mm (2.75”) x 70mm (2.75”)
- Page 6 Ensure that the power is off during any connection being made and you are observing connecting the device in section 1. Veethree can offer support, if you need any further help or guidance on your particular network topography.
- Page 7 3. Maintenance and troubleshooting No regular maintenance should be required, except for cleaning the lens as needed, using a soft, damp cloth. Do not use abrasive materials or solvents. If you are experiencing operating problems with the display, refer to the following...
- Page 8 Installation Manual 4. Connectors EXTERNAL USB IO CAN1 ETHERNET USB Volts Positive No Connection White/Orange +TK USB Data Negative (DM) Positive DC Supply White/Green +RX USB Data Positive (DP) Ground Orange - TX No Connection CAN Data H Green USB Volts Negative CAN Data L RS422/485 Tx+* RS422/485 Tx-*...
- Page 9 CAN1 EXTERNAL USB IO ETHERNET USB Volts Positive White/Orange +TK No Connection Positive DC Supply USB Data Negative (DM) White/Green +RX USB Data Positive (DP) Orange - TX Ground CAN Data H No Connection Green USB Volts Negative CAN Data L...
- Page 10 Installation Manual PRIMARY CONNECTOR SECONDARY CONNECTOR PRIMARY CONNECTOR Ground Analogue - Ground Ground Power Input Digital Out 1 (Relay / Buzzer) Power Input Dimmer Input Analogue in 2 Relay Output 1 Analogue in 1 Analogue in 3 Relay Output 2 CAN Ground - isolated CAN CAN Ground Analogue in 4...
- Page 11 PRIMARY CONNECTOR SECONDARY CONNECTOR TERTIARY CONNECTOR Ground Sensor 1 Analogue Input Sensor 8 Analogue Input Power (10-32V DC) Supply Sensor 2 Analogue Input Sensor 9 Analogue Input should be protected by Sensor 3 Analogue Input Sensor 10 Analogue Input...
- Page 12 Installation Manual C3 / C3l C3i / C3il PRIMARY CONNECTOR SECONDARY CONNECTOR PRIMARY CONNECTOR Ground Senor 1 - analogue input Power - Ground Power (10-32V DC) Supply Power (10-32V DC) Supply Senor 2 - analogue input should be protected by should be protected by Senor 3 - analogue input 500mA - rated circuit breaker...
- Page 13 5. Safety information Important safety information and legal information Under no circumstances shall Veethree or any of its subsidiary companies accept liability for any loss of data, income, incidental damage or consequential losses incurred as a result of the use of the product, howsoever caused.
- Page 14 Installation Manual Telephone: Europe & Worldwide +44 (0) 1202 973 023 USA & Canada +00 1 941 538 7775 Email: International Sales Team – info@veethree.com USA Sales Team – sales@veethree.com veethree.com...
Need help?
Do you have a question about the T Series and is the answer not in the manual?
Questions and answers