Advertisement
V1701
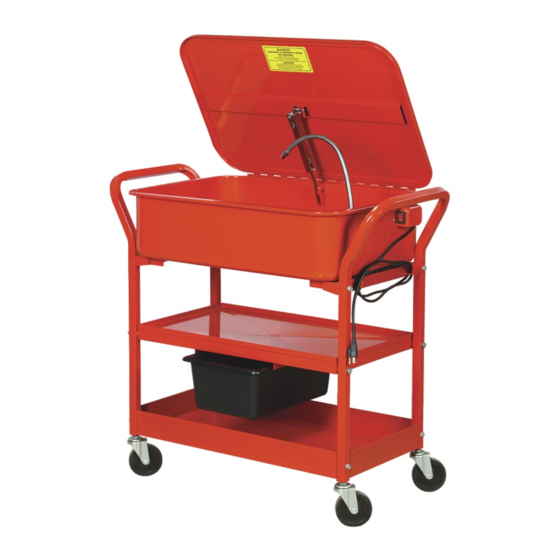
George Tools 75 Liter Mobile Parts
Washer
OPERATING INSTRUCTIONS
AND PARTS MANUAL
MODEL: GT9500009
Please read and save these instructions.
Read through this owner's manual carefully before using product. Protect yourself and others by
observing all safety information, warnings, and cautions. Failure to comply with instructions could
result in personal injury and/or damage to product or property. Please retain instructions for future
reference.
Advertisement
Table of Contents

Related Manuals for GEORGE TOOLS GT9500009


Summary of Contents for GEORGE TOOLS GT9500009
- Page 1 V1701 George Tools 75 Liter Mobile Parts Washer OPERATING INSTRUCTIONS AND PARTS MANUAL MODEL: GT9500009 Please read and save these instructions. Read through this owner’s manual carefully before using product. Protect yourself and others by observing all safety information, warnings, and cautions. Failure to comply with instructions could result in personal injury and/or damage to product or property.
-
Page 2: Specifications
SPECIFICATIONS READ ALL INSTRUCTIONS BEFORE OPERATING SAVE THESE INSTRUCTIONS Thank you for purchasing Mobile Parts Washer Before attempting to operate your new Parts Washer please read these instruc- tions thoroughly. You will need these instructions for the safety warnings, precautions, assembly, oper- ation, maintenance procedures, parts list and diagrams. -
Page 3: Safety Precautions
SAFETY PRECAUTIONS be repaired. Refer all servicing to a qualified technician. Consult your dealer for advice. 13.Keep away from flammables. Do not attempt to operate this tool near flammable materials or com- bustibles. Failure to comply may cause serious injury or death. 14.Store idle tools out of the reach of children and untrained persons. - Page 4 ASSEMBLY Lower Shelf 1.Locate the two Handles (04) and the Lower Shelf (13). 2.Align the holes in the bottom of the Handles with the 4 holes in the corners of the Lower Shelf. 3.Place Flat Washer (03) onto Bolt (02) and insert Bolt through Handle and Lower Shelf. 4.Place Flat Washer (03) and Lock Nut (07) onto end of Bolt and hand tighten.
-
Page 5: Operation
ASSEMBLY 3.Lower Pump Housing until it is resting on the Tank bottom. Washboard 1.Position the Washboard (05) so that the lipped edges are facing down and the rectangular cut out is on the right side. 2.Place your index fingers through the holes located at the front left and right rear of the Washboard. 3.Align the lipped edges of Washboard with the mounting brackets on inner Tank walls and gently lower into place. - Page 6 OPERATION WHEN NOT IN USE 1Switch off pump, close the lid and disconnect from the electrical supply. 2. Disconnect from the electrical supply before carrying out any maintenance or cleaning on the parts washer MAINTENANCE 1.The lid incorporates a fusible link to close the lid in the event of a fire. This link is non-resetting and must be replaced once it has been triggered.
-
Page 7: Parts List And Diagram
PARTS LIST AND DIAGRAM Part Part Part Description Qty. Description Qty. Description Qty. Castor Power Cord Filter Screen Bolt Cable Clamp Pump Assembly Flat Washer Switch Box Pump Housing Handle Screw Gromme Wash board Flat Washer M4 Spigot Left Tank Mount Power Switch Grommet Lock Nut...
Need help?
Do you have a question about the GT9500009 and is the answer not in the manual?
Questions and answers