Teton Grill XA Series Assembly Instructions
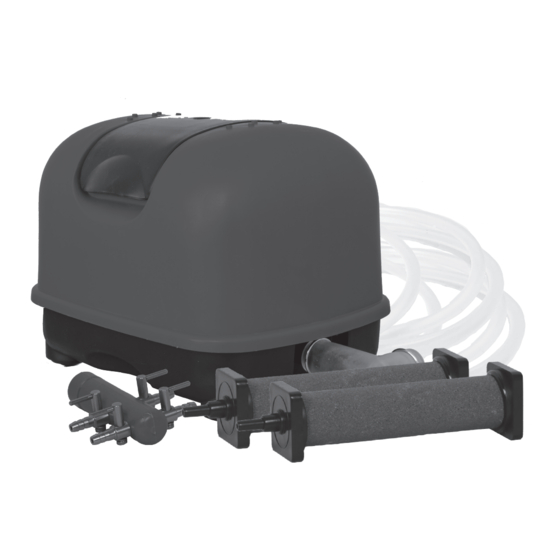
Aeration kit
Hide thumbs
Also See for XA Series:
- Assembly instructions (4 pages) ,
- Instruction manual (9 pages) ,
- Assembly instructions (4 pages)

Related Manuals for Teton Grill XA Series


Summary of Contents for Teton Grill XA Series
- Page 1 XA SERIES XA40K-XA80K Teton Aeration Kit ASSEMBLY INSTRUCTIONS Teton Dynamics Teton Dynamics P.O. Box 1044 P.O. Box 1044 San Leandro, CA 94577 San Leandro, CA 94577...
- Page 2 TETON AERATION KIT XA40K-XA80K VERSION AUG 2020 www.tetonus.com 800.752.0399 info@tetonus.com WELCOME TO THE WORLD OF TETON, BEFORE USING THESE PRODUCTS, PLEASE READ THESE NATURAL RELIABILTY! INSTRUCTIONS CAREFULLY AND FAMILIARIZE YOURSELF WITH THE ITEMS. PLEASE KEEP ASSEMBLY MANUAL IN A SAFE PLACE FOR FUTURE REFERENCE. You Made The Right Choice Investing In These Quality Products.
- Page 3 STEP 1 FIGURE A • Place a stainless steel clamp (provided) onto one end of the tubing. Then with the air stone in hand, slip the hose onto the barbed fittings, applying a little pressure. Once the tubing is on the fitting, go ahead and tighten the clamp with a screw driver.
- Page 4 STEP 3 FIGURE D • Locate air pump in an area free of dust and avoid areas prone to flooding. Air pumps located in areas below water level will require a check valve to prevent potential water flow back into the pump. Then place the air stone in the desired area of the pond and plug in the power cord to a GFCI protected power supply.
Need help?
Do you have a question about the XA Series and is the answer not in the manual?
Questions and answers