Advertisement
Table of Contents
V1.5 20201130
Congratulations on purchasing the adjustable probrake clip-on handlebars "REVO"
Enclosed you will find some useful tips and information that must be observed during assembly and use. It is your responsibility to regularly
check the clip-ons and determine if service or replacement is necessary. Please keep in mind that the probrake clip-on handlebars are a
safety-relevant component of your vehicle. Installation on the vehicle may only be carried out by appropriately qualified persons. Incorrect
assembly can have serious consequences! Check the clip-on handlebars after a fall, fall or impact and replace them at the slightest sign of
damage. Before starting the journey, the tight fit of all screw connections must be checked and the freely moving function of the steering
checked. The probrake clip-on handlebars have been developed and tested for series vehicles. probrake GmbH assumes no liability or
guarantee for any damage resulting from a combination with other accessories that have not been tested by probrake, as a result of
improper installation or from insufficient maintenance. For modifications, please contact your dealer or test center.
Before installation, please ensure that the vehicle is on a safe footing, switch off the engine and remove the ignition key. Keep children and
pets away from the work area. Take your time! The conversion takes up to several hours depending on the model.
Note that the probrake clip-on handlebars are individually adjustable. Its setting options are heavily dependent on the type and space
available on the series vehicle. We prohibit any manipulation of the probrake clip-on handlebars such as Welding, soldering or bending.
Regularly check the fit of all parts in accordance with the information provided by the vehicle manufacturer.
Scope of delivery
1. 2x clamp standpipe
2. 2x clamp handlebar tube
3. 2x steering tube 6 °
4. 16x socket head screw M6x16
5. 1x parts certificate
6. 1x assembly instructions
Dismantling
1. We recommend relieving the load on the front fork for assembly.
2. Remove the upper triple clamp, complete handle fittings, controls and handlebar stubs or tubular handlebars in accordance with the
repair manual.
Assembly
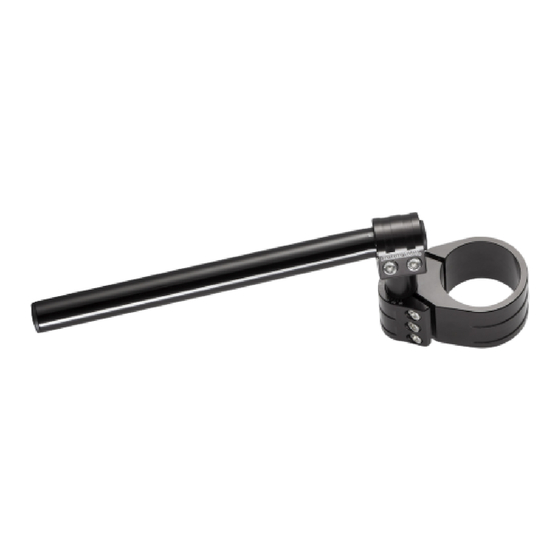
1. Pre-assemble the supplied clip-on handlebar parts as shown in the illustration.
2. Push the two halves of the handlebar stub over the right or left stanchion and fix with the clamping screws.
3. To assemble the handlebar halves with reducing bushings (optionally available), make sure that these are located between the
handlebar half and the stanchion tube during assembly and that the opening of the reducing bushing coincides with the opening of the
handlebar half and this also with the upper edge is flush.
4. Temporarily preassemble the controls and handle fittings.
5. Adjust the position of the handlebars according to your own requirements. The angle can be adjusted by turning (6 ° bend).
6. For the final assembly of the controls on the handlebar stub it is sometimes necessary to drill countersinks for the centering pins. To do
this, align the controls and mark the location of the centering pins. Then punch the marked point and make a countersink (diameter and
depth correspond to the centering pin).
7. Reinstall and tighten all dismantled parts according to the repair manual.
The following must be observed during assembly:
Torques of the fastening screws. Screws alternately first with 10Nm, then with max. Tighten 18 Nm. All screws to be used must have a
strength of 12.9.
page 1
Advertisement
Table of Contents

Related Manuals for probrake REVO


Summary of Contents for probrake REVO
- Page 1 Enclosed you will find some useful tips and information that must be observed during assembly and use. It is your responsibility to regularly check the clip-ons and determine if service or replacement is necessary. Please keep in mind that the probrake clip-on handlebars are a safety-relevant component of your vehicle.
- Page 2 • probrake steel braided brake hoses must not have a bending radius of 38 mm. • With a full steering lock, with the engine running, the engine speed must not change on either side.
Need help?
Do you have a question about the REVO and is the answer not in the manual?
Questions and answers