Table of Contents
Troubleshooting

Summary of Contents for Synaps 11010230Y3
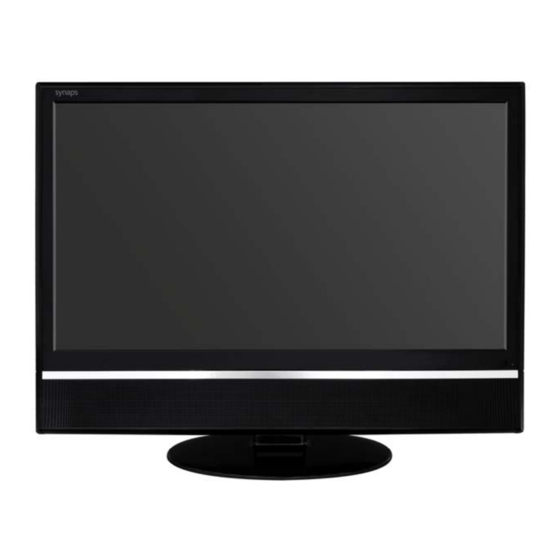
- Page 1 24 in. widescreen LCD Monitor Item Number: 11010230Y3 Installation & User’s Manual * Important Notice: Please read this manual carefully All brand names and trademarks are the property of their respective owners...
-
Page 2: Table Of Contents
Contents Precautions ............................3 Package Contents..........................4 Hardware Setup ..........................4 Hardware Installation ........................5 Menu Control Buttons........................6 On Screen Display (OSD) Menu Mode..................... 7 Troubleshooting your DVI monitor connection................8 Display Modes............................ 9 Specifications ..........................10 Troubleshooting..........................11 Maintenance ............................. -
Page 3: Precautions
Precautions 1. Read all of these instructions and save this manual for later use. 2. Follow all warnings and instructions on the product. 3. Do not cover or block the ventilation holes in the case. 4. Do not insert sharp objects or spill liquid into the LCD monitor through the cabinet slots; this may cause accidental fire, electric shock or failure. -
Page 4: Package Contents
Package Contents 24” TFT LCD Monitor External Univ15 pin D-sub Audio connector cable (RGB Analog) input signal cable Power cord & External User’s Manual Universal AC Adaptor (100-240V, 50/60Hz) Hardware Setup Handle the LCD monitor with care. Turn off the monitor’s and computer’s power before beginning setup. Follow the installation instructions step by step. -
Page 5: Hardware Installation
Hardware Installation ® Please note for Windows User’s Before attaching your new LCD monitor to your computer, please make sure that your resolution and refresh rates are set correctly for your monitor to work properly. This is especially important if you are changing monitors (for example, from a CRT to a LCD). -
Page 6: Menu Control Buttons
Menu Control Buttons Button Function 1. Automatically Adjusts the screen, when not in the OSD menu. NOTE: This feature will not work when in DVI mode. AUTO 2. To exit a submenu. 1. Show the main OSD menu. MENU 2. Enters the selected function. 1. -
Page 7: On Screen Display (Osd) Menu Mode
OSD (On-Screen Display) Menu Mode 1. Press the MENU button to access the OSD menu. 2. Press the DOWN or UP buttons to navigate through the submenus. 3. Select the desired option, by pressing the MENU button. 4. Use the button to decrease or increase the value of the selected option. -
Page 8: Troubleshooting Your Dvi Monitor Connection
Troubleshooting your DVI monitor connection Caution! Turn off your computer before connecting this monitor. If your monitor is connected to your computer with the DVI cable, but no image appears on the screen: • The cable plugs may be damaged or connected incorrectly. Check both ends of the power cable and DVI cable, and make sure that there are not bent pins and that the cables are securely connected to the monitor, power outlet, and computer. -
Page 9: Display Modes
Display Modes Display Mode Resolution Vertical Frequency (Hz) Horizontal Frequency (KHz) 640x480 59.94 31.47 640x480 72.81 37.86 640x480 75.00 37.50 720x400 70.09 31.47 800x600 60.32 37.88 800x600 72.19 48.08 800x600 75.00 46.80 1024x768 60.00 48.36 1024x768 70.07 56.48 1024x768 71.92 58.04 1024x768 75.03... -
Page 10: Specifications
Specifications Type 24” TFT Active Matrix LCD Display Viewing Angle H:170° , V:160° Contrast Ratio 1000 : 1 (Typical) Brightness 300 cd/m (Typical) LCD Panel Response Time 5 ms Display Colors 16.7M colors Max Resolution 1920X 1080 (WUXGA) Pixel Pitch 0.277mm(H)x0.277mm(V) Aspect Ratio 16 : 9... -
Page 11: Troubleshooting
Troubleshooting 1. There is no picture on the screen A. Power saving mode may be on. Press any key or move the mouse to deactivate this mode. B. Signal cable connector pins may be damaged. If there are bent or missing pins consult the warranty card for Tech Support information. -
Page 12: Maintenance
Maintenance To clean your monitor, please refer to the instructions below: NOTE: To prevent electrical shock, do not open the LCD monitor casing. Leave repair of the monitor to qualified personnel, please see the tech support information in the warranty. 1. -
Page 13: Fcc Radiation Norm
FCC Radiation Norm This equipment has been tested and complies with limits for Class B digital devices pursuant to Part 15 of Federal Communications Commission (FCC) rules. FCC Compliance Statement These limits are designed to provide reasonable protection against frequency interference in residential installations. -
Page 14: Service Procedure
Service Procedure Beyond the retailer return policy, please call the toll free number below to obtain service. A customer representative will give you a return authorization number (RA number) allowing you to ship your product to the service center. Please have the following information available when you call the service center: Your Name and Address Date of Purchase Model Number... -
Page 15: Warranty
The manufacturer service center will repair or replace the unit in question and send it back to the purchaser. In order to contact the service facility, please call 508-435-4830 800-639-3803 Please reference item number: 11010230Y3 The address for this facility is: Four Star Group 26840 Fargo Ave. Suite C Bedford Heights, OH 44146 Email Support: techsupport@fourstari.com...

Need help?
Do you have a question about the 11010230Y3 and is the answer not in the manual?
Questions and answers