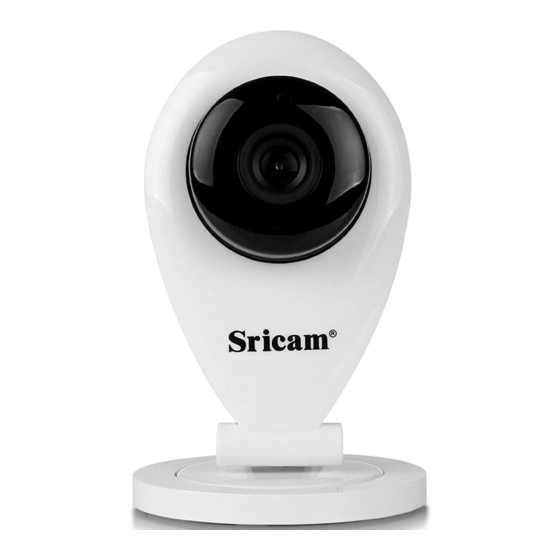
Sricam SP009 Manual
Hide thumbs
Also See for SP009:
- User manual ,
- Quick user manual (42 pages) ,
- Qucik user manual (9 pages)
Advertisement
Sricam SP009 IP Camera
Introduction
Connecting this camera to a Wi-Fi network is not as straight forward as most devices and is
potentially very difficult to move from one router to another (this was noticed moving from an
HG635 to a Sagemcom FAST 5364, although I doubt if this router is at fault).
Notes
Camera only supports the 2.4GHz Wi-Fi band
The SSID & passphrase must not contain any special characters, only upper & lower case
alphanumeric ones.
It looks like no port forwarding is required as everything must be done via the Sricam website via
the Android app.
Connection Procedure
First you have to install the Sricam app on an Android connected to the same local router. Once
installed, if you do not have an account with Sricam you have to register an account via this
application, otherwise sign into your account. Then to connect the camera to the Wi-Fi:-
1. Locate the camera near the router for the initial setup & power it on.
2. If you do not hear a continuous beeping sound from the camera shorty afterwards, reset it
via the recessed switch under the base of the camera. To do this press in the switch for 10
seconds until a "clash" sound from it, shorty afterwards the continuous beeping should be
heard.
3. In the app go to the Devices List & click Add new device.
4. In this next screen either type in the Device ID of the new camera, or scan its QR code. The
Device ID can be found on the base of the camera, and is called ID.
5. Next enter the device password (default is 888888) and click "Next".
6. The camera will now report as being offline on the next screen, tap the Smart Wi-Fi icon.
7. In the next screen Tap the Smart Wi-Fi Setting button & in the following screen tap the
Next button.
8. The Wi-Fi connection screen is seen next, its SSID should already be displayed. Enter the
Wi-Fi password, tap Next & the connection attempt will be initiated.
Page 1 of 3
Date : 15/07/2018
Advertisement
Table of Contents

Summary of Contents for Sricam SP009
- Page 1 The SSID & passphrase must not contain any special characters, only upper & lower case alphanumeric ones. It looks like no port forwarding is required as everything must be done via the Sricam website via the Android app. Connection Procedure First you have to install the Sricam app on an Android connected to the same local router.
- Page 2 Sricam SP009 IP Camera Connection to Wi-Fi fails every time This was noticed moving from an HG635 to a Sagemcom FAST 5364 & raised with Sricam's Tech Support. The following method resolved all connection issues:- Wi-Fi setting via MicroSD card 1.
- Page 3 Sricam SP009 IP Camera Static IP address configuration Run the "Sricam" App. Touch and hold the window of the camera being set up. A new menu will pop-up as shown. Touch Settings and a new window will appear as shown.


Need help?
Do you have a question about the SP009 and is the answer not in the manual?
Questions and answers