Table of Contents
Advertisement
Quick Links
Bidet Toilet Seat
INSTALLATION INSTRUCTIONS
PLEASE CONTACT MOEN FIRST
For Installation Help, Missing or Replacement
Parts, please consult your local dealer.
www.moen.com.hk
HELPFUL TOOLS
For safety and ease of replacement, Moen rec-
ommends the use of these helpful tools.
Safety Glasses
Adjustable Wrench
Phillips Screwdriver
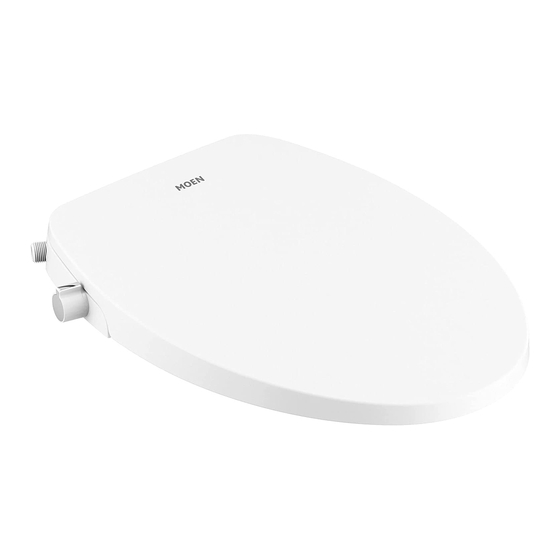
HKEB500-D / HKEB500-E
Image is for reference only
(Style varies by model)
Record Purchased Model Number:
(Save instruction sheet for future reference)
INS12941 - 07/11
Advertisement
Table of Contents

Subscribe to Our Youtube Channel
Related Manuals for Moen HKEB500-D


Summary of Contents for Moen HKEB500-D
- Page 1 Parts, please consult your local dealer. www.moen.com.hk HKEB500-D / HKEB500-E HELPFUL TOOLS Image is for reference only For safety and ease of replacement, Moen rec- (Style varies by model) ommends the use of these helpful tools. Record Purchased Model Number: Safety Glasses...
-
Page 2: Parts List
Parts List A. Bidet Toilet Seat B. Water Inlet Hose C. T-Shaped Connector (G1/2) D. Expansion Nuts E. Adapter Plate F. Sliding Plates G. Connecting Bolts... -
Page 3: Sizing Requirements
※For HKEB500- E, the distance from the mounting hole to the front end of the toilet must be between 16-9/10" and 18-9/10" (428mm - 480mm). ※For HKEB500-D , the distance from the mounting hole to the front end of the toilet must be between 16-1/10" and 18-1/10" (410mm - 461mm). - Page 4 Installation Steps Preparation CAUTION:The water pressure limit ranges from 10 to 110 PSI (0.07-0.8MPa). Please use as instructed. The water shutoff valve should be near where the product can be installed or dismantled. Insert the Connecting Bolts (G) into the Sliding Plates (F). Insert the Connecting Bolts (G) with the Sliding Plates (F) into the Adapter Plate (E).
- Page 5 Installation of Your Product Assemble Expansion Nuts (D), Adapter Plate (E), Sliding Plates (F) Adjust the fixed base and lock the Connecting Bolts (G). and Connecting Bolts (G) into the ceramic in the order shown in the diagram. CLICK Push forward the Bidet Toilet Seat (A) to support the fixed base. You will hear a "Click"...
-
Page 6: Connecting The Water Inlet Hose
Connecting the Water Inlet Hose Press the button on the side of the Bidet Toilet Seat (A) and pull Close the valve. forward to unlatch from fixed base. Disassemble the water supply hose. Connect the T-shaped Connector (G1/2) (C) to water supply pipe and Water Inlet Hose (B), and then open the valve. -
Page 7: Use Instructions
Use Instructions Safety Precaution Read All Instructions Before Use Thanks for purchasing our products. In order to make a better use of the product, please read this manual carefully and install the product correctly. Keep this manual properly for future reference. The below precautions are important for safe use, and would cause serious consequence under different circumstance. - Page 8 This may result in product damage and/or user injury. ※ Do not dismantle, repair or alter this product on your own. Call in a professional or contact Moen for future advise. For cleaning or maintenance of plastic parts, do not ※...
- Page 9 Basic Use Function Rear Wash 1. Turn the lever counterclockwise from the vertical position. 2. The nozzle for rear wash extends forward and the fresh water spray function starts. 3. The water volume decreases while turning the lever towards the vertical position. It will completely shut off when the lever is on the vertical position.
- Page 10 Cleaning and Dismantling Clean the exterior of the Bidet Toilet Seat using a smooth sponge/ Clean the spray nozzles. Pull out the nozzle softly and use a cloth with diluted dish detergent to clean the product. Do not use smooth cloth, sponge or toothbrush with liquid dish soap to clean the following: hydrogren chloride detergent, paint thinner, the nozzles.
-
Page 11: Common Fault Diagnosis
Common Fault Diagnosis Please read the following contents and try to solve the fault in other disposal methods if similar faults are found, or contact the sales department or call customer service center if the fault cannot still be solved. Spray Rod Failure Phenomenon Failure Analysis... -
Page 12: Technical Specification
Backflow Prevention Water Supply Directly from water pipes 10 - 110 psi (0.07-0.8MPa) Water Pressure Range Weight HKEB500-E 2.3kg HKEB500-D 2.6kg HKEB500-E HKEB500-D Dimensions 19-2/5" (493mm) X 14-3/5" (371mm) X 19-1/2" (495mm) X 14-9/10" (378mm) X 2-1/4" (57.4mm) 2-2/5" (60mm) - Page 13 滚滚长江东逝水...
- Page 14 The period of warranty shall start from the date of purchase of the product (according to the invoice or receipt issued by Moen distributors) and shall cover a period of the following: the warranty period for cartridge is 5 years, the warranty period for solenoid valve sensor is 2 years, the warranty period of other accessories such as shower bar, hose, shower, drain assembly, handle, cover, lift rod, aerator etc.
Need help?
Do you have a question about the HKEB500-D and is the answer not in the manual?
Questions and answers