Advertisement
Quick Links
ASSEMBLY
INSTRUCTIONS
VERSION # 21-06-08
1 / 9
MODEL #
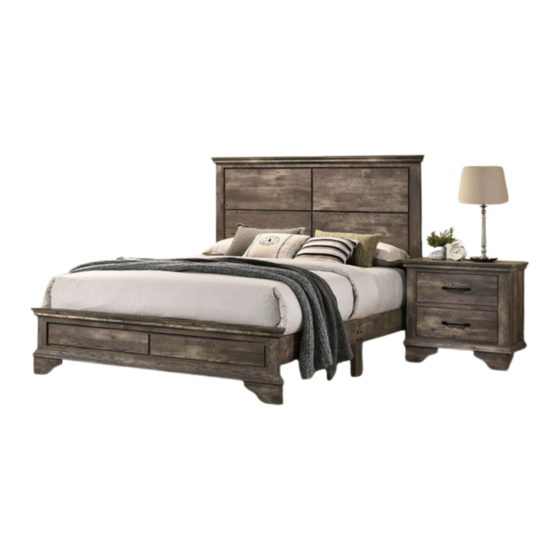
CM7186Q
Questions?
GIVE US A CALL: 1-888-980-5122
MON – FRI 8:30AM – 5:30PM (PT)
TOOLS REQUIRED
Allen Wrench
(Included)
Phillips
Screwdriver
(Not Included)
3 - People
Recommended
ASSEMBLY RATING
The Assembly Rating is a
5-point system showing the
level of effort needed to
assemble a specific product.
Advertisement

Related Manuals for Furniture of America CM7186Q


Summary of Contents for Furniture of America CM7186Q
- Page 1 MODEL # CM7186Q ASSEMBLY Questions? INSTRUCTIONS GIVE US A CALL: 1-888-980-5122 MON – FRI 8:30AM – 5:30PM (PT) TOOLS REQUIRED Allen Wrench (Included) Phillips Screwdriver (Not Included) 3 - People Recommended ASSEMBLY RATING The Assembly Rating is a 5-point system showing the level of effort needed to assemble a specific product.
- Page 2 Furniture America FOA Intro Thank you for your purchase! We hope you enjoy this new addition to your home for many years to come. Our commitment to providing quality products does not simply end when you purchase our product. We fully stand behind our products from start to finish. Our customer service department is available Monday –...
- Page 3 PRE ASSEMBLY INTRODUCTION We understand building ready-to-assemble furniture can be a challenging experience for some. To help avoid confusion, we have provided some helpful tips that may speed up the process. Teamwork ALWAYS have at least two people to help with transporting and assembling the product to avoid potential injury and/or damage.
- Page 4 4 / 9...
- Page 5 QUEEN BED CM7186Q ● Please keep instructions for future reference. ● Check the quantity and irregularity of parts and hardware before you start. PARTS #1 1pc #2 2pcs #3 1pc Headboard Headboard Leg Footboard #4 4pcs #5 2pcs #6 4pcs...
- Page 6 HARDWARE #C 6pcs #A 6pcs #B 6pcs JCBB Bolt - M8 x 40 mm Spring Washer - M8 Flat Washer - M8 #E 8pcs #D 1pc #F 12pcs Allen Key - M5 JCBC Bolt - M6 x 40 mm JCBB Bolt - M8 x 16 mm #G 12pcs #H 8pcs #I 1pc...
- Page 7 ASSEMBLY INSTRUCTIONS Part x 1pc Align HB legs (#2-R/L) to the headboard (#1), then secure Part x 2pcs by using bolts (#A) with Hardware x 6pcs washers (#B,C). Hardware x 6pcs Hardware x 6pcs Hardware #D x Tighten the JCBC Bolt (#F) Part x 4pcs with spring washer (#G) &...
- Page 8 ASSEMBLY INSTRUCTIONS Part x 1pc Part x 1pc Insert the JCBB Bolt (#E) through Hardware x 8pcs Headboard Leg (#2) or Footboard (#3). Align and hook side rails (#4,5) to the bolts Part x 1pc of the headboard (#1) and footboard (#3), then secure by tightening the bolts.
- Page 9 ASSEMBLY INSTRUCTIONS Tighten the JCBC Bolt (#F) with spring washer Part x 4pcs (#G) through the slat (#6) to slat support (#7) using Allen Key (#I). Part x 4pcs NOTE: THE SETUP MUST BE DONE AT THE Hardware x 4pcs DECIDED LOCATION FOR THE BED TO OBTAIN PERFECT STABILITY.
Need help?
Do you have a question about the CM7186Q and is the answer not in the manual?
Questions and answers