Table of Contents
Advertisement
Quick Links
SUPPLIED MATERIAL
•
Analogue input board
with cables
•
Base connector
•
Aerial connector
•
Adhesive label
•
2 M3 washers
•
Nut
•
Spacer 7 mm (only for
models with AgroBee
option)
BOX FORMAT ASSEMBLY
1
Disconnect power from the
controller.
4
Make three holes in the box
as shown in the image. Use
the attached template.
37 mm
22 mm
7 mm
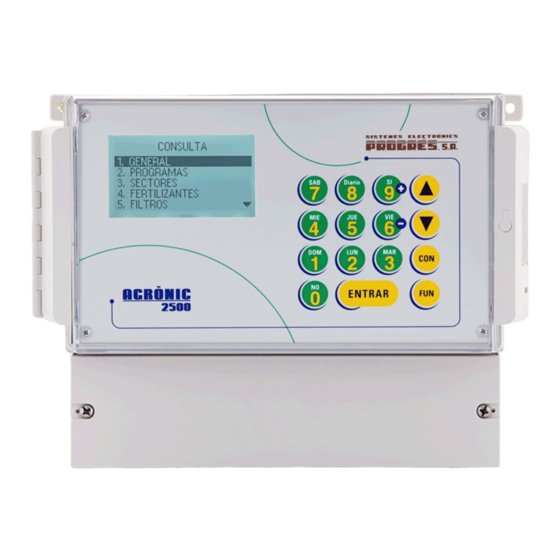
Agrónic 2500
Installation option 2 analogue
inputs
4 wires
Base connector
Adhesive
label
2
Remove the four screws that
hold the keyboard.
5
Pass the board cable through
the base connector and the
large hole made in the box.
Diameter
10 mm
Diameter
3 mm
Aerial connector
Nut
Plastic
Spacer 7 mm
(only with
washers M3
AgroBee)
3
Unscrew and remove the two
plates from the controller.
6
Power supply
cable
Inputs
Analogue
input board
Screw the base connector to
the box, place one washer
and one nut per screw on
the inside.
Advertisement
Table of Contents

Related Manuals for Sistemes Electronics Progres Agronic 2500


Summary of Contents for Sistemes Electronics Progres Agronic 2500
- Page 1 Agrónic 2500 Installation option 2 analogue inputs SUPPLIED MATERIAL • Analogue input board with cables • Base connector Power supply cable • Aerial connector 4 wires • Adhesive label • 2 M3 washers • Aerial connector Base connector • Spacer 7 mm (only for Inputs models with AgroBee option)
- Page 2 Connect the four wires of the cable Insert the connections in the Replace the motherboard and its from the analogue input board to base connector and screw. five screws back in the controller the corresponding terminal and connect the power cable to H3 or H1 depending on the motherboard model.
Need help?
Do you have a question about the Agronic 2500 and is the answer not in the manual?
Questions and answers