
Related Manuals for GAPOSA Emitto Smart Line


Summary of Contents for GAPOSA Emitto Smart Line
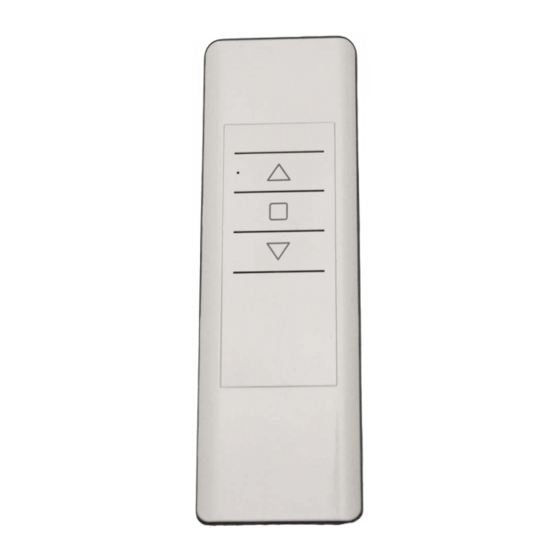
- Page 1 Transmitters EMITTO SMART LINE transmitters enable the user to control one or more radio motors with receiver, installed on awnings, shutters and screens. 1 CHANNEL 5 CHANNELS 1 CHANNEL 5 CHANNELS PRESET / ALL TILTING / PRESET TILTING Made in Italy...
- Page 2 INDEX TECHNICAL DETAILS PUSHBUTTONS BRACKETS PROGRAMMING TRANSMITTER ADDING TRANSMITTER CHECKING/CHANGING DIRECTION ERASING TRANSMITTER RESET MOTOR MEMORY LIMIT SWITCH SETUP INTERMEDIATE POSITION CHANNEL MANAGEMENT BATTERY SUBSTITUTION...
-
Page 3: Technical Details
TECHNICAL DETAILS Battery 3V mod. CR2032 Channels Encoding RC Gaposa Battery life 2 years Frequency 434,15 MHz Radiated power 0,150 mW Protection rate IP40 Coverage (int/ext) 65 ft / 656 ft Working temperature 23°F / 104°F CAUTION: Please don’t use these transmitters in areas with risks of radio disturbs over the norm (i.e. -
Page 4: Push Buttons
PUSHBUTTONS QCTZ01 QCTZ02 QCTZ03 QCTZ04 Ver Y BACK BACK SYNC LIMIT SYNC LIMIT STOP DOWN Select channel SYNC Program the transmitter intermediate position LIMIT Set the limit switch Select all channels TILTING Orientation of the slats... - Page 5 BRACKETS PORTABLE QCTZ..H QCTZ..K VERSIONS Press to remove the push-bottons Press to remove the push-bottons WALL MOUNTED QCTZ..W QCTZ..D (Dekora) VERSION WALL INSTALLATION Attach the support to the wall with screws (not included). Mount the pushbutton at the support lightly pressing until you hear a “click”.
-
Page 6: Programming Transmitter
PROGRAMMING PROGRAMMING TRANSMITTER CAUTION: If more motors with receiver have to be installed, it is important to power up only one motor at time during the first programming session, in order to avoid any interferences with others. Power up the motor to be programmed. Press and hold the SYNC button until the motor starts moving. - Page 7 PROGRAMMING ADDING TRANSMITTER Press and Hold the SYNC button of a transmitter already paired until the motor starts moving. Check the rotation of the motor, then release the SYNC button (the motor stops). Within 5 seconds press the correspon- ding button (i.e. UP if the motor rotates upwards or DOWN if vice versa) on the new transmitter being added.
- Page 8 PROGRAMMING CHECKING/CHANGING DIRECTION IMPORTANT: change direction must be performed before starting limit setting otherwise limits must be reset. Press UP or DOWN the motor should go UP or DOWN, otherwise to change direction: Press and hold the SYNC button until the motor starts moving Press STOP: The motor makes a brief jog.
- Page 9 OPTION 2 - Without an already programmed transmitter Switch the motor power supply OFF. Then switch it ON. Within 8 seconds, using any Gaposa transmitter, press and hold both the SYNC and STOP buttons until the motor makes a long jog.
-
Page 10: Limit Switch Setup
LIMIT SWITCH LIMIT SWITCH SETUP (Just for motors with electronic limit switch) ATTENTION: ALWAYS SET THE UP LIMIT FIRST Push the LIMIT button until the motor makes a brief jog. Note: during “programming mode” the operations are in “deadman control” Press and hold the UP button and run the motor to the desired UP limit position. -
Page 11: Intermediate Position
INTERMEDIATE POSITION INTERMEDIATE POSITION SETUP (Just for motors with electronic limit switch) Stop the shutter/awning in the desired intermediate position. Press simultaneously the UP and DOWN buttons until the motor makes a brief movement in both directions. The intermediate position has been setup. RECALLING THE INTERMEDIATE POSITION QCTZ01 QCTZ02... - Page 12 CHANNELS CHANNEL MANAGEMENT [5 channel version] The channels are selected by pressing buttons 1, 2, 3, 4, 5 and are indicated by the corresponding LEDs. You can select multiple channels and memorize them by pressing STOP. Once the selected channel / group has been selected, you can run the corresponding motor drive with the UP, STOP and DOWN keys.
-
Page 13: Battery Substitution
2. Insert the new battery respecting the correct polarity. Ver Y IMPORTANT: Battery contains polluting substances. After removing, throw it in the designated batteries collection points. GAPOSA Inc. 300 Schell Lane Suite 306 - Phoenixville, PA 19460 USA Tel. 484.927.4385 - info@gaposa.com www.gaposa.com...
Need help?
Do you have a question about the Emitto Smart Line and is the answer not in the manual?
Questions and answers