Advertisement
Quick Links
Advertisement

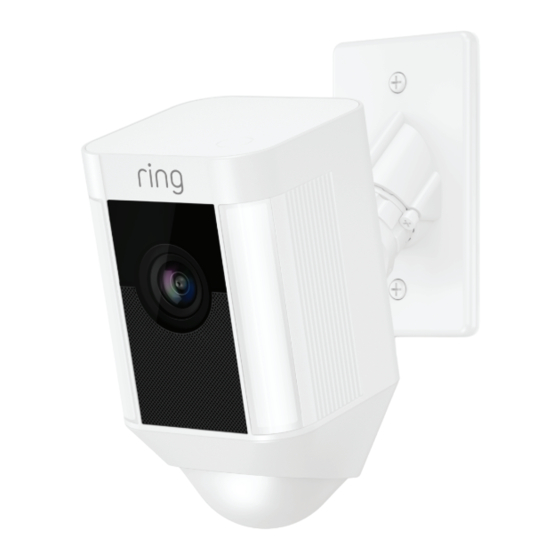
Summary of Contents for ring Spotlight Cam Hardwired Kit
- Page 1 Spotlight Cam Hardwired Kit ENGLISH Spotlight Cam for illustration purposes. Camera not included.
- Page 2 Verify that the supply voltage is correct. Connect fixture to a Terms of Service and Warranty Use of the product is subject to your registration with Ring and your agreement with the 100 VAC~240 VAC 50/60 Hz power source. Terms of Service found at www.ring.com/terms.
-
Page 3: What's In The Box
What’s in the box? Screwdriver & Phillips Bit Round Weatherproof Box Cover Use to mount your Spotlight Use to install the box cover Cam on a round weatherproof and tighten the security screw. electrical box. Bag o’ Screws & Washers Rectangular Weatherproof Box Use four screws when Covers (Vertical &... - Page 4 How it all fits together... Mounting Nut 4” Round or 2x4 Black/Hot Weatherproof (comes attached to Wire Mounting Screws and Washers Electrical Box Wiring Harness) (metal washer above rubber washer) (not included) Wiring Harness (comes inserted into the 4” round Weatherproof Box Cover) Spotlight Cam (removed from its mounting base)
- Page 5 Remove your Spotlight Cam from its base. Mounting Styles: Wall While holding the mounting base, turn Spotlight Cam to the When mounting to a vertical wall, you’ll usually want the left to disengage it, and set the camera aside for now. mounting port to face downwards.
- Page 6 Installation Height and Motion Detection When mounted at the recommended height (9 feet up, with the motion sensor parallel to Parallel to ground the ground), your Spotlight Cam is optimized to detect human- sized objects at up to 30 feet. 9 feet (3 meters) 30 feet (10 meters)
- Page 7 Shut power off at the breaker. Remove your existing light or camera. (if applicable) With power off at the breaker, remove your existing If you don’t know where your breaker is or how to turn floodlight or camera from the electrical box and disconnect off power to your electrical box, consult with a licensed the wires.
-
Page 8: Connect The Power Wires
Use the included wire nuts to secure and protect the Your connected lights also turn on when you manually connections. enable your Spotlight Cam lights in the Ring app. The red wire is optional, and should only be connected if you wish to control other lights with your Spotlight Cam. - Page 9 Screw in the box cover. Add the Security Screw. Use the included screws to secure the box cover to the electrical box. Insert and tighten the Be sure to add a metal washer, security screw to lock your then a rubber washer to each Spotlight Cam into the box screw before inserting.
- Page 10 Adjust the camera angle. After setup, tap the Live View To ensure accurate motion detection, position your button in the Ring app to see Spotlight Cam so the border of the motion detector is video from your Spotlight Cam. parallel with the ground.
- Page 11 1523 26th St. Santa Monica, CA 90404 To review your warranty coverage, please visit www.ring.com/warranty. © 2020 Ring LLC or its affiliates. Ring, Always Home, and all related logos are trademarks of Ring LLC or its affiliates.


Need help?
Do you have a question about the Spotlight Cam Hardwired Kit and is the answer not in the manual?
Questions and answers