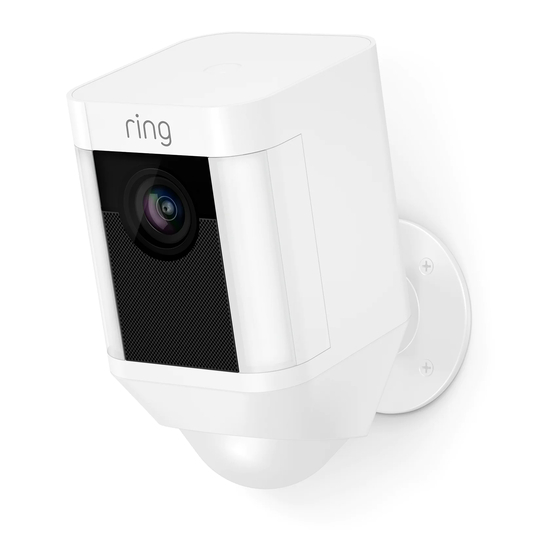
ring Spotlight Cam Mount Manual
Hide thumbs
Also See for Spotlight Cam Mount:
- User manual ,
- Manual (53 pages) ,
- Setup and installation manual (27 pages)
Advertisement
Quick Links
Advertisement

Subscribe to Our Youtube Channel
Related Manuals for ring Spotlight Cam Mount


Summary of Contents for ring Spotlight Cam Mount
- Page 1 Spotlight Cam Mount...
- Page 2 1. Install WARNING: Risk of electrical shock. If your local laws require your it, installation and wiring must be performed by a licensed electrician. Disconnect power at the Spotlight fusebox or consumer unit before installing. Verify that the supply voltage is correct. Connect Cam.
-
Page 3: What's In The Box
What’s in the box? Backbox Cover with Gasket Secures your Spotlight Cam to the included backbox. Comes attached to your Everything you need to install your Spotlight Cam and its wiring Spotlight Cam is included. harness. Screwdriver & Phillips Bit Use to install the mounting hardware and tighten the security screw. - Page 4 How it All Fits Together White Wire (unused, cap with wire clip) Brown/Live Backbox Backbox Cover Wire Earth Mounting Screws Wire Backbox Cover Spotlight Cam Blue/Neutral Wire Security Screw Backbox Mounting Screws Status Light & Motion Sensors...
- Page 5 Installation Height and Motion Detection When mounted at the recommended height (9 feet up, with the motion Parallel to ground sensor parallel to the ground), your Spotlight Cam is optimized to detect human-sized objects at up to 30 feet. 9 feet (3 Meters) 30 feet (10 Meters)
- Page 6 Recommended Installing on an Mounting Styles overhang or eave? When mounting to a vertical wall, you’ll Out of the box, your Spotlight Cam usually want the mounting port to point is set up for mounting on a vertical downwards. surface. To prepare it for horizontal mounting: When mounting to an overhang or eave, face the mounting port in the...
- Page 7 Shut power off at Cut the grommet. the fusebox. The included backbox has two cable inlets with rubber grommets. Choose If you don’t know where your fusebox the inlet that suits your install location, is or how to turn off power to the circuit then get out the scissors.
-
Page 8: Remove The Camera
Prepare the backbox. Remove the camera. If you haven’t already, push your While holding the backbox cover, turn power cable into the box through the Spotlight Cam to the left to disengage grommet you cut. it, and set the camera aside for now. Drive two of the included Mounting Screws through the holes on either side of the backbox to secure it. -
Page 9: Connect The Power Wires
Connect the power wires. Now you’ll want to connect the brown and blue wires from the wiring harness to their matching brown and blue wires from your home’s power system. Pull up the orange tabs on the wire clip to open. Line up the ends of each pair of wires side-by-side, and fully insert them into... - Page 10 Mount the Connect your Spotlight Cam. backbox cover. Use the included Cover Screws to Insert your Spotlight Cam into the secure the cover to the backbox. backbox cover. Once it’s fully seated, turn to the right to lock it in.
- Page 11 Insert the Turn power on at Security Screw. the fusebox. Then tighten it, to lock your Spotlight Once your Spotlight Cam is installed, Cam into the backbox cover. it’s time to turn power back on at the fusebox. If the lights on your Spotlight Cam turn on, you’re ready to go! If not, turn power back off and check your connections.
- Page 12 2. Set up Get the Ring app. The Ring app walks you through setting your up and managing your Spotlight Cam. Search for “Ring” in one of the app Spotlight stores below, or visit: ring.com/app. Cam in Down the Ring Grab your Wi-Fi app.
- Page 13 Spotlight Cam flashes or stays illuminated after setup, this means it’s updating its internal software. In the Ring app, select Set Up a Device. This update can take up to a few When prompted, select Security Cams minutes. When the light stops flashing, and follow the in-app instructions.
- Page 14 Any lights you connect will also turn on when you activate Spotlight Cam’s lights manually in the Ring app. Total power draw of connected Auxiliary lights must not exceed 150 watts.
- Page 15 +507 833 6750 To review your warranty coverage, please visit www.ring.com/warranty. Patents: www.ring.com/patents © 2019 Ring LLC or its affiliates. Ring, Alexa, Always Home, and all related logos are trademarks of Amazon. com, Inc. W its affiliates. Last updated: 04/02/19...
Need help?
Do you have a question about the Spotlight Cam Mount and is the answer not in the manual?
Questions and answers