Table of Contents
Advertisement
Quick Links
Advertisement
Table of Contents

Subscribe to Our Youtube Channel
Related Manuals for Fisher & Paykel OM76NPX1


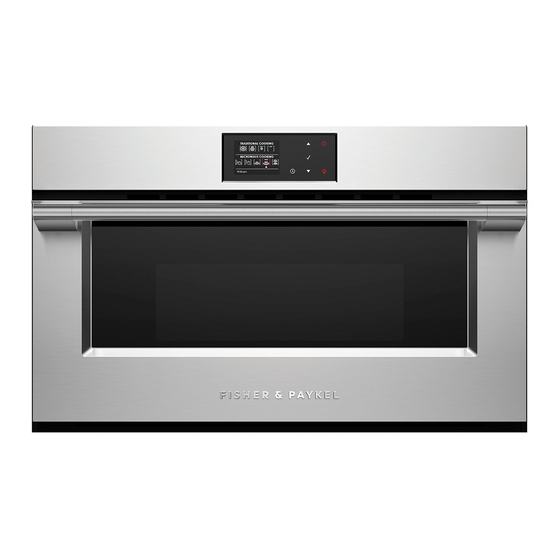
Summary of Contents for Fisher & Paykel OM76NPX1
- Page 1 CONVECTION SPEED OVEN PROFESSIONAL OM76NPX1 models INSTALLATION GUIDE NZ AU...
-
Page 2: Safety And Warnings
SAFETY AND WARNINGS IMPORTANT SAFETY INSTRUCTIONS! Installation To avoid hazard, follow these instructions carefully before installing or using this appliance. WARNING! Save these instructions for the local inspectors use. ● Electrical Shock Hazard Please make this information available to the person installing the appliance – doing ●... -
Page 3: During Installation
INSTALLATION CONSIDERATIONS COMPONENTS REQUIRED PRIOR TO INSTALLATION PARTS SUPPLIED Prior to installing your oven, ensure the following: Keep all packing materials until the unit has been inspected. Inspect the product to ensure there is no shipping damage. If any damage is detected The countertop and oven cavity are square and level, and are the required dimensions. -
Page 4: Product Dimensions
PRODUCT DIMENSIONS OM76 MODELS PRODUCT DIMENSIONS A Overall height B Overall width C Overall depth (excluding handles and dials) D Height of chassis PLAN ISOMETRIC E Width of chassis F Depth of chassis G Depth of oven frame and control panel (distance between front of chassis and front of oven door, excl. -
Page 5: Cavity Dimensions
CABINETRY DIMENSIONS (FLUSH INSTALL) Ventilation of 50x560mm or totalling 280cm is required for companion products. The air vent must be located at the rear of cabinet, it can be positioned at the base, top, sides, or back of the cavity. Additional spacer Critical rebate to achieve flush finish... - Page 6 CABINETRY DIMENSIONS (PROUD INSTALL) Ventilation of 50x560mm or totalling 280cm is required for companion products. The air vent must be located at the rear of cabinet, it can be positioned at the base, top, sides, or back of the cavity. Additional spacer FRONT ELEVATION SIDE ELEVATION...
-
Page 7: Electrical Connection
ELECTRICAL CONNECTION SECURE THE OVEN TO THE CABINETRY Before connecting the oven to the mains power supply, check that: specifications of the electrical system match with what is detailed on this section. system has an effective ground connection compliant with current standards and laws. The ground connection is required by law. - Page 8 ATTACH THE LOWER TRIM TO THE OVEN Attach the lower trim to the oven after installing the oven in the cabinetry. Align the lower trim with the tabs on the base of the oven. Use the supplied screws to attach the lower trim to the tabs.
-
Page 9: Installer Checklist
INSTALLER CHECKLIST TO BE COMPLETED BY THE INSTALLER … … Make sure the oven is level and securely fitted to the cabinetry. Turn the power to the oven on. The display should turn on.. … … Check the lower trim is correctly attached and undamaged. Have you demonstrated basic operation to the customer? …... - Page 10 FISHERPAYKEL.COM © Fisher & Paykel Appliances 2021. All rights reserved. The models shown in this guide may not be available in all markets and are subject to change at any time. The product specifications in this guide apply to the specific products and models described at the date of issue.
Need help?
Do you have a question about the OM76NPX1 and is the answer not in the manual?
Questions and answers