Table of Contents
Advertisement
Quick Links
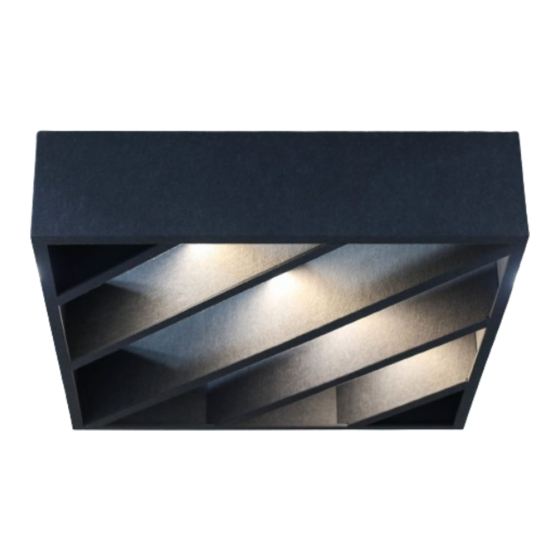
WAFL BAFL NON-LIT INSTALLATION
Acoustical Box Bafl
These installation suggestions consists of common process for WAFL BAFL installation. Installers
should rely upon their own professional experience and understanding of their unique requirements to
ensure a successful install.
You Will Need
Cable Cutter
Drill
Items Included
(2) A Sides
(2) Small Ribs
(2) Medium Ribs
Screwdriver
(2) B Sides
(2) Large Ribs
(4) Griplock
Aircraft Cable
frasch.com
frasch.co |
(* Patent Pending)
4'
(12)
1/4-20 2" thread
forming screws
682.200.3005
(4) Conecta
Hardware*
9mm Spike
Bracket
01 of 07
rev. 4-2022
Advertisement
Table of Contents

Related Manuals for frasch WAFL BAFL


Summary of Contents for frasch WAFL BAFL
- Page 1 682.200.3005 WAFL BAFL NON-LIT INSTALLATION Acoustical Box Bafl These installation suggestions consists of common process for WAFL BAFL installation. Installers should rely upon their own professional experience and understanding of their unique requirements to ensure a successful install. You Will Need...
- Page 2 | 682.200.3005 WAFL BAFL NON-LIT INSTALLATION Acoustical Box Bafl 1. Connect (1) A side and (1) B side together using (1) extrusion. Slide the extrusion from the top into the opening. A Side Panel B Side Panel B Side Panel...
- Page 3 | 682.200.3005 WAFL BAFL NON-LIT INSTALLATION Acoustical Box Bafl 2. Slide the center ribs into the two connected sides following the diagram below. Large Rib Small Rib Medium Rib Large Rib Medium Rib Small Rib Slide ribs into...
- Page 4 | 682.200.3005 WAFL BAFL NON-LIT INSTALLATION Acoustical Box Bafl 3. Connect (1) A side panel to the ribs following the diagram below. A Side 4. Connect (1) B side panel to the ribs followng the diagram below. B Side 04 of 07 rev.
- Page 5 | 682.200.3005 WAFL BAFL NON-LIT INSTALLATION Acoustical Box Bafl 5. Slide in (3) extrusions from the top to connect the remaining sides together. 6. Lift up 2 trap doors from each center rib. Use included screws to fasten through the ribs into the side pieces.
- Page 6 | 682.200.3005 WAFL BAFL NON-LIT INSTALLATION Acoustical Box Bafl 7. Insert and lock the aircraft cable into the Griplock. 3. Screw down safety cap. 1. Unscrew safety cap. 2. Press down to insert cable 8. Connect the griplock to the saddle bracket.
- Page 7 | 682.200.3005 WAFL BAFL NON-LIT INSTALLATION Acoustical Box Bafl 9. Slide the (1) saddle bracket onto the center of each side. Note: This can be moved depending on location of mounting. Locate where spike bracket should be placed. Slide spike...
Need help?
Do you have a question about the WAFL BAFL and is the answer not in the manual?
Questions and answers