Table of Contents
Advertisement
Advertisement
Table of Contents

Related Manuals for careium Eliza S


Summary of Contents for careium Eliza S
- Page 1 Eliza S (A150) User Guide English...
-
Page 2: Table Of Contents
Table of contents 1. Read first: Safety information ......2 2. Important information ........4 3. Package contents ..........5 4. Description of functions ........6 5. Overview ............8 6. Installation .............11 7. Communication path ........14 8. Pairing ............15 9. - Page 3 • Check the unit regularly and replace if necessary. • User’s should pay particular attention to the potential for interference from other systems operating in the same or adjacent radio frequency bands. • The compartment covers may be opened only by authorised persons in accordance with the instructions in the service manual.
-
Page 4: Important Information
2. Important information All systems using radio and network communication are subject to interference beyond the user’s control. Products from Careium are designed to minimise the impact of such interference. Nevertheless, the user must be aware that system components can be subjected to interference or other influences that may cause malfunction. -
Page 5: Package Contents
For further information, please contact your supplier or refer to the service manual or the documentation at www.careium.com/support/. The device has a rechargeable battery that enables the device to be operated even in the event of a power failure. The device will beep for a short while after power failure. -
Page 6: Description Of Functions
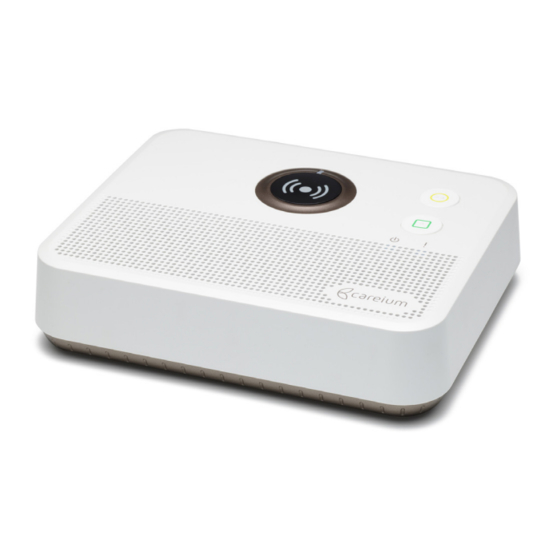
4. Description of functions Eliza S is a digital social alarm and smartcare hub. Adaptable for future needs and connects to a wide range of accessories and welfare services – enabling the user a tailor made solution. Eliza S allow the user to call for assistance if they have an accident or a fall at home. - Page 7 4.1. Activate the alarm The assistance alarm can be activated: • by pressing the button on a radio trigger. • by pressing the integral alarm button on the Eliza S. On activation, the Eliza S calls an alarm receiver to summon help. 4.2.
-
Page 8: Overview
5. Overview 5.1. Back view 1. I/O connector 3.5 mm audio out or wired input 2. USB-port (optional) For USB expansion 3. External antenna For an external antenna that must be adapted for use with connector Eliza S 4. Power switch Turns Eliza S on or off 5. - Page 9 5.2. Top view 1. Loudspeaker 4. Square button (green) 2. Alarm button (red) 5. Circular button (yellow) 3. Power indicator 6. Status indicator...
- Page 10 5.3. Indicator lights ALARM Steady light Normal operation Blinking light Alarm activated GREEN Steady light Mains power Blinking light Mains failure SQUARE GREEN Press to cancel an alarm CIRCLE YELLOW STATUS YELLOW Normal operation Steady light Network problem Blinking light Low battery...
-
Page 11: Installation
6. Installation 6.1. Remove top cover CAUTION Only authorised persons may open the cover. Turn off the device and disconnect the external power supply before removing the cover. • Ensure that Eliza S is switched off. • Place your fingers of both hands in the groves on the sides of Eliza S and gently pull outwards and upwards on the top cover. - Page 12 6.2. Inside view Illustration below is shown with the top cover removed. 1. Battery 4. Maintenance USB-port 2. Battery connector 5. Service menu button 3. SIM card slot 6.3. Install the SIM card IMPORTANT Turn off the device and disconnect the external power supply before removing the cabinet.
- Page 13 • Replace or install the battery. IMPORTANT Always make sure the battery is connected if the device is new or has been stored. • Replace the cover and gently push in into place. Listen for the clicks that tells you that the cover is in place. CAUTION 1234 or 0000 are not appropriate PIN codes for the SIM card, if any of these PIN codes are used, the...
-
Page 14: Communication Path
7. Communication path Example of a simplified communication path Internet Radio Eliza S trigger i-care online 1. Radio or wired alarm trigger activated. 2. Connection via mobile network (GSM/UMTS/LTE) to Voice, IP alarm protocol and additional data 3. IP connection via mobile network (GSM/UMTS/LTE) 4. -
Page 15: Pairing
8. Pairing Contacts, alarm codes and settings are programmed using www.icareonline.com or by using a computer via a web- browser. In some cases, the Eliza S can be delivered pre- programmed by the supplier. For help with pairing, please refer to the service manual or contact your supplier. 8.1. - Page 16 8.2. Check the radio coverage Always check the function after installation and pairing. • Press and the Green square button for 4 seconds. • Press/activate the radio trigger/accessory. When Eliza S receives the radio signal, you will hear a tone. Repeat this in all areas where the radio trigger/accessory shall function.
-
Page 17: Radio Trigger
Note! If acceptable value can’t be achieved an external antenna must be used. 8.4. Check the functionality Always check the function after installation and pairing. Test alarms shall be done regularly and in a way that secures the whole alarm chain from radio transmitter to alarm receiver. -
Page 18: General Information
10. General information • Verification of mobile network coverage should always be done as a part of installation. • In order for an alarm to be sent, at least one alarm receiver/response centre needs to be programmed. • The Eliza S must not come into contact with water or any other liquid. -
Page 19: Technical Data
11.3. Replace the battery Battery should be replaced within three years, or a.s.a.p after battery alarm that is not related to a power cut. It's normal that a long-term power cut generates a battery alarm. 11.4. Replace the radio trigger battery To replace the radio trigger's battery, please refer to the service manual or contact your supplier. - Page 20 Communication: GSM 2G, UMTS/HSDPA 3G, LTE 4G, Wi-Fi (optional with USB-version) Radio frequency band: 869,2-869,25 MHz Number of radio Up to 50 transmitters: Equipment class: Class 1 radio equipment 12.2. Mobile networks (MHz) [maximum radio-frequency power/dBm] Network bands: 2G GSM (900) [33], (1800) [30] 3G UMTS 1 (2100) [24], 8 (900) [24]...
- Page 21 Wi-Fi (optional with USB- IEEE 802.11 b/g/n, version and Wi-Fi adapter): (2412 - 2472) [19] IEEE 802.11 a/n, (4915 - 5835) [18] 12.4. Portable radio trigger, Enzo Dimensions: 39 x 32 x 11 mm (L x W x D) Weight 12 g (excluding wrist band or necklace) Battery:...
-
Page 22: Others
The product can be returned free of charge to a recycling station that is connected, directly or via a recycling system, to Careium or to your distributor. For detailed instructions, please check with your distributor or visit our website, www.careium.com. - Page 23 Nothing herein should be construed as constituting an additional warranty. Careium shall not be liable for technical or editorial errors or omissions contained herein. 13.5. UK Declaration of Conformity Hereby, Careium declares that the radio equipment type A150 and 9150 is in compliance with the relevant UK legislation.
- Page 24 A150 (Eliza S) English Manual_Careium_Eliza_S_A150_100x148_en_v10 ©2021 Careium AB. All rights reserved. www.careium.com...
Need help?
Do you have a question about the Eliza S and is the answer not in the manual?
Questions and answers