
Related Manuals for Waykar KY-10K/04A


Summary of Contents for Waykar KY-10K/04A
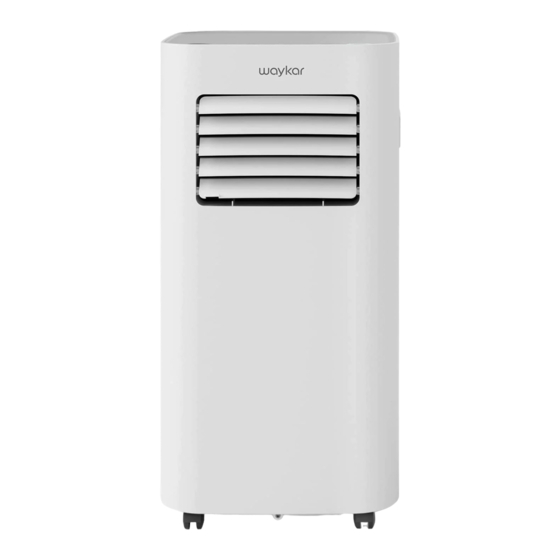
- Page 1 Home Dehumidifier Please read the manual carefully before using the unit KY-10K/04A USER MANUAL...
- Page 2 TO ACCESS CUSTOMER SUPPORT FASTER If there is any problem of the product, please contact Waykar Customer Service at support@waykar.com with your Purchase Order ID to help you...
- Page 3 BEFORE FIRST USE: To prevent any internal damage, it is very important to keep refrigeration units (like this one) upright throughout their journey. Please leave it standing upright and outside the box for 24 HOURS before plugging it in.
-
Page 4: Table Of Contents
TABLE OF CONTENTS Safety Instructions..............Parts Description ..............Control Interface..............Operation Instructions............Cleaning and Maintenance............. Common Faults and Solutions..........Special Notes............... Technical Parametes..............Warranty and Contact Us............ -
Page 5: Safety Instructions
SAFETY INSTRUCTIONS Safety Notes: For your safety, please read the manual carefully and keep the manual for future reference. Please use this product according to the instructions of installation and operation of this manual. Before cleaning or storing the air conditioner, turn off the power and unplug it from the power outlet. -
Page 6: Parts Description
PARTS DESCRIPTION Top Cover Continuous Drainage Outlet (Dehumidification) Bottom Tray Drainage Outlet... -
Page 7: Control Interface
1. Control Panel... -
Page 8: Operation Instructions
2.Display Status Description Power Button Press to turn on or turn off the machine. Mode Indicator Press to select the desired operating mode. Each time you press this button, you will select the working modes from "FAN", "COOL" to "DEHU" in order. The mode light will indicate you which function has been chosen. - Page 9 Timer Indicator This TIMER setting function is designed for you to set a time to turn off (when the machine is on) or turn on (when the machine is off) the machine, automatically by the timer. Press the "TIMING" button, you can set the timer within the range of 1-24 hours. Press the "...
- Page 10 3. Mode Description 3.1 Cool Mode Ideal for hot muggy weather when you need to cool and dehumidify the room. To set operation of the appliance correctly, press adjust buttons until the desired temperature is displayed. Operation: Press the " "...
- Page 11 Window Slider, Exhaust Hose and Adaptor Assembly Instructions: Installation Accessories List Item Name Quantity Window Slider Adaptor 1PCS Unit Adaptor 1PCS Window Slider A 1PCS Window Slider B 1PCS Window Slider C 1PCS Wing Nut 2PCS Gasket 2PCS Wing Screw 2PCS Exhaust Hose 1PCS...
- Page 12 Assembly of Window Slider & Exhaust Hose 3. Turn over the window slider, put 4. Insert the wing screw into the in gasket and wing nut in turn and window slider C. tighten them. Window Slider C Wing Screw Window Slider A Window Slider B Wing Nut Figure 4...
- Page 13 Assembly of Window Slider & Exhaust Hose 9. Finish the assembly of unit adaptor 10. Align the window slider adaptor of and window slider adaptor to both exhaust hose with the window slider ends of the exhaust hose as shown in and clamp it tightly.
- Page 14 The Overall Installation of the Appliance (Up and down sliding window) 15. Open the window where 16. Install the exhaust hose and window components such as exhaust hose and sliders on the window and close the window sliders need to be installed. window in the arrow direction to locate the window sliders tightly.
- Page 15 Make sure that you install your unit on an even surface to minimize noise and vibration. The unit must be installed near a grounded plug, and the Bottom Drainage Outlet of Collection Tray (found on the back of the unit) must be accessible.
-
Page 16: Cleaning And Maintenance
Turn the air conditioner off and remove the plug from the wall outlet before cleaning. A- Cleaning the unit Please use a soft and slightly wet textile or cloth to clean it. B- Cleaning filter Take out the unit adaptor and air filter 1 (remove the screw above first) in turn. Clean the filter: Use a vacuum cleaner to gently remove the dust from the surface of the filter1 and filter 2. -
Page 17: Common Faults And Solutions
The list includes moist of the common cases, but not the results of defective units. crafts or materials in the unit. If all troubleshooting steps have been exhausted and the issue is still occurring, please feel free to reach out to Waykar Customer Service to get further assistance. The unit will take approximately 3 minutes of operation before cooling occurs. - Page 18 If the appliance is still not working properly as expected and the troubleshooting steps or solutions above may not resolve the issue. Please unplug the power and shut down the unit then contact Wavkar customer service support@waykar.com...
- Page 19 When one of the above malfunctions occurs, the buzzer will alarm for a few seconds. Press any key during the alarm to release the alarm sound. If the malfunction is still present,please don't hesitate to contact Waykar Customer Service email: support@waykar.com...
-
Page 20: Special Notes
SPECIAL NOTES Before moving and carrying the machine, please first pour out the water in the water tray. -
Page 21: Technical Parametes
Model KY-10K/04A Power Source 110-120V-60Hz Cooling Rated Current (104℉/80°F) Cooling Current (95℉/83℉) 10.0A Cooling Capacity (95℉/83℉) 10000Btu/h Motor FLA 1.1A Motor Compressor RLA:7.65A LRA:35A Refrigerant R410A/9.17ozs (260g) Max Allowable Pressure 800PSIG (5.5MPa) High Pressure 580PSIG (4.0MPa) Low Pressure 247PSIG (1.7MPa) -
Page 22: Warranty And Contact Us
Warranty Waykar offers a 12-month warranty to all of our products together with the original proof of purchase when a defect occured, including those newly purchased and unused, from Waykar or through an authorized reseller, wholly or substantially, or as a result of faulty manufacturing parts, or workmanship during the Warranty Period. - Page 24 We are expecting to see our products fulfill your life and hear your voice. Your satisfaction means a lot to us. Please tag us if you share a snap on your social media.
Need help?
Do you have a question about the KY-10K/04A and is the answer not in the manual?
Questions and answers