Table of Contents
Advertisement
Quick Links
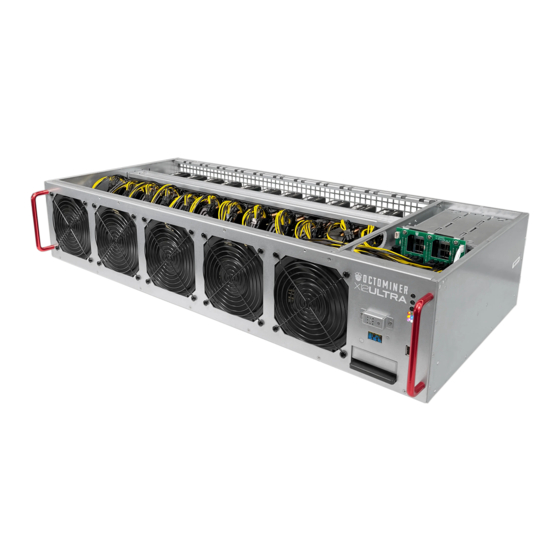
X12 ULTRA
OCTOMINER™
System Quick Start Guide
Welcome
Thank you for purchasing the OCTOMINER™ X12 ULTRA™ mining system.
This guide will help you set up the system and troubleshoot the most common
issues you might encounter.
Initial testing and set up
The system has been pre assembled and tested to be in working condition. There are
a few simple steps to inserting your graphics cards, connecting IO and power.
1.
Open the lid by unscrewing 6 screws. 2 on the back, 2 on the front and 2 on the top of the lid.
2.
Inspect visually that there are no obstructions in the front panel fans, e.g. cables.
3.
Connect the rear panel VGA to a monitor, a LAN cable to the ethernet port and
optionally a usb device like a keyboard to the rear or front panel USB port. Lastly connect the
provided power cable to the C14 port of the power supply to boot the system.
from the PDU (Power Delivery Unit in order to make sure that the power supplies power up at the
same time.
4.
Wait for the system to initialize, until you see the OCTOMINER™ boot logo.
Make sure the OLED display works, test the usb port by typing on the keyboard
(for example hit DEL key to enter the system BIOS), see that the wired ethernet lights turn
on and there is video out on your monitor. Try resetting the system from the middle button,
then try rebooting the system from the top button and the bottom button to CLEAR CMOS.
Turn on the power
Advertisement
Table of Contents

Related Manuals for OCTOMINER X12 ULTRA


Summary of Contents for OCTOMINER X12 ULTRA
- Page 1 PDU (Power Delivery Unit in order to make sure that the power supplies power up at the same time. Wait for the system to initialize, until you see the OCTOMINER™ boot logo. Make sure the OLED display works, test the usb port by typing on the keyboard (for example hit DEL key to enter the system BIOS), see that the wired ethernet lights turn on and there is video out on your monitor.
- Page 2 Run testmode after the system has fully initialized by pressing the middle button for a few seconds until you see “Testmode” displaid on the screen. Once testmode finishes with “OK” move on to the next step. Make sure that the PCIE connectors are firmly connected to the motherboard. Start inserting your graphics cards and using the supplied M3 screws to fasten the graphics card bracket to the chassis.
- Page 3 HiveOS quick start guide found here: https://hiveos.farm/getting_started-quick_install/ Congratulations! You are off and running! OCTOMINER™ Support Engineers are always available by email to assist you in any way we can. OCTOMINER™ www.octominer.com info@octominer.com X12 ULTRA is a trademark of OCTOMINER™...
Need help?
Do you have a question about the X12 ULTRA and is the answer not in the manual?
Questions and answers