
Related Manuals for Corriveau San Luis B101255


Summary of Contents for Corriveau San Luis B101255
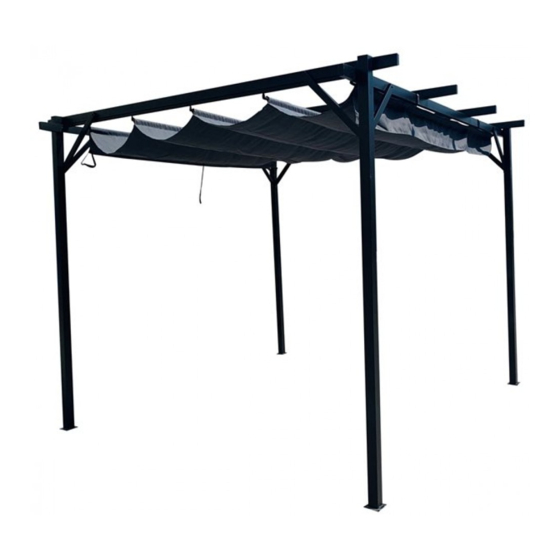
- Page 1 San Luis pergola 10' x 12' B101255 (2020) Assembly Instructions MEUBLES DE JARDIN CORRI EAU OUTDOOR FURNITURE...
- Page 2 IMPORTANT: Please read and follow all safety statements, warnings, assembly instructions, use & care directions before attempting to assemble. Each of the recommendations must be followed to ensure the utmost solidity. Security Rules Warning: Keep flame and heat sources away from the gazebo fabric. The fabric may burn if it is exposed to prolonged contact with a source of heat.
- Page 3 ● Even if this gazebo is built for all year round, the snow must be removed from the roof at all time. ● Mosquito net and curtains (optional) must be removed from the unit in freezing period. ● Anchoring bolts or other anchoring devices are not supplied. ●...
- Page 5 Description Drawing Post Post Crossbar Crossbar Crossbar Long brace Short brace Middle crossbar Middle crossbar Canopy slidebar Roof cover Base flange...
- Page 6 Description Drawing Bolt M6 x 15mm Bolt M6 x 40mm Bolt M6 x 35mm Bolt M6 x 70mm Allen key...
- Page 7 Step 1 : Secure base flanges ( J ) on the bottom of posts ( A & B ) by using bolts ( AA ) as fig.1 shown. Bolts can be tight completely.
- Page 8 Step 2: 1. Insert crossbars ( C2 ) into crossbars ( C1 ) as figure shown, and secure with bolts ( AA ). Bolts can be tight completely. 2. Insert middle crossbars ( G2 ) into middle crossbars ( G1 ) as figure shown, and secure with bolts ( AA ).
- Page 9 C1/C2 G1/G2 Step 3: 1. Secure crossbars ( D ) on two posts ( A & B ) using bolts ( BB ) as shown in fig.1. 2. Secure crossbar sets ( C1 & C2 ) on two posts ( A & B ) using bolts ( BB ) as shown in fig. 2. 3.
- Page 10 Step 4: Secure short and long braces ( F & E ) to posts (A & B ) by using bolts ( AA ) as fig.1 shown. Do not tight bolts yet. Then secure other end of braces ( F & E ) to assembly crossbars ( C1 C2 D ) by using bolts ( BB ) as fig.
- Page 11 Step 5: Insert canopy slide bars ( H ) through roof cover sleeves ( I ) as fig.1. shown.
- Page 12 Step 6: 1. Insert bolts ( CC ) through the sliding hooks of crossbars ( C1 C2 ), and secure with canopy slide bars ( H ) as shown. Tight bolts. 2. Fix pergola to ground through base flanges ( J ). Take note anchoring devices may vary with ground status.
- Page 13 Step 7: 1. The handgrip of roof cover ( I ) can help you open and close the roof cover. 2. The Velcro of roof cover can be tied to the crossbars and posts, increasing shade area. 3. At windy conditions, roof cover must be closed and Velcro tied to crossbars.
Need help?
Do you have a question about the San Luis B101255 and is the answer not in the manual?
Questions and answers