
Related Manuals for e-ImageData ScanPro 3000


Summary of Contents for e-ImageData ScanPro 3000
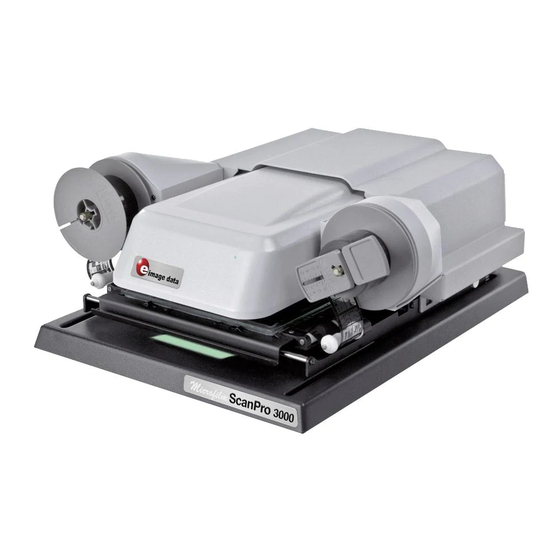
- Page 1 Updated 24 May 2019 Basic instructions for the library’s ScanPro 3000 microfilm machine Using the Microfilm Machine Peru Public Library, based on the Boston Athenaeum’s Help Guide...
- Page 2 Wake the computer by moving the mouse or pressing a random key. Turn on the ScanPro 3000 machine. The on/off switch is on the right lower back of the machine. Next, double click the ScanPro 3000 icon on the computer’s desktop, opening the program.
- Page 3 Loading the microfilm When the 35mm Roll Film Sample is chosen, a demonstration video plays explaining how to load 35mm microfilm. There is no sound to this continuous video. But it displays instructions for loading the film. Notice the Load button on the left side of the screen.
- Page 4 Step 5 To the right of the glass panes is another slot and roller. Pull the film down the slot then under and around the outside of the roller. Step 6 Pull the film up and slot it into the intake reel. Push the film’s side edge firmly into the slot, making sure it gripped.
- Page 5 Crop Box Once the microfilm loads, the ScanPro 3000 software displays the film in a green box - the Crop Box. All activity happens within the Crop Box. The Crop Box can be reduced in size, saved to USB drive, printed, or adjusted for picture clarity.
- Page 6 Manual Straighten (Home and Adjust tabs) Click and hold the – or + to straighten the image. Release the button to stop the adjustment. The minus symbol (-) tilts the image to the left, the plus symbol (+) tilts the image to the right The Brightness and Contrast buttons should be used in conjunction with each other.
- Page 7 At this point, load new reel using the Load the Microfilm directions. Or if finished for the day, Click the Load button, the carrier reverses backwards. Close the ScanPro 3000 program – the ScanPro 3000 machines goes to sleep. Remove any USB or external drives.
Need help?
Do you have a question about the ScanPro 3000 and is the answer not in the manual?
Questions and answers