Advertisement
Advertisement
Table of Contents

Related Manuals for e-ImageData ScanPro 3000


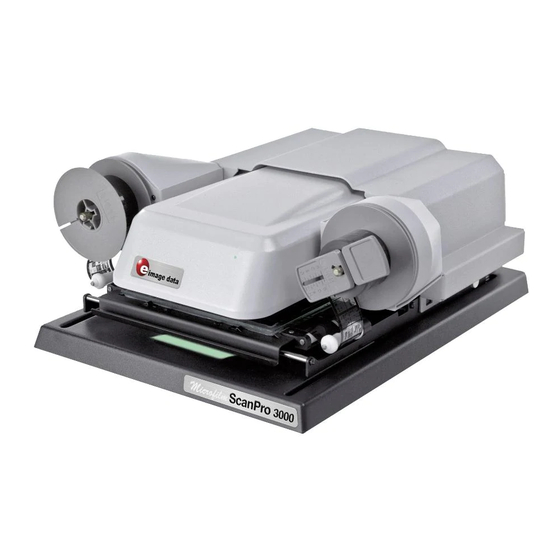
Summary of Contents for e-ImageData ScanPro 3000
- Page 1 RLanglois 10.26.16 ScanPro 3000 High Definition Microfilm Scanner Help Guide...
- Page 2 RLanglois 10.26.16 Getting Started To begin, double click the ScanPro 3000 icon that you see on the desktop of the computer. Loading the Film Now you are ready to load your film. If you look down at the bottom right-hand corner, you should see a diagram (like the one below) that shows you how to load the film onto the machine.
- Page 3 RLanglois 10.26.16 Pull the viewing surface toward you, slowly, as far as it will go. The top glass pane will open automatically. Make certain that the glass panes are centered in the open area before you lift to avoid bumping the glass. Step 2 If you look at your spool of film, you will see a notch in the center that matches the shape of the metal peg on the left-hand side of the...
- Page 4 RLanglois 10.26.16 Step 3 Below the now-mounted film roll you will see two small rollers that are even with the lower glass pane. Pull the film down, wrap it under the left-most roller and then over the next roller, before pulling the film even with the glass pane.
- Page 5 RLanglois 10.26.16 As you come to the set of rollers on the right-hand side of the glass pane, you will repeat Step 3, but in reverse order: Pull the film over the left-most roller, and then under the next. Step 6 Pull the film up and to the left of the take-up reel (the empty spool) and insert the end into the gap in the spool.
- Page 6 RLanglois 10.26.16 Turn the take-up reel to the right, making sure to turn the reel several times so that the end of the film is secured—remember that you have several feet of blank film to wind if necessary. Step 8 To finish, slowly push the glass plane back in so that it automatically lowers.
- Page 7 RLanglois 10.26.16 Viewing Your Film What you should now see in the middle of your computer screen is a projection of the film you have loaded. Don’t worry that you don’t see any content yet, you will need to move your film forward to get to the first of the images you want to view.
- Page 8 RLanglois 10.26.16 4. Fast Forward – Click and hold to move film forward (when glass is closed) 5. High Speed Forward – Click and hold to quickly move film forward (when glass is open) 6. Slider – Click , hold, and drag the slider to the left or right of center to move the film slowly (the further the slider is dragged from center the faster the film moves) 7.
- Page 9 RLanglois 10.26.16 Crop Box Once you have an image centered, you will see a green dashed line bordering the outsides of the display. This is the “Crop Box”, which defines the area to be scanned or printed. Drag Points Crop Box There are "drag points"...
- Page 10 RLanglois 10.26.16 Corners that have been moved inward by a right- click and drag operation A left or right click and drag operation pulling these corners back to the outside will restore the rectangular shape.
- Page 11 RLanglois 10.26.16 Using the Toolbar Controls Help Click to enable the help cursor then click the control in question. When “Help” is clicked, the mouse cursor will change to a question mark. Clicking any other button with the question mark cursor will open help specific to that button.
- Page 12 RLanglois 10.26.16 Magnifier Click to open a separate magnified window of the image. Click the down arrow button to select the desired magnification level. “Magnifier” has two controls: 1. The overall area of the button – Click to open the “Magnifier Window”...
- Page 13 RLanglois 10.26.16 The upper right corner of the magnifier window has three standard controls: 1. Minimize 1 2 3 2. Maximize/restore 3. Close...
- Page 14 RLanglois 10.26.16 Help Crop Box Control Zoom Magnifier Film Type Spot-EDIT™ Film Orientation Mirror Scan Mode Brightness Contrast Printer #1 Scan to Drive #1 Scan to Drive #2 Manual Straighten Auto-Adjust...
Need help?
Do you have a question about the ScanPro 3000 and is the answer not in the manual?
Questions and answers