Advertisement
Quick Links
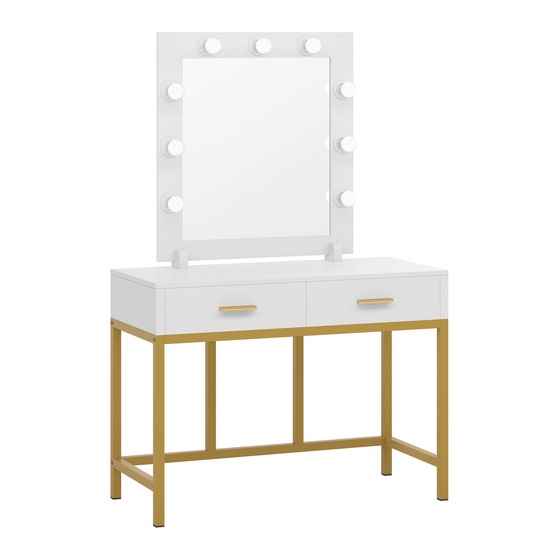
HOGA-F1138
Vanity Table w/ lighted mirror
THIS INSTRUCTION BOOKLET CONTAINS IMPORTANT SAFETY INFORMATION. PLEASE READ AND KEEP FOR FUTURE REFERENCE.
Do Not Return This Product!
Contact our customer service team
for help first
support@tribesigns.com
If for any reason there is anything missing,
damaged, incorrect or different from what
you expected.
PLEASE contact us for free replacement
instead of hassle of return or other trouble.
Easy
Assembly Difficulty Meter
WARNING
·For your safety, anchor unit to stud in wall
·Do Not allow children to climb on unit.
·Put heavy items on lower shelves or floor.
Tough
Advertisement

Related Manuals for Tribesigns HOGA-F1138


Summary of Contents for Tribesigns HOGA-F1138
- Page 1 HOGA-F1138 Vanity Table w/ lighted mirror THIS INSTRUCTION BOOKLET CONTAINS IMPORTANT SAFETY INFORMATION. PLEASE READ AND KEEP FOR FUTURE REFERENCE. Do Not Return This Product! Contact our customer service team for help first Easy Tough support@tribesigns.com Assembly Difficulty Meter WARNING If for any reason there is anything missing, damaged, incorrect or different from what...
-
Page 2: Assembly Preparation
ASSEMBLY 2 HOURS 2 Persons Assembly Tools Required (Not Provided): REQUIREMENTS Assembly Time Phillips Screwdriver (Approximate) ASSEMBLY PREPARATION 1. Remove all packaging materials, staples and packing straps from the carton. 2. Refer to Parts List and Hardware List and ensure they are complete before you start assembly. -
Page 3: Parts & Hardware List
Parts & Hardware List 4 pcs 4 pcs Push the black lever in and pull the SLIDE from the RAIL. 9 pcs... - Page 4 Instructions For Fastening CAM-BOLT AND CAM-LOCK Shoulder Shoulder is above panel Attach the Cam-bolt to the specific pre-drilled holes on the panel. Use a Phillips Screwdriver to tighten Cam-bolt vertically until shoulder is flushed (on the same level) with panel. Do not over-tighten or under-tighten. Cam-bolt head needs to be in centre Correct Wrong...
- Page 6 NOTE: For each EXTENSION RAIL, turn a SCREW into the hole shown in the enlarged diagram. Then, slide the inner cartridge of the EXTENSION RAIL out to find the other hole that lines up with the hole in the END. Turn a SCREW into this hole. How to Disconnect EXTENSION SLIDES (H) and EXTENSION RAILS (G) 1) Pull toward arrow to open the slide until its stops and then flip it over.
- Page 8 To Insert Drawer into Desk 1) Bring Extension Rails (G) fully forward 2) With help of another person, carefully align and insert drawer extension slide (H) between the Extension Rails (G) 3) Push the drawer into desk. You may expe- rience a light resistance when pushing the PLEASE ensure the #16 drawer drawer into desk, but once both slides are...
- Page 11 Their way Give us a Email Re-package item Replacement Schedule pick-up Track package Replacement support@tribesigns.com We really don’t want you to go through the hassle of re-packaging your item and sending it back, because let’s be honest...nobody has time for that.
Need help?
Do you have a question about the HOGA-F1138 and is the answer not in the manual?
Questions and answers