Table of Contents
Advertisement
Quick Links
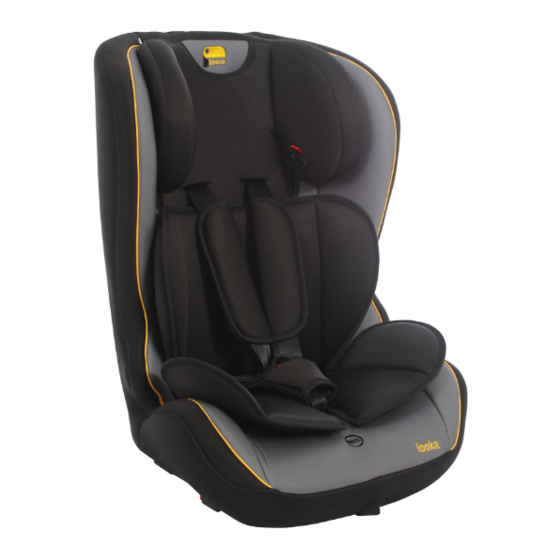
looka
ISOFIX CAR SEAT
Group 1,2,3
INSTRUCTIONS: PLEASE READ CAREFULLY AND
KEEP FOR FUTURE REFERENCE. YOUR CHILD'S
SAFETY MAY BE AFFECTED IF YOU DO NOT
FOLLOW THESE INSTRUCTIONS.
This product conforms to ECE R44.04
Suitable for children from 9kg to 36kg (approx 9 months to 12 years old)
V2
(with top tether)
Group 1,2,3 child car seat.
Advertisement
Table of Contents

Subscribe to Our Youtube Channel
Related Manuals for Toco Looka

Summary of Contents for Toco Looka
- Page 1 ISOFIX CAR SEAT (with top tether) Group 1,2,3 INSTRUCTIONS: PLEASE READ CAREFULLY AND KEEP FOR FUTURE REFERENCE. YOUR CHILD’S SAFETY MAY BE AFFECTED IF YOU DO NOT FOLLOW THESE INSTRUCTIONS. This product conforms to ECE R44.04 Group 1,2,3 child car seat.
-
Page 2: Table Of Contents
Whilst we make and test our products to the highest standards of durability there’s always a small chance of a hiccup! Our promise is to repair, replace or refund a Toco product that has an identified manufacturing defect from the date of purchase for a full 3 years thereafter at no extra cost. -
Page 3: Safety Information
Safety NOTICES 1. This child car seat is approved for three different types of fitting: a) “Universal ISOFIX” for use as a group 1 [9-18kg] car seat locked onto the vehicle’s ISOFIX anchor points in conjunction with the car seat’s integral 5-point harness. b) “Semi-Universal”... - Page 4 Which is the safest passenger seat for the child seat? If your centre rear passenger seat is fitted with a three point seatbelt system then you should use it. If your centre rear passenger seat does not have a three point seatbelt system (i.e. No seatbelt at all, or only a lap belt) - Then you should use the rear left passenger seat or the rear right passenger seat.
- Page 5 Seatbelt WARNING: Never use any load bearing contact points other than those described in these instructions or marked on the child car seat. WARNING: Ensure that the lap section of the harness is worn low down, so that the pelvis is firmly engaged.
-
Page 6: Parts Checklist
Parts checklist Shoulder straps Insert cushion Shoulder pads Harness buckle Top tether hook Shoulder belt guides ISOFIX arms Headrest Harness adjuster strap Headrest adjuster handle Harness adjuster button Top tether mechanism... -
Page 7: Positioning The Car Seat
Positioning the car seat The child car seat MUST ONLY ever be used on a forward facing passenger seat WITHOUT an active airbag. Whilst in group 1 mode, the child car seat can only be installed using the ISOFIX anchor points WITH the top tether. -
Page 8: Adjusting The Headrest/Harness Height
Positioning the car seat (continued) Type 1 Type 2 Type 3 2. Locate your vehicle’s top tether anchor points. These may be either located high up near a parcel shelf (Type 1), or low down on the vehicle floor (Type 2) or on the back of the passenger seat (Type 3). -
Page 9: Fitting The Car Seat Using The Isofix System
Fitting the car seat using the ISOFIX system 2. Press the red ISOFIX release buttons on 1. Place the car seat on a suitable passenger each side of the car seat base and pull out seat. both ISOFIX arms as far as they will go. Click 3. - Page 10 Fitting the car seat using the ISOFIX system (continued) 5. Press the button on the top tether mechanism (A) and pull out enough of the top tether for the hook (B) to reach the vehicle’s tethering point. 6. Connect the hook on the top tether to the vehicle’s tethering point (C). Pull the free end of the tether strap (D) tight ensuring that the indicator (E) on the tethering mechanism turns “green”...
-
Page 11: Removing The Isofix Fitted Car Seat
Removing the ISOFIX fitted car seat 1. With the child removed from the seat; press both the red ISOFIX release buttons on each side of the car seat base to release the ISOFIX system. The seat can now be removed from the vehicle. Placing your child in the seat - group 1 [9-18kg] IMPORTANT! Ensure you have installed the car seat correctly following the instructions under “Fitting the car seat using the ISOFIX system”... -
Page 12: Placing Your Child In The Seat - Group 1 [9-18Kg]
Placing your child in the seat - group 1 [9-18kg] (cont) 3. With the harness straps over the sides of the child car seat place your child in the seat. Click 4. With your child in the seat, match the two halves of the harness buckles together and insert them into the crotch buckle until you hear a click. -
Page 13: Removing The 5-Point Harness
Removing the 5-point harness Should you wish to use the seat for a child in group 2 or 3 [15-36kg] then you will need to remove the integral 5-point harness. 2. Unhook the straps at the rear of the seat by sliding the straps through the slits in the harness yoke (B). -
Page 14: Replacing The 5-Point Harness
Removing the 5-point harness (continued) 4. Turn the car seat over and post the two shoulder straps retainers (D) and the one crotch strap retainer (E) up through the seat base and remove the straps. The harness adjuster strap can be removed but we advise you simply roll it up and store it under the seat. - Page 15 Replacing the 5-point harness 2. Thread the crotch pad retainer (D) and two shoulder strap retainers (E) down through the seat. Click 3. Fasten the buckle. This will help spot and prevent any twists in the harness straps. 4. Thread the shoulder pad straps (F) through the slots in the seat’s backrest.
- Page 16 Replacing the 5-point harness (continued) slot 5 5. Adjust the headrest so that the height adjustment bar (G) sits in the 5th slot up. Place your index finger behind the height adjustment bar and pull the bar forwards slightly. Slide one of the shoulder pad straps on to the bar and repeat for the remaining shoulder pad.
-
Page 17: Placing Your Child In The Seat - Groups 2,3 [15-36Kg]
Placing your child in the seat - groups 2,3 [15-36kg] Ensure the child car seat is correctly installed using either the ISOFIX system or if no ISOFIX system is available, that the child car seat is pushed firmly into the vehicle seat. If using the ISOFIX system to install the car seat, then you may optionally use the top tether. -
Page 18: Removing And Replacing The Seat Covers
Removing and replacing the seat covers Before removing the seat covers first ensure you have removed the harness as described in “Removing the 5-point harness” pages 13-14. 1. To remove the headrest cover: Release the two press studs (A) on the back of the headrest and pull the cover off taking care to unhook any elastics. -
Page 19: Care & Maintenance
2) The child car seat may have a slight rattle when not in use, this is normal. If in any doubt, contact Toco or a Toco distributor immediately. 3) Check the adjustable parts of your child seat at intervals of about 6 months to ensure it is still... - Page 20 Discover more products at Discover more products at www.tocobaby.co.uk www.toco.co.uk...
Need help?
Do you have a question about the Looka and is the answer not in the manual?
Questions and answers