Advertisement
Quick Links
Advertisement

Related Manuals for Wolverine Airsoft STORM


Summary of Contents for Wolverine Airsoft STORM
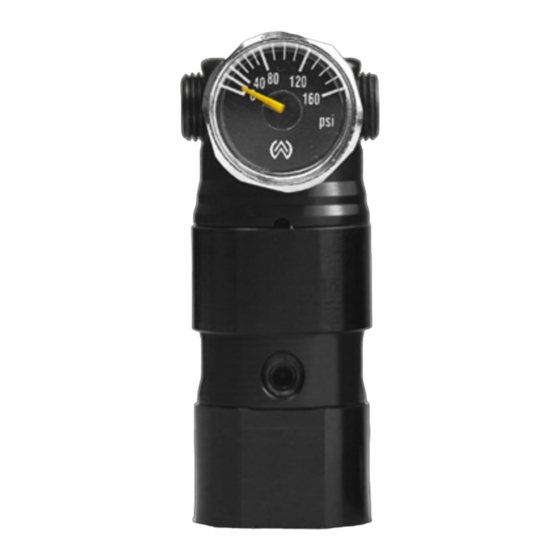
- Page 1 STORM DISASSEMBLE GUIDE...
- Page 2 Your Storm regulator is designed to need very little maintenance; however, if you feel the regulator is in need of lubrication you can disassemble it and lubricate the orings. This guide will help you to disassemble and reassemble the regulator.
- Page 3 Next, remove the piston from the regulator cap.
- Page 4 Setting the reg cap and piston aside we will now disassemble the reg base. Simply set the spring to the side. Set the shim aside and be sure you keep track of it for reassemble.* *Note: Not all regulators will include a shim. If yours does not have one when you disassemble the regulator, no need to worry.
- Page 5 Next, you will want to remove the spacer from the reg base. You will need to separate the spacer from the base by sliding a thin object between the two. Typically your thumbnail will work. After separating the two you will be able to work the spacer off. Removing the reg seat, indicated in photo, will be the next step.
- Page 6 It is easiest to remove the reg seat by sliding a thin object into the side of the reg base through one of the set screw holes. You can then push up on the seat and slide it out of the base. After setting the reg seat out you will see the adjustment screw, ball bearing, and base plate.
- Page 7 To remove these, simply back the adjustment screw out of the reg base and the bearing and plate will fall out. Here is the reg base completely disassembled .
- Page 8 Begin reassembly by dropping the base plate in first. Followed by the ball bearing. To properly install the adjustment screw you need to secure the bearing with the screw. Tipping the reg base so that the screw falls to the side opposite the adjustment screw hole will keep the bearing in place while you install the screw.
- Page 9 Next insert the reg seat into the reg base. Be sure the seat is properly oriented to the screw or you will not be able to adjust the pressure. The channel in the seat should open towards the screw. Be sure the seat is pressed all the way down and meshes with the bearing and screw before continuing assembly.
- Page 10 Place shim in spacer’s hollow if your regulator had a shim. Place spring on top of the spacer. Insert piston into spring and be sure it slides into the hole in the spacer.
- Page 11 Now you can slide the reg base assembly into the reg cap. Be sure the adjustment screw lines up below the gauge for proper placement and put in the three set screws.
- Page 12 Thank you for purchasing from Wolverine Airsoft! For more information: • Visit www.wolverineairsoft.com • Follow us on any social media outlet • Contact us: • Email: tech@wolverineairsoft.com • Phone: (423) 398 - 5985...
Need help?
Do you have a question about the STORM and is the answer not in the manual?
Questions and answers