Advertisement
Quick Links
Installation Instructions
Model:
Description:
Part Number:
Assembly Time:
Before you begin, read through these instructions and check that
all parts are present. Always disconnect negative battery terminal
prior to installation. Please note that MB Quart cannot assume any
responsibility for damage resulting from incorrect installation.
No.
1
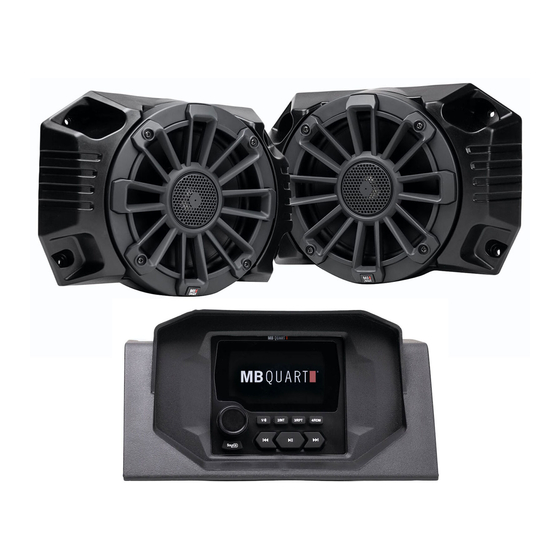
GMR-LED w/Housing (MBQRG-RAD-1) (MBQRG-STG2-RAD-1 Only)
2
6.5" Dash Speakers (MBQRG-FPOD-1)
3
Speaker Harness
1
Bojo Tool
2
Panel Clip Pliers
3
1/8" Drill Bit
4
Drill
5
T25 Torx Bit
7
10mm Socket
8
Rachet
Polaris Ranger
Stage 2 Install
MBQRG-STG2-RAD-1 & MBQRG-STG2-RC-1
90 Min (1.5-Hours)
Parts List
Component Name
Tools Required
Page 1 of 10
Parts List
Qty
1
2
2
Advertisement

Related Manuals for MB QUART Polaris Ranger


Summary of Contents for MB QUART Polaris Ranger
- Page 1 Assembly Time: Before you begin, read through these instructions and check that all parts are present. Always disconnect negative battery terminal prior to installation. Please note that MB Quart cannot assume any responsibility for damage resulting from incorrect installation. Parts List...
-
Page 2: Dash Disassembly
Dash Disassembly ● Remove hood by turning two latches ● Remove two push pins from center cup holder ● Remove two push pins from instrument cluster. Remove and disconnect connector on back Page 2 of 10... - Page 3 Dash Disassembly ● Open upper glove box and remove four T20 torx screw and then lift assembly out of vehicle ● Remove three push pins on the passenger side dash ● Remove three push pins on the driver side dash Page 3 of 10...
- Page 4 Dash Disassembly ● Remove six push pins from the front of the dash ● Lift up on the dash and remove from vehicle Page 4 of 10...
-
Page 5: Harness Installation
Harness Installation ● Install front speaker wires placing the four pin connector in the middle of the dash and extending the white wires to the driver side of the dash and the gray wires to the passenger side of the dash ●... - Page 6 Harness Installation ● On the radio harness pass the power connection through the grommet toward the front of the vehicle and plug into an open port on the pulse junction block ● Drill a 1” hole on the top of the glove box to install the USB/AUX Port (PSAP-18) 1”...
- Page 7 Assembly & Dash Radio Install ● Place top of dash in vehicle ● Install three push pins on driver side of dash ● Connect harness and place the instrument panel in location and then insert two push pins Page 7 of 10...
- Page 8 Assembly & Dash Radio Install ● Install three push pins on passenger side dash ● Install upper glove box with four T20 Torx screws ● Install six push pins on the front side of the dash Page 8 of 10...
- Page 9 Assembly & Dash Radio Install ● Connect the radio harness and USB/AUX (PSAP-18) harness to the radio ● Install the radio assembly and attach with two push pins ● Turn vehicle and radio on and enjoy the music Page 9 of 10...
- Page 10 The Bluetooth ® word mark and logos are registered trademarks owned by the Bluetooth SIG, Inc. and any use such marks by MB Quart is under license. All product names, logos, and brands are property of their respective owners. All company, product and service names used in this literature are for identification purposes only.
Need help?
Do you have a question about the Polaris Ranger and is the answer not in the manual?
Questions and answers