Sign In
Upload
Download
Table of Contents
Contents
Add to my manuals
Delete from my manuals
Share
URL of this page:
HTML Link:
Bookmark this page
Add
Manual will be automatically added to "My Manuals"
Print this page
×
Bookmark added
×
Added to my manuals
Manuals
Brands
Electrolux Manuals
Dryer
DC3500TWR
User manual
Electrolux DC3500TWR User Manual
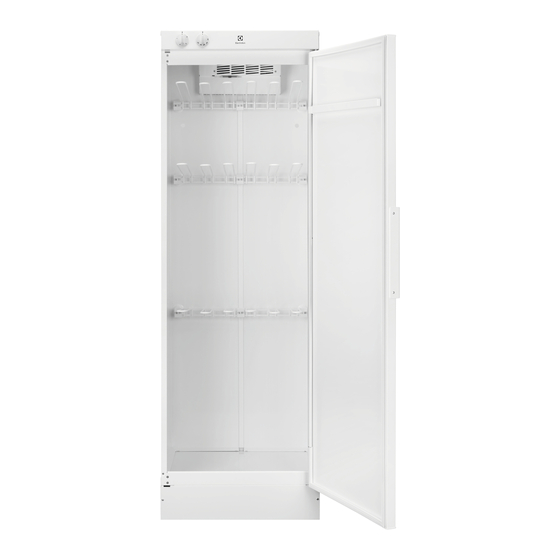
Drying cabinet
Hide thumbs
1
Table Of Contents
2
3
4
5
6
7
8
9
10
11
12
13
14
15
16
page
of
16
Go
/
16
Contents
Table of Contents
Troubleshooting
Bookmarks
Table of Contents
Table of Contents
Safety Information
Safety Instructions
Product Description
Installation
Control Panel
Hints and Tips
Care and Cleaning
Technical Data
Troubleshooting
Advertisement
Quick Links
Download this manual
DC3500TWR
DC3500TWL
EN
Drying Cabinet
User Manual
Table of
Contents
Previous
Page
Next
Page
1
2
3
4
5
Advertisement
Table of Contents
Need help?
Do you have a question about the DC3500TWR and is the answer not in the manual?
Ask a question
Questions and answers
Related Manuals for Electrolux DC3500TWR
Dryer Electrolux Dito 601837 Specification
Spin dryers (4 pages)
Dryer Electrolux Dito 601979 Specifications
Spin dryers (4 pages)
Dryer Electrolux Dryer Use And Care Manual
Wave-touch™ front-load gas & electric dryer (32 pages)
Dryer Electrolux 27" Electric Dryers Service Manual
Gas & electric models (80 pages)
Dryer Electrolux DC3500TWL User Manual
Drying cabinet (16 pages)
Dryer Electrolux DC6-4 User Manual
Drying cabinet (16 pages)
Dryer Electrolux DC6-4 Installation Manual
Drying cabinet (24 pages)
Dryer Electrolux DC6-8 User Manual
Drying cabinet (16 pages)
Dryer Electrolux DC6-8HP Q Series Installation Manual
Drying cabinet (20 pages)
Dryer Electrolux DC6-15 User Manual
Drying cabinet (16 pages)
Dryer Electrolux DC6-14 User Manual
Drying cabinet (16 pages)
Dryer Electrolux DC6-14HP Installation Manual
Drying cabinet (32 pages)
Dryer Electrolux DC6-15WW Installation Manual
Drying cabinet (20 pages)
Dryer Electrolux T5190 Operating Manual
Tumble dryer (24 pages)
Dryer Electrolux T5130 Service Manual
Type n1130 (94 pages)
Dryer Electrolux T5350 Service Manual
(134 pages)
This manual is also suitable for:
Dc3500twl
Table of Contents
Print
Rename the bookmark
Delete bookmark?
Delete from my manuals?
Login
Sign In
OR
Sign in with Facebook
Sign in with Google
Upload manual
Upload from disk
Upload from URL


Need help?
Do you have a question about the DC3500TWR and is the answer not in the manual?
Questions and answers