Advertisement
Quick Links
Advertisement

Related Manuals for COVER VALET Cover Rock-It


Summary of Contents for COVER VALET Cover Rock-It
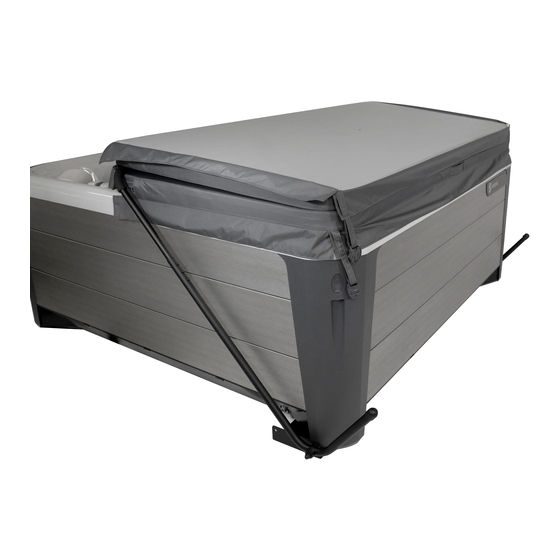
- Page 1 ROCK-IT remium over ifter...
- Page 2 & H arts ardware Center Coupler Fluted (crAA) Center Coupler Extension Non-Fluted (crBB) Base Bracket (crFF) Pivot Arm Support Arm (crDD) (crCC) 3/8” Flat Washer Plastic Pivot Large Dome Cap (crB) (crGG) (crF) #10 x 5/8” Self Small Dome Cap Protective Cap Tapping Screw (crA) (crHP)
-
Page 3: Getting Started
ettinG tarted • Position the spa cover in the closed position on the spa, making sure that all four corners are properly positioned and square on the spa. See Figure 1. Figure 1 lacinG the racket • Slide the Base Bracket under the spa 8”... -
Page 4: P Ivot Arm
nStallinG the ivot arm ontinued Figure 3 Figure 3a • Connect the Pivot Arm (crDD) by placing one Plastic Pivot (crGG) on each side of the hole in the Pivot arm (crDD) then attach it to the Base Plate using a 3/8” x 3-1/2” Hex Bolt (crC), (2)Flat Washer (crB), and 3/8”... - Page 5 nStallinG the uPPort Depending on the width of your spa this step will vary. Start by measuring the width of the spa. nder Insert the long arms of the Support Arms (crCC) into the ends of the Center Coupler (crAA) as shown in Figure 4A. Note: For more narrow covers, flip the Support Arms (crCC) and insert the short...
- Page 6 nStallinG the uPPort ontinued Figure 5 Figure 5a • Slide both sides of the assembled Support Arm (crCC) into the longer portion of the Pivot Arm (crDD). • Lean the pivot arms forward so the center coupler(s) rest ½” short of the center seam.
- Page 7 nStallinG the uPPort ontinued Figure 6a • Once the arm is centered use the #10 Self Tapping Screws (crA) to fasten the Support arm into place. See Figure 6. Note: Be sure to rotate the center couplers so that th inserted screws are horizontal, with the heads facing the back of the spa, where the cover will be stowed.
- Page 8 COVER ROCK-IT MAINTENANCE INSTRUCTIONS The Cover ROCK-IT was designed for a specific use. The Cover ROCK-IT is not designed to BEND, WARP, or to be ABUSE PROOF. Do Not stand, sit, or lie on, or permit heavyweight to rest on the Cover ROCK-IT.
- Page 9 (This excludes the cost of freight to and from the manufacturer). EXCLUSIONS: A. This warranty does not cover damage incurred by the use of the Cover ROCK-IT and/or the spa cover, other than in accordance with the printed literature provided by California Home Spas, INC.
Need help?
Do you have a question about the Cover Rock-It and is the answer not in the manual?
Questions and answers