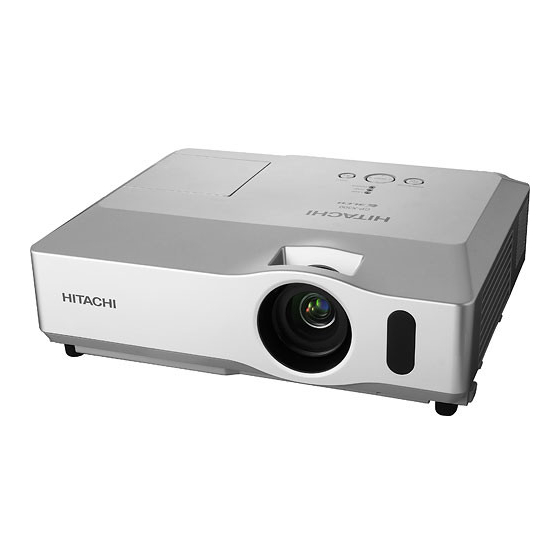
Hitachi CP-X301 Setting Up
Hide thumbs
Also See for CP-X301:
- User's manual and operating manual (93 pages) ,
- Specifications (1 page) ,
- User manual – operating manual (66 pages)
Advertisement
Springdale Methodist Church
Instructions for setting up the projector
Where do things go?
The screen is lowered by pressing the lower button in the equipment room. The
projector stand goes immediately in front of the first row of chairs and is angled
towards the screen. The projector goes on top of the stand—there is no need to adjust
the height of the legs yet. The computer goes on the lower platform of the stand. The
grey wedge monitor usually goes on the front row chair nearest the aisle—the cover
can be taken off by opening the silver catches.
What connections need to be made?
The power cable plug from the computer power adaptor needs to be connected to the
socket at the right hand end of the back of the computer. This is marked „5‟ in the
picture below:
Looking at the left hand side of the computer find the connection socket towards the
back which is slightly narrower at the bottom than the top marked „1‟ in the picture
below:
1
Advertisement
Table of Contents

Related Manuals for Hitachi CP-X301


Summary of Contents for Hitachi CP-X301
- Page 1 Springdale Methodist Church Instructions for setting up the projector Where do things go? The screen is lowered by pressing the lower button in the equipment room. The projector stand goes immediately in front of the first row of chairs and is angled towards the screen.
- Page 2 There is a corresponding cable, which is black with blue plugs at each end shaped like in the picture to the right. One end of this cable should be plugged into the socket you found on the computer‟s left hand side. It can only go one way up.
- Page 3 The other socket on the back of the wedge monitor is for the black power cable, which should be running under the front row of chairs with the grey monitor cable. The power cable can be plugged in now. Please note, if the wedge monitor is not required for a particular service or event, then the projector will work perfectly well without the grey cable connected to it.
- Page 4 The following pictures show how the connections should look if made correctly: Computer connections Back of projector Back of monitor Side of projector Switching it all on Once all the connections have been made it is time to switch everything on. The first thing to switch on is the computer (outlined in red dashed line below).
- Page 5 After a while (up to a minute or so) the projector should automatically detect the computer and start to display the same picture as on the computer display. If not, pressing the Fn + keys at the same time on the computer keyboard should make this happen.
Need help?
Do you have a question about the CP-X301 and is the answer not in the manual?
Questions and answers