Table of Contents
Advertisement
Quick Links
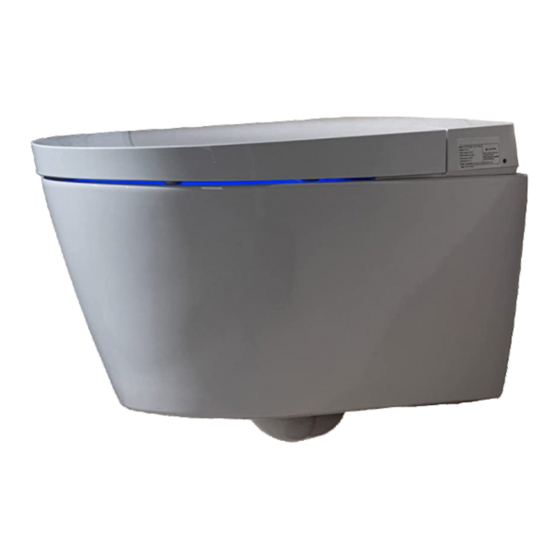
USER MANUAL LT611
R
WOODBRIDGE
Remote Control Illustration
WATER TEMP.
SEAT TEMP.
HALF FLUSH
FULL FLUSH
DRY DRYER TEMP.
REAR MOVE
FRONT MOVE
Thank you for choosing our product.Please read the instructions carefully before
installation and keep it available for future maintenance or reference.
Customer Service Phone: 562-229-0088. (Monday - Friday 9 AM - 5 PM Pacific Time)
Or Email: help@woodbridgebath.com
20211115 REV. 1
www.woodbridgebath.com
Advertisement
Table of Contents

Related Manuals for Woodbridge LT611


Summary of Contents for Woodbridge LT611
- Page 1 USER MANUAL LT611 WOODBRIDGE Remote Control Illustration WATER TEMP. SEAT TEMP. HALF FLUSH FULL FLUSH DRY DRYER TEMP. REAR MOVE FRONT MOVE Thank you for choosing our product.Please read the instructions carefully before installation and keep it available for future maintenance or reference.
-
Page 2: Table Of Contents
WOODBRIDGE REMOTE CONTROL ILLUSTRATION Content Installation preparation 01. Remote control installation 02. Battery installation Usage instruction 01. Remote control installation 02. Rear/Front washing operation 03. Drying/Dryer temperature 04. Water volume adjustment 05. Nozzle position adjustment 06. Energy saving 07. Water temperature adjustment 08. -
Page 3: Installation Preparation
WOODBRIDGE REMOTE CONTROL ILLUSTRATION Installation Preparation Remote control installation Remote control holder installation 1: 1. Drill two 6mm diameter holes in the wall at a distance of about 130.7mm, a depth of about 35mm. 2. Remove the double-sided adhesive tape on the back of the holder. -
Page 4: Remote Control Installation
WOODBRIDGE REMOTE CONTROL ILLUSTRATION Installation Preparation Remote control installation Indicator light Front washing/ Nozzle moving oscillating washing forward Rear washing/ Stop/ oscillating washing Energy saving Drying/ Dryer temperature F L U S F U L L F L U S... -
Page 5: Rear/Front Washing Operation
WOODBRIDGE Usage Instruction Notice : · Only when the user is seated and the buzzer beeps can the functions of front/rear washing and drying be activated. · Please sit backward on the seat for correct washing position and to avoid splashing. -
Page 6: Drying/Dryer Temperature
WOODBRIDGE REMOTE CONTROL ILLUSTRATION Usage Instruction DRY|DRYER TEMP (Only for the product with drying function) ①Press " " button, the indicator is on, showing current air temperature level. It will stop drying automatically after one cycle or after leaving. Drying DRY DRYER TEMP. -
Page 7: Water Temperature Adjustment
WOODBRIDGE REMOTE CONTROL ILLUSTRATION Usage Instruction Water temperature adjustment Short press " " button to adjust the water temperature between 0-5 level. The indicator light is on showing current water temperature level. When the indicator is off, the temperature is at Level 0. -
Page 8: Water Tank Flush Volume Adjustment
WOODBRIDGE REMOTE CONTROL ILLUSTRATION Usage Instruction Water tank flush volume adjustment (Only for the toilet with water tank flush volume adjustment function) · Press and hold " " button, and press the water volume " + " button to increase full flush volume by 1 level. - Page 9 WOODBRIDGE REMOTE CONTROL ILLUSTRATION Usage Instruction Automatic pre-wash function · Press and hold " " button and press " " button to turn on or off the automatic pre-wash function. After the automatic pre-wash function is turned on, the pre-wash function is performed when the user is detected to be seated.
- Page 10 Thank you for using WoodBridge products! Customer Service Phone: 562-229-0088. (Monday - Friday 9 AM - 5 PM Pacific Time) Or Email: help@woodbridgebath.com www.woodbridgebath.com ASVFAC3600001A-1.0...
Need help?
Do you have a question about the LT611 and is the answer not in the manual?
Questions and answers