Table of Contents
Advertisement
Quick Links
Advertisement
Table of Contents

Subscribe to Our Youtube Channel
Related Manuals for Fox Spirit PGM490 V2


Summary of Contents for Fox Spirit PGM490 V2
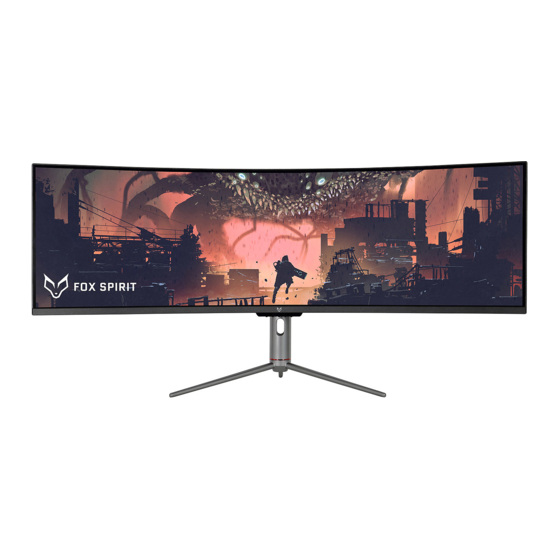
- Page 1 PGM490 V2 USER’S GUIDE Curved Monitor 49''...
- Page 2 Preface Every effort has been made to ensure that the information in this document is accurate. However, the manufacturer and the distributor of this product assume no responsibility for any error, omission. Please preserve this manual for the life of the equipment. Congratulations on your purchase!
- Page 3 DECLARATION OF CE CONFORMITY MARKING Product in accordance with the applicable regulations on the European territory, with the requirements EMC 2014/30/EU and LVD 2014/35/EU. This product is RoHS (Restriction of Hazardous Substances) compliant. INFORMATION ABOUT RECYCLING This product bears the selective sorting symbol for waste electrical and electronic equipment (WEEE).
-
Page 4: Table Of Contents
TABLE OF CONTENT SAFETY NOTICE PRECAUTIONS MAINTENANCE AND CLEANING SPECIAL NOTES ON LCD MONITORS PACKAGE CONTENT PRODUCT OVERVIEW MONITOR BUTTONS MONITOR PORTS STAND INSTALLATION REMOVING THE STAND WALL MOUNTING CONNECTIVITY OPTIONS POWER SUPPLY AUDIO OUTPUT VIDEO OUTPUT BASIC OPERATION ADAPTATIVE SYNC INDICATOR LIGHT OSD MENU PRESENTATION... -
Page 7: Special Notes On Lcd Monitors
SPECIAL NOTES ON LCD MONITORS The following symptoms are normal with LCD monitor and do not indicate a problem. Due to the nature of the fluorescent light, the screen may flicker during initial use. Turn off the ⚫ Power Switch and then turn it on again to make sure the flicker disappears. You may find slightly uneven brightness on the screen depending on the desktop pattern you use. -
Page 8: Package Content
PACKAGE CONTENT Note: 3x PM5*15 screws are needed to (100-240V~,50/60Hz, 2.0A, 1.8m) fasten stand stem and base. 1x screw is provided as spare part. DP CABLE 1.4 1.8m x1 HDMI CABLE 2.0 1.5m... -
Page 9: Product Overview
PRODUCT OVERVIEW MONITOR PORTS Audio HDMI1(2.0) HDMI2 (1.4) HDMI3 (1.4) -
Page 10: Stand Installation
STAND INSTALLATION 2. Take out main parts of accessory bags. 3. Use 3x PM5*15 screws to fasten stem and base. 4. Place the assembled stand into rotation shaft. Please make sure a tighten assembling, when hearing an audible click from the locking button. - Page 11 5. Use both hands to stand the assembled machine on a flat desktop. Note: do not directly press and hold the LCD screen with your hand during the whole machine’s erection to prevent the screen from breaking 6. After the installation is completed, the monitor needs to be connected with wires. As shown on the below picture, follow the direction of the arrow, and then remove the rear shell decorative cover in order to access to the monitor ports.
- Page 12 7. Hold the display screen, rotate the display screen, and plug in the signal cable when you see the port of the machine sideways. Pay attention to holding the machine with both hands to prevent the machine from falling. For a neat management, run the cables through the hole intended for this purpose, from the outside to the inside, before repositioning the rear shell.
-
Page 13: Removing The Stand
REMOVING THE STAND 1. Remove the rear shell cover 2. Press the unlocking button, located under the shell, to unlatch the stand Unlocking button Make sure to place your monitor safely on a flat surface or on a table before unlocking the stand. -
Page 14: Wall Mounting
WALL MOUNTING 1. Open the carton, remove the foam, remove the upper foam. 2. Remove the original screws x4 ( ) from the opening in the back of the monitor. Follow the directions received with your mount, stand, or accessory and install the monitor on the wall or fixture as desired. -
Page 15: Connectivity Options
3. Your monitor is now ready to be attached to a wall-mounting bracket. To avoid damages, please do not pinch the screen during bracket installation. Do not place or hang any objects on the wall bracket. Do not put the monitor higher than 2m from the ground. -
Page 16: Video Output
VIDEO OUTPUT For the monitor to receive HDMI signals from the computer, use the HDMI cable to connect the monitor to the computer. For the monitor to receive DP signals from the computer, use the DP cable to connect the monitor to the computer. -
Page 17: Basic Operation
BASIC OPERATION Insert one end of the DP cable into your PC’s graphics card. A HDMI cable may also be used. 1. Connect the other end of the cable to the corresponding connector on your monitor. DP Connector Audio Output HDMI Connectors Power Connector 2. -
Page 18: Osd Menu
Solid blue light indicates power is on and the monitor is operating normally. Flashing blue light indicates no video source, no horizontal or vertical signal has been detected or voltage is low. Please ensure your computer is on and all video cables are fully inserted and/or connected. OSD MENU The On-Screen Display (OSD) Menu may be used to adjust your monitor’s settings and appears on screen after turning on the monitor and pressing the M button. -
Page 19: Osd Menu Functions
OSD MENU FUNCTIONS Main Menu Sub-Menu Options Description Input Source HDMI 1 (2.0) NONE Switch to HDMI signal input HDMI 2 (1.4) HDMI 3 (1.4) NONE Switch to DP signal input Brightness/ Brightness 0~100 Adjust display brightness Contrast Blacklevel 0~100 Adjust display blacklevel Contrast 0~100... -
Page 20: Pip (Picture In Picture) Input Information
PIP Size Small, Adjust the PIP/PBP display window size Medium, Large PIP Position TopRight, TopLeft, Adjust the PIP/PBP window position BottomRight, BottomLeft Swap NONE Swap the two-channel signal source of only the PIP/PBP 2 screens function Language English, Set OSD language 简体中文,... - Page 21 SWITCH TO GAMEPLUS AND ECO MODES...
- Page 22 TECHNICAL SPECIFICATIONS Fox Spirit 49’’ PGM490 V2 49’’ Screen size Panel Curvature R1800 Backlight None Brightness Typ. 350 cd/m2 Contrast 3000 :1 Pixel size 0.1038(H) x 0.3114(V)mm DFHD 3840*1080 Résolution Max. 3840*1080@144Hz SCREEN Refresh Rate 144Hz Aspect Ratio 32:9 Response Time View Angle (CR>10)
- Page 23 Should there be a problem with this device, please contact FOX SPIRIT’s After-Sales department: support@fox-spirit.com Processing of the defective pixels according to ISO 9241-307 Classe 1 norm.
Need help?
Do you have a question about the PGM490 V2 and is the answer not in the manual?
Questions and answers