Advertisement
Quick Links
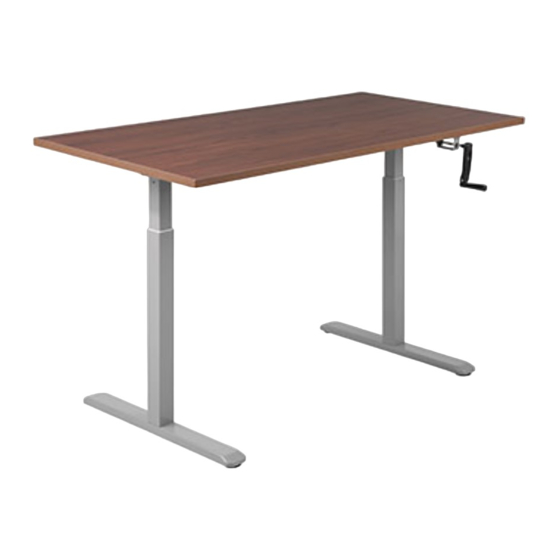
Level Adjustment / Réglage du niveau
• Turn over the desk frame with the crossbar facing up.
• Pull the handle outward first to adjust the desk height.
• There are two adjustable foot pads under each foot. If the floor
isn't even, simply turn the pad to adjust the height to make the
desk stable.
Tip: Use a bubble level to check if the desktop is even.
• Retournez la structure du bureau avec la barre transversale vers le haut.
• Tirez d'abord la poignée vers l'extérieur pour régler la hauteur du bureau.
• Il y a deux coussinets réglables sous chaque patte. Si le plancher n'est pas
égal, tournez simplement le coussin pour ajuster la hauteur afin de stabiliser le
bureau.
Conseil: utilisez un niveau à bulle pour vérifier si le dessus de bureau est au niveau.
15
1
1
2
2
3
Bubble Level / niveau à bulle
Model / Modèle:
900-CRANK-SL
Assembly Instructions
Guide d'assemblage
QUESTIONS OR CONCERNS?
Please contact Customer Service
Tel 1-800-567-3060
M-F 6am - 4:30 pm PST
cs@heartwood.ca
QUESTIONS OU PRÉOCCUPATIONS?
Communiquer avec le Service à la clientèle
Tél 1-800-567-3060
Du lundi au vendredi entre 6h00 et 16h30
(Heure Normale du Pacifique HNP)
cs@heartwood.ca
Advertisement

Related Manuals for Heartwood 900-CRANK-SL


Summary of Contents for Heartwood 900-CRANK-SL
- Page 1 • There are two adjustable foot pads under each foot. If the floor isn't even, simply turn the pad to adjust the height to make the Model / Modèle: 900-CRANK-SL desk stable. Tip: Use a bubble level to check if the desktop is even.
- Page 2 P P reface / Introduction Other Safety Instructions / Instructions de sécurité supplémentaires: CAUTION This manual height adjustable standing desk consists of a heavy-duty steel desk frame, and a manual height adjustment • lear up all obstacles it in t e eig t adjust ent range. system.
- Page 3 Preparation / Préparation Checklist and Installation / Liste et installation Specifications Spécifications Weight Capacity Operation Temperature Capacité de poids Température de fonctionnement 70kg (154lbs) B (x1) C (x1) (-5°C~+40°C) A (x1) Lifting Column / Colonne de levage Lifting Column / Colonne de levage Crossbar / Barre transversale Required Tools Outils requis...
- Page 4 Assembling the Crossbar / Assemblage de la barre transversale S-C (x10) S-A (x16) S-B (x4) Phillips Head Screw+ 1 Spacer / Hex Head Screw / Vis à tête hexagonale Phillips Head Screw / Vis à tête Phillips Vis à tête Phillips avec entretoise Shipping Blanket / Couverture S-D (x10) S-E (x1)
- Page 5 Installing the Side Brackets / • Attach one end of the crossbar and crossbar spacer to the lifting column with 2 screws using the Allen wrench as shown. S- E • Attach the other end of the crossbar to the lifting column with 2 screws using the Allen wrench Installation des supports latéraux...
- Page 6 Assembling the Sync Rod / • Turn the right knob counter clockwise as shown to loosen the sync rod. Assemblage de la tige de synchronisation • Insert the other end of the sync rod into the column as shown. • Tournez le bout droit dans le sens antihoraire tel qu’illustré pour desserrer la tige de synchronisation.
- Page 7 • Place the assembled frame on the back of the desktop as shown and then adjust the width of Assembling the Desktop / the crossbar to suit the size of the desktop. • Tighten all the hex head screws on the crossbar to finish the adjustment. •...
- Page 8 Installing the Feet / Installation des pattes • Loosen the screw using the Allen wrench to adjust the drive rod module to fit the width of the desktop. • Insert the drive rod module into the gearbox as shown and tighten the screw to finish the adjustment.
Need help?
Do you have a question about the 900-CRANK-SL and is the answer not in the manual?
Questions and answers