Table of Contents
Advertisement
Quick Links
Advertisement
Table of Contents

Subscribe to Our Youtube Channel
Related Manuals for Bull 17400


Summary of Contents for Bull 17400
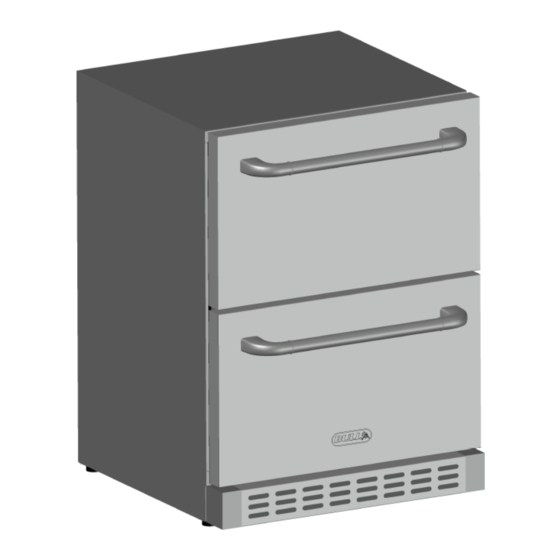
- Page 1 PREMIUM DOUBLE DRAWER OUTDOOR RATED REFRIGERATOR MODEL # 17400 OWNERS MANUAL BEFORE INSTALLATION OR USE, PLEASE READ AND FOLLOW ALL SAFETY RULES AND OPERATING INSTRUCTIONS Write Serial No. in box below for future reference ...
-
Page 2: Table Of Contents
TABLE OF CONTENTS PAGE NO. GETTING STARTED PRODUCT REGISTRATION INSTRUCTIONS ____________________ ___ 3 PRODUCT SERIAL NUMBER LOCATIONS__________________________ __3 APPLIANCE SAFETY AND IMPORTANT SAFEGUARDS ____ 4 INSTALLATION SITE PREPARATION ANTI‐TIP BRACKET INSTALLATION ____5‐6 LEVELING THE UNIT ____6 INSTALLING DRAWER HANDLES____________________________________6 ELECTRICAL AND PLUMBING CONNECTION___________________________7 EXTENSION CORD_______________________________________________7 OPERATING YOUR REFRIGERATOR: CONTROL PANEL 8 CARE AND MAINTENANCE: CLEANING AND MAINTENANCE 8 ... - Page 3 REGISTERING YOUR REFRIGERATOR For Warranty Claims or Replacement Parts ordering, please fill Thank you for purchasing your Bull Outdoor Products out the area provided below: Refrigerator. To validate your Limited Warranty, you must PRODUCT INFORMATION REFERENCE CARD submit the completed the Warranty Registration Form within 1) Model Number_____________________________ 90 days from the date of purchase. Registration can be 2) Serial Number______________________________ completed on‐line at (The Serial Number is encoded with essential information for https://www.bullbbq.com/warranty/product or by sending ordering replacement parts or submitting Warranty claims. the completed Warranty Registration Form and copy of your Location of Serial Numbers is shown below) Purchase Receipt or Invoice as proof of purchase to: 3) Date of Purchase______________________ 4) Copy of your Purchase Receipt or Invoice. BULL OUTDOOR PRODUCTS, INC. ...
-
Page 4: Appliance Safety And Important Safeguards
APPLIANCE SAFETY AND IMPORTANT SAFEGUARDS APPLIANCE SAFETY INSTALLATION INSTRUCTIONS Your safety and the safety of others is very important. BEFORE INSTALLING YOUR APPLIANCE We have provided many safety messages in this manual and Remove the exterior and interior packing. on your appliance. Always read and obey all safety messages. ... -
Page 5: Site Preparation
SITE PREPARATION 1) Position the unit on a flat, level surface capable of supporting the entire weight of the unit. Note that your Refrigerator will be significantly heavier once it is fully loaded. Before filling, wipe out inside of unit with a damp cloth. 2) Position the unit to allow free air flow through the front grill as shown below 3) The Refrigerator must be installed according your local codes and ordinances. 4) ELECTROCUTION HAZARD! Electrical Grounding Required – This appliance is equipped with a 3 prong (grounding) polarized plug for your protection against possible shock hazards. • NEVER remove the grounding prong from the plug. • NEVER use a 2 prong grounding adapter. • NEVER use an extension cord connect power to the unit. Where a 2 prong wall receptacle is encoutered or a longer power cord is Required, contact a qualified electrician to have it replaced in accordance with Applicable electrical codes. 5) Be sure to install the Anti‐Tip bracket using the kit provided. Please note safety concerns below. ANTI‐TIP BRACKET INSTALLATION Your Refrigerator comes with an Anti‐Tip Bracket that must be properly installed per instructions below to reduce the risk of tip over due to abnormal use or improper loading. STEP 1 Per Figure 1, • Place the Anti‐Tip brackets on the floor with the intention of mounting the brackets to hold the refrigerator from the back side. • Mark the location of the 4 holes for one of the brackets on the floor. • Mark the location for the mounting holes of the 2 bracket. Insure slots on centers of bracket like up with leveling feet on fridge. •... -
Page 6: Leveling The Unit
ANTI‐TIP BRACKET INSTALLATION (CONTINUED) STEP 2 • Lift the bottom of the unit as shown below. • Use a screwdriver to remove the screws indicated next to the leveling feet. This enables you to adjust the leveling feet. Note, to prevent the leveling feet from falling out of their mounts, do not loosen the leveling feet distance more than 1/8 inch. Leveling Feet STEP 3 • Slide the leveling feet of the refrigerator into anti‐tip brackets for final positioning as shown below. IMPORTANT! Do not use Refrigerator without the Anti‐Tip Bracket in place. LEVELING YOUR REFRIGERATOR Position the unit on a flat level surface capable of supporting the entire weight of the unit when full. This unit contains 4 adjustable leveling feet. Turn clockwise to raise and counterclockwise to lower. INSTALLING THE DRAWER HANDLES Use provided screws to install finger tight and verify handle lines up straight to drawer before tightening with screw driver per figure shown. ... -
Page 7: Electrical And Plumbing Connection
7 ... -
Page 8: Control Panel
8 ... - Page 9 9 ...
-
Page 10: Troubleshooting
TROUBLESHOOTING You can solve many common problems easily, saving you the cost of a possible service call. Try the suggestions below to if you can solve the problem before calling for help. Troubleshooting Guide PROBLEM POSSIBLE CAUSE REMEDY Appliance does not operate. -
Page 11: How To Order Replacement Parts
This is where your Product Information Reference Card will come in handy for supplying necessary info needed by your Bull Authorized Dealer to assure you get the correct part(s) for your refrigerator or additional accessories to keep your refrigerator in top working condition. If you don’t have the card, you can still get the model number and serial number on the inside of the left side panel. - Page 12 TO YOU. WHO MAY USE THIS WARRANTY? BULL OUTDOOR PRODUCTS, INC. located at address 1011 East Pine St. Lodi, CA. 95240 ("we") extend this limited warranty only to the consumer who originally purchased the product ("you") at the original site of delivery or installation. It does not extend to any subsequent owner or other transferee of the product.
- Page 13 WHAT DOES THIS WARRANTY COVER? This limited warranty covers defects in materials and workmanship of the product and product components identified below for the Warranty Periods defined below. WHAT IS THE PERIOD OF COVERAGE? This limited warranty starts on the date of your purchase and lasts for the time period or time periods specified above (the "Warranty Period").
- Page 14 Warranty Policy (Continued) WHAT DOES THIS WARRANTY NOT COVER? This limited warranty does not cover any damage due to: (a) transportation; (b) storage; (c) improper installation or use; (d) use on improper fuel/gas supply; (e) failure to follow the product instructions or to perform any preventive maintenance;...
Need help?
Do you have a question about the 17400 and is the answer not in the manual?
Questions and answers