Makita M4301 Instruction Manual
Hide thumbs
Also See for M4301:
- Instruction manual (29 pages) ,
- Instruction manual (13 pages) ,
- Instruction manual (13 pages)
Table of Contents
Advertisement
Quick Links
Advertisement
Table of Contents

Related Manuals for Makita M4301


Summary of Contents for Makita M4301
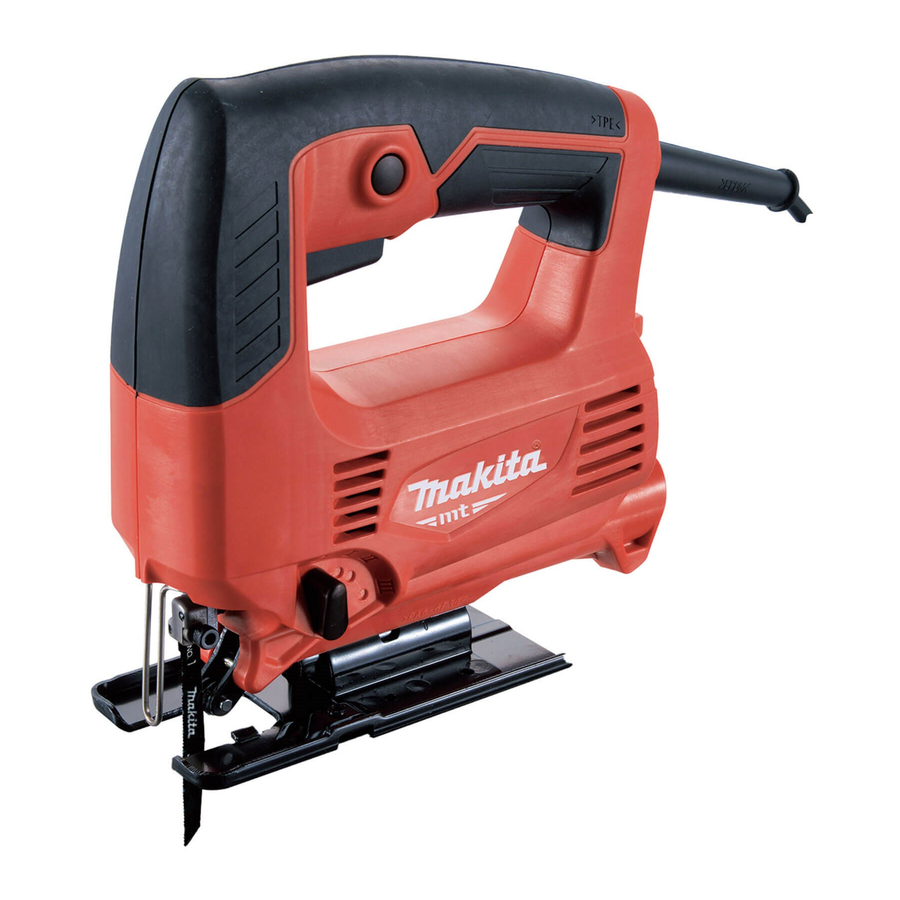
- Page 1 INSTRUCTION MANUAL Jig Saw M4301 DOUBLE INSULATION Read before use.
-
Page 2: Specifications
For European countries only can only be operated on single-phase AC supply. They Makita declares that the following Machine(s): are double-insulated and can, therefore, also be used Designation of Machine: Jig Saw from sockets without earth wire. -
Page 3: General Power Tool Safety Warnings
Yasushi Fukaya wear eye protection. Protective equipment such Director as dust mask, non-skid safety shoes, hard hat, or Makita, Jan-Baptist Vinkstraat 2, 3070, Belgium hearing protection used for appropriate conditions will reduce personal injuries. General power tool safety warnings Prevent unintentional starting. Ensure the... -
Page 4: Functional Description
Service FUNCTIONAL Have your power tool serviced by a qualified repair person using only identical replacement DESCRIPTION parts. This will ensure that the safety of the power tool is maintained. Follow instruction for lubricating and chang- CAUTION: Always be sure that the tool is ing accessories. - Page 5 Fig.2 Fig.3 ► 1 . Switch trigger 2. Lock button ► 1 . Jig saw blade holder 2. Bolt 3. Hex wrench With the blade teeth facing forward, insert the jig saw To start the tool, simply pull the switch trigger. Tool blade into the jig saw blade holder as far as it will go. speed is increased by increasing pressure on the switch Make sure that the back edge of the blade fits into the trigger.
-
Page 6: Operation
OPERATION Always hold the base flush with CAUTION: the workpiece. Failure to do so may cause jig saw blade breakage, resulting in a serious injury. CAUTION: Advance the tool very slowly when cutting curves or scrolling. Forcing the tool may cause a slanted cutting surface and jig saw blade breakage. Fig.8 ► 1 . Hex wrench 2. Bolt 3. Base Tilt the base until the desired bevel angle is obtained. The edge of the motor housing indicates the bevel angle by graduations. - Page 7 Tilt the tool up on the front edge of the base with the jig saw blade point positioned just above the work- Clean cutting operations can be performed by con- necting this tool to a Makita vacuum cleaner. Insert the piece surface. hose of the vacuum cleaner into the hole at the rear of Apply pressure to the tool so that the front edge of the tool.
- Page 8 Fig.15 Fig.18 ► 1 . Rip fence (Guide rule) ► 1 . Threaded knob 2. Fence guide 3. Rip fence (Guide rule) 4. Pin To install, insert the rip fence into the rectangular hole on the side of the base with the fence guide facing Slide the rip fence to the desired cutting radius, down.
-
Page 9: Maintenance
Discoloration, deformation or cracks may result. To maintain product SAFETY and RELIABILITY, repairs, carbon brush inspection and replacement, any other maintenance or adjustment should be performed by Makita Authorized or Factory Service Centers, always using Makita replacement parts. 9 ENGLISH 9 ENGLISH... - Page 11 11 11...
- Page 12 Makita Jan-Baptist Vinkstraat 2, 3070, Belgium Jan-Baptist Vinkstraat 2, 3070, Belgium Makita Corporation Makita Corporation Anjo, Aichi, Japan Anjo, Aichi, Japan 885476-226 885476-226 www.makita.com www.makita.com 20150917 20150917...
Need help?
Do you have a question about the M4301 and is the answer not in the manual?
Questions and answers