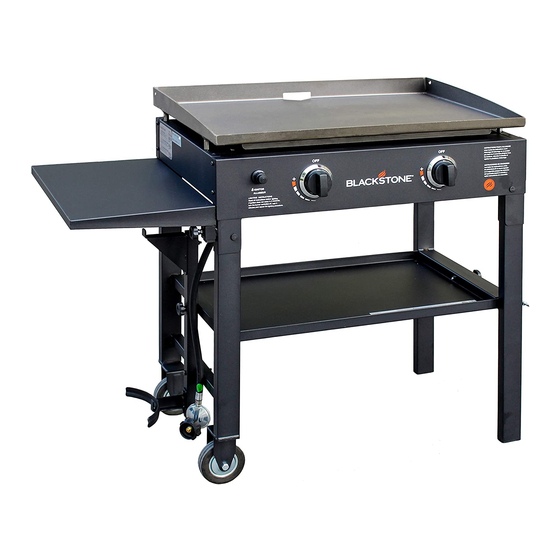
Black Stone 1517 Owner's Manual
28” griddle cooking station
Hide thumbs
Also See for 1517:
- Owner's manual (67 pages) ,
- Parts & assembly (24 pages) ,
- Owner's manual (57 pages)

Related Manuals for Black Stone 1517


Summary of Contents for Black Stone 1517
- Page 1 28” GRIDDLE COOKING STATION with rear grease management system Owner’s Manual MODEL 1517 FOR OUTDOOR USE ONLY WARNING Please read manual carefully before assembly Retain this manual for future reference 1-AA Battery required for ignitor (not included)
-
Page 2: For Your Safety
FOR YOUR SAFETY This instruction manual contains important information necessary for the proper assembly and safe use of the appliance. Read all warnings and instructions before assembling and using the appliance. Follow all warnings and instructions when assembling and using the appliance. Failure to follow these instruction could result in fire or explosion which could cause property damage, personal injury, or death. - Page 3 6. Never fill the cylinder beyond 80 percent full. WARNING 7. If the information in the above two statements is not followed exactly, a fire causing death or serious injury may occur. This appliance shall be used only outdoors, • and shall not be used in a building, garage or 8.
- Page 4 Installation Safety Precautions • Use Griddle, as purchased, only with LP (propane) gas and the regulator/valve assembly supplied. • Griddle installation must conform with local codes, or in the absence of local codes, with either the National Fuel Gas Code, ANSI Model Number ________________________ Z223.1/ NFPA 54, Natural Gas and Propane Installation Code, CSA B149.1, or Propane...
- Page 5 Safety Symbols Safety Tips • Before opening LP cylinder valve, check the The symbols and boxes shown below explain coupling nut for tightness. what each heading means. Read and follow all of the messages found throughout the manual. • When griddle is not in use, turn off all control knobs and LP cylinder valve.
-
Page 6: Table Of Contents
TABLE OF CONTENTS For Your Safety ....2-3 Use and Care ..... 5-11 Illustrated Parts List . -
Page 7: Use And Care
USE AND CARE 5. To ignite, push and turn the IGNITION CAUTION BURNER knob to MAX. Do not use water on a grease fire. Personal • injury may result. If a grease fire develops, turn knobs and LP cylinder off. Do not leave grill unattended while preheating •... - Page 8 knobs should spring back. If knobs do not spring back, replace valve assembly before using WARNING griddle. Turn knobs to low position then turn back to OFF position. Valves should turn smoothly. Turn controls and gas source or tank OFF when Hose Check not in use.
- Page 9 Cooking surfaces: If a bristle brush is used • several times.(B) Use a narrow bottle brush to clean any of the griddle cooking surfaces, with a flexible handle (do not use a brass wire ensure no loose bristles remain on cooking brush), run the brush through each burner surfaces prior to grilling.
- Page 10 Seasoning is an easy, but very important first step when using the Blackstone Griddle. Unlike How To Tell If Meat Is Grilled Thoroughly synthetically coated griddles, steel and cast iron can be seasoned repeatedly, constantly restoring the cooking surface. • Meat and poultry cooked on a griddle or oven often browns very fast on the outside.
-
Page 11: Illustrated Parts List
ILLUSTRATED PARTS LIST 1. Griddle body ....1pc 2. Bottom tray ......1pc 3. - Page 12 10. Thumbscrew - Short ....2pcs 9. Thumbscrew - Long ....2pcs 11.
-
Page 13: Assembly
The manufacturer has made every effort to eliminate any sharp edges. However, you WARNING: should handle all components with care to avoid accidental injury. ASSEMBLY Please read all instructions thoroughly before proceeding. Find a large, clean area in which to assemble your BLACKSTONE Griddle. - Page 14 Step 1 • Have assistance to remove your griddle from packaging. • Place the body of the griddle upside down on a non-scratch surface. • Add the two wheels to the legs of the griddle. • Set the griddle of it’s back and pull back lever to unlock the legs on the griddle body. •...
- Page 15 Step 2 Take the bottom tray and move in into place, holding the griddle legs apart. It will fit snuggly. Bottom Tray Using a long thumbscrew, install one side of the bottom tray to the griddle. Install the Tank hanger assembly to the griddle and bottom tray using the other long thumbscrews.
- Page 16 Step 3 Stand the griddle upright on its legs. Insert the griddle shelf into the shelf holes found on the left side of the griddle body. Secure side shelf with small thumb screws. Side Shelf Small Thumbscrews Step 4 Add the handle to the right side of the griddle body. Secure with the Flange nuts on the body interior, with the M6 Screws driven from the outside.
- Page 17 Step 5 Install a “AA” battery (not included) in the igniter and screw in the igniter button over it. Install the control knobs by pushing them in place. With assistance, lower the 28” Griddle top onto the griddle body. The pegs of griddle top will align with four corresponding holes along the top of the griddle body.
- Page 18 Step 7 Hang LP Tank on Upper tank hanger and make sure it’s seated in the lower hanger as well. Upper Hanger Lower Hanger...
-
Page 19: Care And Maintenance
CARE AND MAINTENANCE Regularly clean your BLACKSTONE Griddle between uses and especially after extended pe- riods of storage. Ensure that the BLACKSTONE Griddle and its components are sufficiently cool before cleaning. Never handle hot parts with unprotected hands. In order to extend and maintain the life and condition of your BLACKSTONE Griddle, we strongly recommend that the unit be covered when left outside for any length of time, especially during the winter months. - Page 20 Q. What if my griddle starts to rust? A. If rust appears on the griddle surface, rub it off with steel wool or low grain sandpaper and re- season the surface. Take care to always completely dry your griddle before storing and keep away from rain and sprinklers.