Advertisement
Quick Links
Q
S
H
UALITY
PACE
EATERS
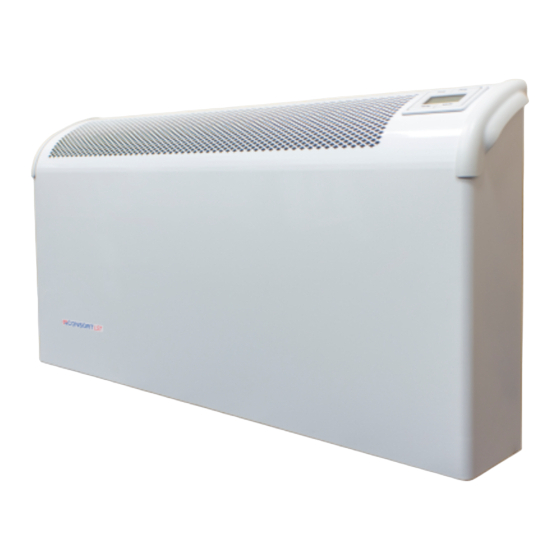
Installation & Control Guide for Low Surface Temperature
Wall Mounted Fan Heater
with Intelligent Fan Control & Electronic 7-Day Timer
Model Number
CN2MLSTiERF
All electrical appliances produced for the Company are guaranteed for one year against
faulty material or workmanship.
This applies only if the appliance has been used for
purposes in accordance with the instructions provided and has not been connected to an
unsuitable electricity supply, or subject to misuse, neglect, damage or modified or repaired
by any person not authorized by us. This guarantee is offered to you as an extra benefit and
does not affect your legal rights.
The correct electricity supply voltage is shown on the rating label attached to the
appliance.
Reasonable care has been taken to ensure that this guide is accurate at the time of
printing. In the interest of progress the Company reserve the right to vary specifications from
time to time without notice.
66001141 Iss 01
Advertisement

Subscribe to Our Youtube Channel
Related Manuals for Consort CN2MLSTiERF


Summary of Contents for Consort CN2MLSTiERF
- Page 1 Wall Mounted Fan Heater with Intelligent Fan Control & Electronic 7-Day Timer Model Number CN2MLSTiERF All electrical appliances produced for the Company are guaranteed for one year against faulty material or workmanship. This applies only if the appliance has been used for...
-
Page 2: General Safety
Switch appliance back on and the • General Safety TOC will re-set. Our Low Surface Temperature heaters Ensure that the appliance is • functioning correctly. If the TOC have been designed and built to the NHS requirement for safe surface control operates again, the temperatures which is that no surface appliance should be checked by a... -
Page 3: Installation
Part Number Watts Width (mm) Height (mm) Depth (mm) CN2MLSTiERF 2000 Mounting Instructions. Located on the rear of the heater are two key-hole slots used for wall mounting. Attach screws to the wall following the recommended clearances in figure 1. -
Page 4: Temp Mode
To amend the set temperature when in Manual Before you can use the CN2MLSTiERF, it has to be mode, simply activate the display by pressing any activated by pressing any control button. The LCD button. - Page 5 12:00 14:00 16:00 22:00 Logic diagram for setting program on CN2MLSTiERF The CN2MLSTiERF has a 7-day timer with up to 6 programming steps available for each day. In the PROG TEMP MODE programming you can set a start time and a temperature for each program.
- Page 6 14. Keys locking 17. Status light on the heater Light colour Heater status Press and hold TIME and TEMP together for 5 seconds. The display will show symbol. Repeat the step to unlock. STAND-BY No heat output 15. Open Window Detection Reduced heat output Ensuring you don’t waste energy on heating the outside Full power heat output...
- Page 7 23. Connection to MRX1 The CN2MLSTiERF is compatible with the MRX1 multi-zone controller. To pair the CN2MLSTiERF with the MRX1, set the MRX1 to pairing mode (see section 10 of MRX User Instructions). Pairing a RF Timer.
Need help?
Do you have a question about the CN2MLSTiERF and is the answer not in the manual?
Questions and answers