Table of Contents
Advertisement
Quick Links
Advertisement
Table of Contents

Related Manuals for Hoover PET PRO HBC2000P


Summary of Contents for Hoover PET PRO HBC2000P
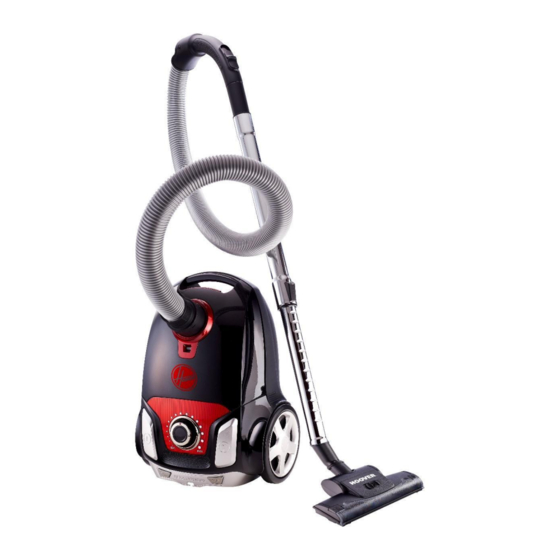
- Page 1 INSTRUCTIONS AND WARRANTY MODEL: HBC2000P HOOVER PET PRO BAGGED CANISTER VACUUM...
-
Page 2: Package Contents
Congratulations on purchasing our Hoover Pet Pro Bagged Canister Vacuum. Each unit is manufactured to ensure safety and reliability. Before using this appliance for the first time, please read the instruction manual carefully and keep it for future reference. FEATURES OF THE HOOVER PET PRO BAGGED CANISTER VACUUM ●... - Page 3 5. Avoid any contact with moving parts. 6. This appliance is not intended for use by persons (including children) with reduced physical, sensory or mental capabilities, or lack of experience and knowledge, unless they have been given supervision or instruction concerning use of the appliance by a person responsible for their safety.
- Page 4 20. DO NOT carry the appliance by the power cord. 21. Do not leave this appliance unattended during use. Always unplug the unit when not in use or before cleaning. 22. Always operate the appliance on a smooth, even, stable surface. Do not place the unit on a hot surface.
-
Page 5: Parts Diagram
PARTS DIAGRAM... - Page 6 ASSEMBLING THE PRODUCT How to connect the hose with vacuum cleaner Insert flexible hose into the air-intake opening on the front cover Press the knob until it clicks into the position. Remove the flexible hose: Unplug the appliance and press the button at the end of the flexible hose Remove it from the air-intake opening on the front cover.
-
Page 7: Cleaning The Filters
● If the suction flow is interrupted or the dust bag is full, the dust full indicator will indicate this with a red light. Turn off the machine immediately and clean the inlet filter. Empty the dust bag. Turn the unit on again. ●... -
Page 8: Fault Finding
● Detach the grill located at the rear of the vacuum cleaner by pulling it firmly away from the appliance. ● Remove the outlet filter. ● Clean the filter by gently tapping it. ● Place the filter back into the rear of the vacuum cleaner. ●... -
Page 9: Servicing The Appliance
Power Level adjustment Appliance is defective Take the vacuum cleaner does not work to a service center The dust container does not The dust bag is not in the Remove the dust bag and close correct position reinsert it into the machine, taking care to ensure that it is fitted correctly SERVICING THE APPLIANCE... - Page 10 This unit is designed to operate on the stated current only. Connecting to other power sources may damage the appliance. Connect a three-pin plug as follows: The wires in this mains lead are coloured in accordance with the following code: Green/Yellow = Earth Blue = Neutral...
- Page 11 result of disaster, misuse, tamper, abuse or any unauthorised modification or repair of the product. 5. This warranty will extend only to the product provided at the date of the purchase and not to any expendables attached or installed by the customer. 6.
Need help?
Do you have a question about the PET PRO HBC2000P and is the answer not in the manual?
Questions and answers