Table of Contents
Advertisement
Quick Links
Advertisement
Table of Contents

Subscribe to Our Youtube Channel
Related Manuals for Packard Bell airFrame M28000


Summary of Contents for Packard Bell airFrame M28000
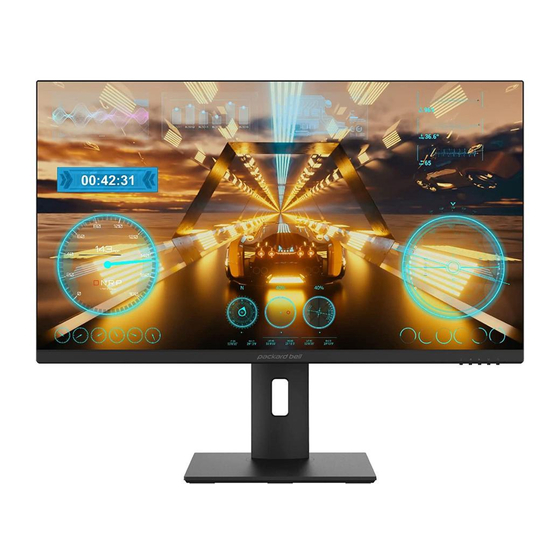
- Page 1 28” ULTRA-SLIM BEZEL 4K LED MONITOR M28000 Quick start guide...
-
Page 2: Safety Information
Safety Information SAFETY INFORMATION • Read these instructions - All the safety and operating instructions should be read before this product is operated. • Keep these instructions - The safety and operating instructions should be retained for future reference. • Heed all warnings - All warnings on the appliance and in the operating instructions should be adhered to. •... - Page 3 • Do not remove the safety covers. There are no user serviceable parts inside. • Trying to service the unit yourself is dangerous and may invalidate the product's warranty. Only qualified personnel should service this apparatus • Do not block ventilation slots on the back cover. The monitor can be placed in a cabinet but ensure at least 5cm (2") clearance all around.
- Page 4 In the box 28” monitor USB-A to USB-B USB-C cable cable Stand arm Stand base 28” ULTRA-SLIM BEZEL 4K LED MONITOR M28000 Quick start guide Quick start guide HDMI cable Power adapter Power cord...
-
Page 5: Buttons And Ports
Buttons and ports Monitor (bottom) USB-A x2 USB-C HDMI 1 3.5mm audio USB-B Displayport HDMI 2 (out) Power Main menu - Select Backlight - Scroll up / scroll right Volume - Scroll down / scroll left E Input menu - Previous / Exit... -
Page 6: Assembling The Monitor
Assembling the monitor 1. Connect the stand arm to the stand base as shown below. Stand arm Stand base Screw... - Page 7 2. Snap the assembled stand into the monitor's stand connector as shown below, and make sure it is securely connected and locked into the monitor. Insert 2 nails on the connecting Then snap in the bottom part of the plate of the stand arm to the connecting plate of the stand arm to monitor.
- Page 8 Connecting the monitor to power outlet Insert the pin of the power adapter into the monitor's DC port as shown below and connect the other end to a wall outlet. Monitor (bottom) Wall outlet Power adapter Power cord...
-
Page 9: Connecting The Monitor To Pc
Connecting the monitor to PC Use the included HDMI cable or USB-C cable to connect the monitor to your PC. You can also use DisplayPort cable (not included). HDMI cable USB-C cable USB-A x2 USB-B USB-C DisplayPort HDMI 1 HDMI 2 Note: •... -
Page 10: Adjusting The Monitor
Adjusting the monitor You can adjust the height and angle of the monitor as shown below. Rotate Up / down Tilt... -
Page 11: Rotating The Monitor
Rotating the monitor To rotate the monitor 90', adjust the monitor to the maximum height of the stand arm and then tilt the lower part of monitor outside before starting to rotate the monitor clockwise as shown below. Lift up the monitor. Tilt the monitor up. -
Page 12: Vesa Mount
VESA mount VESA mounting holes Monitor (back view) Example NOTE: VESA mount not included. The illustrations are just for reference. -
Page 13: Fcc Information
FCC information This device complies with Part 15 of the FCC Rules. Operation is subject to the following two conditions: (1) this device may not cause harmful interference, and (2) this device must accept any interference received, including interference that may cause undesired operation. Warning: Changes or modifications to this unit not expressly approved by the party responsible for compliance could void the user's authority to operate the equipment. -
Page 14: Limited Warranty
Limited warranty 1-Year Limited Warranty Territory: United States LIMITED WARRANTY TO ORIGINAL CONSUMER This product as supplied and distributed new by an authorized retailer is warranted by Southern Telecom, Inc. to the original consumer purchaser against defects in materials and workmanship (“Warranty”) as follows: To obtain warranty service: •...
Need help?
Do you have a question about the airFrame M28000 and is the answer not in the manual?
Questions and answers