Advertisement
Quick Links
Advertisement

Related Manuals for HOMCOM 800-149V70


Summary of Contents for HOMCOM 800-149V70
- Page 1 INcsb090_UK 800-149V70 IMPORTANT, RETAIN FOR FUTURE REFERENCE: READ CAREFULLY ASSEMBLY INSTRUCTION...
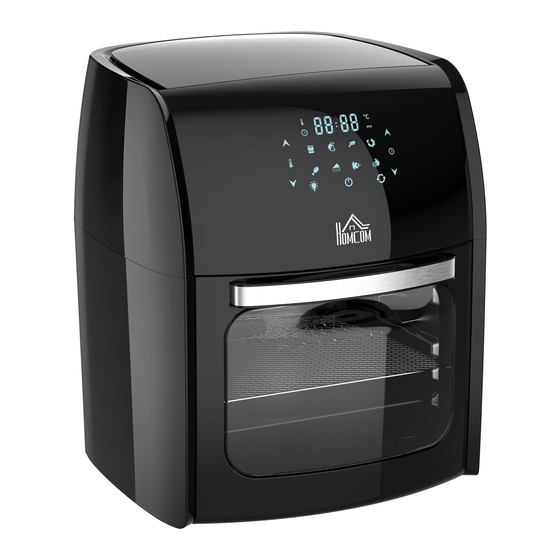
- Page 3 Air circulation fryer, rotisserie, dehydrator and more Before you begin It is very important that you read this entire manual, making certain you are completely familiar with the unit's operation and precautions. The air oven It can cook your favourite fried food – it also broils and bakes other favourites like air-fried burgers, calzones and doughnuts.
- Page 5 Important - Before and after using, hand wash the rotating mesh basket and other cooking accessories. Wipe the outside and inside of the unit, using a warm, damp cloth and mild detergent. Preheat the air oven for a few minutes to burn off any residue. Electric power - If the electrical circuit is overloaded with other appliances, your unit may not operate properly.
- Page 6 5. Air flow racks Can be used for dehydration, cooking crispy snacks or reheating foods such as pizza. 6. Rotating mesh basket Great for fries, roasted nuts and other snacks. Use the fetch tool to place basket into the unit. 7.
- Page 7 Important Check all components are present before using. If parts are missing or damaged, do not use this product. Use the customer service number, located at the back of the manual, to contact the shipper. NOTE: Some accessories may not be included with the purchase. Warning Forks, skewers and other metal parts are sharp and will get extremely hot during use.
- Page 8 1. Insert each skewer point through the holes on the skewer rack (fig. C). 2. Squeeze the clip end of each skewer as you insert into the opposite skewer rack slot to secure. 3. Release the clip to securely rest in slot as shown (fig. D). 4.
- Page 9 IMPORTANT See the final assembly diagram (page 5) to identify the left and right sides of the rotisseries shaft. The ride side has two notches, the left has one. Removing rotisserie spit or rotating basket from unit 1. Open unit door to stop cooking – turn unit off by pressing power button. 2.
- Page 10 2.Internal light - Pressing this button lets you check on your food. NOTE: Opening the door when cooking will pause the unit. Internal light will illuminate if doors open. 3. Rotation button - Press this button when cooking anything using the rotisserie mode. Function can be used with any preset.
- Page 11 Warning Never use a cooking vessel filled with oil or other liquid with this unit. This could cause a fire hazard or personal injury. Internal temperature meat chart Use this chart to check the internal temperature of cooked meats. REMINDER: This data should only be used as reference.
- Page 12 General operating instructions Cooking with the air oven 1. Place the ingredients on an air flow rack, on one of the rotisserie accessories or in the rotating mesh basket. 2. Put the air flow rack, rotating mesh basket or rotisserie spit into the unit – shut the oven door.
- Page 13 Warning ● When cooking, the basket and other accessories will become very hot. When removing, ensure you have a trivet or a heat-resistant surface nearby to set it down. Never place the rotating mesh basket directly on a counter top or table. ●...
- Page 14 Tips ● Set the timer, so the machine can alert you when it is time to flip your food. When you hear the bell, the preset preparation time is up. ●Add three minutes to your cooking time if the appliance is cold. Cleaning and storage Cleaning - Clean the air oven after each use.
Need help?
Do you have a question about the 800-149V70 and is the answer not in the manual?
Questions and answers