
Related Manuals for Daniela DAN90ASS


Summary of Contents for Daniela DAN90ASS
- Page 1 DAN90ASS 90CM BUILT IN 8 FUNCTION ELECTRIC OVEN WITH ROTISSERIE A p p l i a n c e U s e r M a n u a l danielaappliances.com.au...
- Page 2 From an Italian heritage our brand Daniela was then established in 2005 from a father’s love to a daughter and naming it after Daniela, now the new proprietor. Daniela has worked closely with her father for many years learning from his decades of industry experience. Daniela with her extensive knowledge and understanding of appliances, now continues her father’s legacy with a modern flare.
- Page 3 DAN90ASS 90CM BUILT IN 8 FUNCTION ELECTRIC OVEN WITH ROTISSERIE PA G E 3 02 9604 1226 sales@danielaappliances.com.au danielaappliances.com.au...
- Page 4 Commercial warranty on Daniela Appliances are strictly 3 months from date of purchase. Daniela Appliances Pty Ltd will not be held responsible for any damage due to: Incorrect installation, improper, incorrect and irrational use. Before using the appliance, read the user manual carefully. Always keep this user manual close to hand since you may need to refer to it in the future.
- Page 5 The user must not replace the supply cable of this appliance. Always call an after-sales servicing centre authorized by Daniela Appliances in the case of cable damage or replacement. This appliance must be used for the purpose for which it was expressly designed. Any other use is considered to be improper and consequently dangerous.
- Page 6 PLEASE ENSURE YOU READ THESE INSTALLATION GUIDES, RULES, TERMS AND CONDITIONS BEFORE CALLING FOR A SERVICE. FAILURE IN DOING SO MAY RESULT IN DAMAGES TO THE APPLIANCE AND JOINERY – CHARGES MAY BE APPLICABLE AND WARRANTY WILL BE VOIDED. • Never allow the Mains Cable to be stretched, pulled or damaged if the appliance is moved for cleaning etc.
- Page 7 Only a qualified person in compliance with the instructions provided must install the appliance. Appliances are fully assembled as in normal operation without any parts removed. Daniela Appliances Pty Ltd declines all responsibility for improper installation, which may harm persons and animals and damage property.
-
Page 8: Installation
INSTALLATION In order to ensure that the built-in appliance functions properly, the cabinet containing it must be appropriate. The figure below gives the dimensions of the cut-out for installation under the counter. In order to ensure adequate ventilation, the back panel of the cabinet unit must be removed. The oven must have a 40mm clearance between the oven and the rear timber panel. -
Page 9: Electrical Connection
ELECTRICAL CONNECTION Those ovens equipped with a three-pole power supply cable are designed to operate with an alternating current. The wire for earthing the appliance is yellow-green in colour. CONNECTING THE SUPPLY CABLE TO THE MAINS Install a standardized plug corresponding to the load indicated on the data plate. When connecting the cable directly to the mains, install an omni polar circuit breaker with a minimum contact opening of 3mm between the appliance and the mains. -
Page 10: Technical Specifications
The plug and socket must be easily accessible. IMPORTANT. • • If the oven is to work properly, the kitchen housing must be suitable. • The panels of the kitchen unit that are next to the oven must be made of a heat resistant material. - Page 11 B. Cooking mode selection knob Cooking Duration time with automatic operation C. Cooking temperature selection knob M. End of cooking time E. Oven indication light (only available on certain models) N. Carrying backwards button • When lit, it indicates the oven is O.
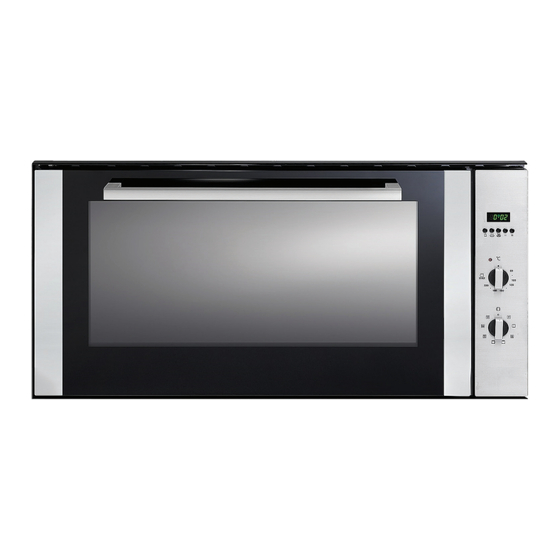
- Page 12 A. Control Panel Dripping Pan or Baking Sheet G. Oven Rack H. Carrying forward button PA G E 1 2 02 9604 1226 sales@danielaappliances.com.au danielaappliances.com.au...
-
Page 13: How To Use Your Oven
HOW TO USE YOUR OVEN This multifunction oven combines the advantages of traditional convection oven with those of the more modern fan assisted models in a single appliance. It is an extremely versatile appliance that allows you to choose easily and safely between different cooking modes. - Page 14 FUNCTION LIGHT This function turns the light on in your oven. Useful for when cleaning. DEFROST This function operates by using the fan only. The air is distributed inside the oven allowing for food to defrost at a quicker rate, and without protein alteration. CONVECTION The top and lower heating element is switched on.
- Page 15 FUNCTION BOTTOM ELEMENT WITH FAN This function utilises both the bottom element and the rear fan at the same time. For best results use the bottom 3 shelf positions when using this function. Perfect for any foods that require a crunchy base. Perfect for pizza (both fresh and frozen), quiche, pizza etc.
-
Page 16: Setting The Time (Clock)
SETTING THE TIME (CLOCK) • Select the clock function by simultaneously pressing the Duration (2) and End of Cooking (3) time keys and adjust the clock by means of the +/- 4+5 keys. • All the Programs set will be cancelled and relay will switch off. •... -
Page 17: Minute Minder
MINUTE MINDER • Press the Minute control key (1) and set the required time by means of the +/- keys (4+5). • While the set time runs, the bell symbol will appear. • When the set time elapses, the buzzer will sound. BUZZER •... -
Page 18: Maintaining Your Oven
MAINTAINING YOUR OVEN This appliance is for household use only, don’t use it outdoors! IMPORTANT: Unplug your oven before cleaning, or performing maintenance! To extend the life of your oven, it must be cleaned frequently. HOW TO CLEAN YOUR OVEN WARNING!! •... -
Page 19: Door Cleaning
All grades of stainless steel can stain, discolour or becomes greasy. Clean the cooker regularly, using the procedures outlined below. Care must be taken when wiping exposed stainless-steel edges as they can be sharp. • The front frame around the oven can be cleaned with stainless steel cleaners if it becomes soiled or discoloured. - Page 20 NOTICE!! THE INNER GLASS IS NOT REMOVABLE Replacing the Lamp in the Oven • Unplug your oven! • Wear rubber gloves when replacing the bulb • Disconnect the oven from the power supply by means of the omni polar switch used to connect the appliance to the electrical mains;...
-
Page 21: Repair, Or Adjustment
WARNING!! Do not operate appliance with damaged cord or plug or after the appliance malfunctions, or has been damaged in any manner, please contact Daniela Appliances Pty Ltd. REPAIR, OR ADJUSTMENT During operation, the oven glass door and adjacent parts of the appliance become hot. - Page 22 DO NOT INSTALL OR USE THE APPLIANCE. In this instance please contact your retailer or Daniela Appliances direct. Keep packing material such as plastic bags, polystyrene, nails or screws out of the reach of children, as they are a choking hazard.
-
Page 23: Terms And Conditions
If your goods remain boxed and in an unopened condition, they may be returned with in 30 days of the invoice date for a full refund. A collection fee of $50 will be charged should you require Daniela Appliances Pty Ltd to collect the stock. - Page 24 02 9604 1226 sales@danielaappliances.com.au A 6/9 Hume Road, Smithfield NSW 2164 danielaappliances.com.au...
Need help?
Do you have a question about the DAN90ASS and is the answer not in the manual?
Questions and answers