
Subscribe to Our Youtube Channel
Related Manuals for Ameriwood HOME 1794096COM


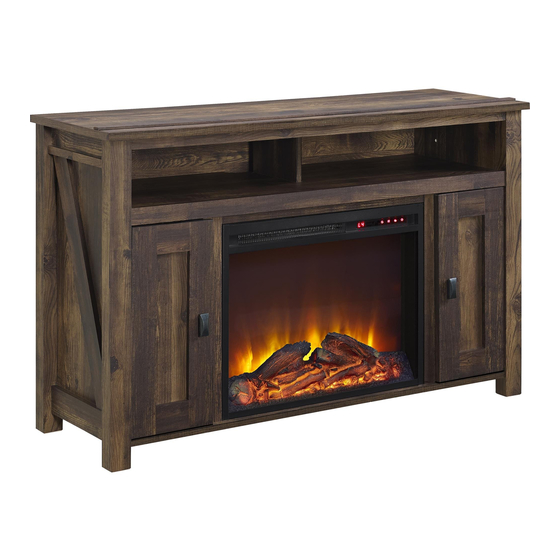
Summary of Contents for Ameriwood HOME 1794096COM
- Page 4 BOTTOM FIXED SHELF T1794096010GO T1794096020GO T1794096030GO QTY: 1 PC QTY: 1 PC QTY: 1 PC LEFT SIDE PANEL RIGHT SIDE PANEL PARTITION T1794096040GO T1794096050GO T1794096060GO QTY: 1 PC QTY: 1 PC QTY: 2 PCS RAIL RAIL RAIL T1794096070GO T1794096080GO T1794096090GO QTY: 1 PC QTY: 2 PCS QTY: 1 PC...
- Page 5 PARTITION DOOR RAIL ADJUSTABLE SHELF T1794096120GO T1794096130GO T1794096100GO T1794096110GO QTY: 1 PC QTY: 2 PCS QTY: 1 PC QTY: 2 PCS UPPER BACK PANEL BACK PANEL STOPPER T1794096140GO T1794096150GO T1794096160GO QTY: 2 PCS QTY: 1PC QTY: 1PC FOOT RAIL FIREPLACE T1794096170GO T1794096180GO FA23V60L-1...
- Page 7 M4 x 19mm Ø6 x 25mm M8 x 30mm Ø15 x 12mm ×35 ×35 ×37 ×4 CAM LOCK CAM BOLT WOOD DOWEL BOLT TGO2101 TGO2001 TGO2900 TGO1608 Ø4.2 x 25mm Ø3.5 x 14mm Ø3 x 12mm Ø4 x 14mm ×4 ×30 ×36 ×2...
- Page 8 ×14 ×8 1.1 Cam bolt (2) into (A), (B) and (I) as illustrated. 1.2 Insert (3) into (B), (J) and (P) as illustrated.
- Page 9 ×13 ×11 2.1 Cam bolt (2) into (C) and (H x 2) as illustrated. 2.2 Insert (3) into (C) and (L) as illustrated. H X 2...
- Page 10 ×8 ×18 3.1 Cam bolt (2) into (D) and (E) as illustrated. 3.2 Insert (3) into (D), (E), (G) and (F x 2) as illustrated. F X 2...
- Page 11 LOCK ×4 ×4 Proper orientation of CAM LOCK 4.1 Attach (J) into (A) with (5) as illustrated. 4.2 Attach (I) into (C) with (1) as illustrated. FINISHED EDGE UNFINISHED EDGE...
- Page 12 LOCK ×6 Proper orientation of CAM LOCK 5.1 Attach (G) into (C) with (1) as illustrated. 5.2 Attach (H) into (F) with (1) as illustrated. UNFINISHED EDGE...
- Page 13 LOCK Proper orientation of CAM LOCK ×4 6.1 Attach (F) into (C), with (1) as illustrated.
- Page 14 LOCK Proper orientation of CAM LOCK ×4 7.1 Attach (B) into (F) with (1) as illustrated. 7.2 Attach (Q) into (B) as illustrated.
- Page 15 LOCK Proper orientation of CAM LOCK ×8 8.1 Attach (D) and (E) into (C), (B) with (1) as illustrated.
- Page 16 LOCK Proper orientation of CAM LOCK ×8 9.1 Attach (L) into (C) with (1) as illustrated. 9.2 Attach (A) into (D), (E),(L) with (1) as illustrated.
- Page 17 ×36 10.1 Attach (N), (O) into (C) with (1) as illustrated.
- Page 18 ×2 ×4 ×4 ×24 ×8 ×4 11.1 Attach (K) with (11) as illustrated. 11.2 Attach (10) into (M) with (6) as illustrated. 11.3 Attach (10), (M) into (D), (E) with (6) as illustrated. 11.4 Attach (9) into (M) with (4) as illustrated. 11.5 Attach (12) into (M) as illustrated.
- Page 19 Loosen the four screws "A" on bolt hinges. Two of them are usually in slotted holes which allows you to adjust up of down by a few mm. then tighten back up. Afloje los cuatro tornillos "A" en ambas bisagras. Dos de esos están usualmente en los agujeros llanos.
- Page 20 ×6 13.1 Attach (S) from backside with (6) as illustrated.
- Page 21 Ø4 x 14mm LOCK ×1 ×2 ×2 Proper orientation of CAM LOCK 14.1 Attach (P) into (C) with (1) as illustrated. 14.2 Attach (13) into (B) with (8) as illustrated.
- Page 22 15.1 Attach (R) into (A) as illustrated. 15.2 Adjust the foot (Q) before use. leveler...
Need help?
Do you have a question about the 1794096COM and is the answer not in the manual?
Questions and answers