Advertisement
Table of Contents
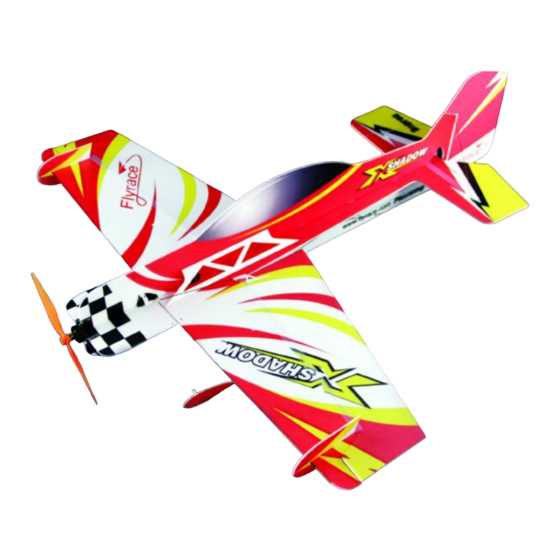
Pegasus Covering
Specifications
Fuselage length: 873.2mm(34.38in)
Wingspan: 784mm(30.87in)
Flying Weight: 110-130g(with battery)
Additional Required Equipment
Motor:1804-2204
ESC: 6A
Propeller: 8043
Aileron Servo: 8-9g
rudder servo and elevator servo: 4-5g
Radio:4/more channel
Receiver: 4/more channel
Battery charger
Battery: 7.4V 200 mAh -400mAh Li-po
Advantage Points
•Perfect covering technology with flat polyester film
•Lighter hollow structure with same strength as not
hollowed plane
•Genuine 3mm Depron Aero from Europe for best flight
performance
•Lightweight carbon fiber truss system virtually eliminates
flex
•Minimal assembly required flight ready in as little as 2
hours
•Gorgeous and vibrant printed pattern
Instruction Manual
Introduction
Thank you for purchasing the Pegasus Covering. On the base of Pegasus Depron-
aero we developed an advanced version with more lighter but same strong structure,
it's covering version. In order to avoid wrinkled film we use an electrostatic technology
to let the film cover on the depron's surface flatly and tightly, so you needn't worry
that the film will drone or bring resistance during the flight. You just enjoy it with the
light and beautiful plane.
The assembly instruction can help to assemble your new airplane in the shortest
possible time. You can get many basic tips from assembling a new Plane. Please
assemble the model according to the instructions as below.
Required Tools and Adhesives
(not included in the kit)
5 Minute Epoxy Resin
Depron Friendly Glue
Uhu Por
#0 and #1 Phillips Head Screwdrivers
1.5 mm Hex Wrench
Adjustable Wrench
Wire Cutters
Z-Bend Pliers
Needle Nose Pliers
Modeling Knife
Scissors
Electric or Hand Drill
Assorted Drill Bits
Pluswing Series
Straight Edge Ruler
Pencil
Builder's Triangle
220 Grit Sandpaper with Sanding Block
Masking Tape
Paper Towels
Rubbing Alcohol
Epoxy Mixing Sticks
Epoxy Mixing Cups
Advertisement
Table of Contents

Related Manuals for Flyrace Pluswing Series


Summary of Contents for Flyrace Pluswing Series
- Page 1 Pluswing Series Pegasus Covering Instruction Manual Specifications Introduction Fuselage length: 873.2mm(34.38in) Thank you for purchasing the Pegasus Covering. On the base of Pegasus Depron- Wingspan: 784mm(30.87in) aero we developed an advanced version with more lighter but same strong structure, Flying Weight: 110-130g(with battery) it’s covering version.
- Page 2 Kit Contents 1.Body parts included in the packing A.Wing, Aileron, winglet B.Fuselage C.Horizontal stabilizer D.Side fuselage E.Nose of the fuselage F.Vertical stabilizer G.Wheel covers H.Wing fence for the Wing tip I.Wing reinforcing strips J.Brakes 2.Parts included in the packing A. Quadrate and round doublers B.
- Page 3 Instruction Steps 1.Glue the front edge stay bar onto the front edge of the wing. 2.Insert the carbon fiber strip into the pre-cut hole on the horizontal stabilizer. 4.Fix the round doublers on the fuselage as shown. 3.Fix the side fuselage and nose onto the wing with some foam friendly C/ A, then fix the horizontal stabilizer onto the fuselage.
- Page 4 7.Glue the wing reinforcing strips on the wing, then place the wing and 8.Fix the stay bars on the nose, and then put the other side of stay bars fuselage, press down firmly, then put one side of the wing stay bar through through the base.
- Page 5 13.Install the landing gear onto the pre-cut holes of the fuselage and 14.Glue the tail fin on the end of lower vertical fuselage. wing, then glue the wheel covers. 15.Fix the rudder servo with some foam friendly C/A, and then fix the arm 16.Glue the upper vertical fuselage onto the horizontal fuselage with on the servo.
- Page 6 19.Fix the vertical stabilizer onto the fuselage with glass fiber tape. 20.Fix the control horn into the pre-cut slots on the vertical stabilizer with some friendly C/A. 21.Pass the thread through the rudder servo arm, fix it with some glue, then pass the other side through the control horn, make the thread tight and attach it on the screw, then screw tightly.
- Page 7 24.Fix the control horn into the pre-cut slots on the horizontal stabilizer with some friendly C/A, then the same operation to install the pull-pull thread on the elevator servo and control horn. 26.Install the motor with the tapping screw, and then fix the propeller with 25.Glue the motor mount onto the nose of the fuselage, and then fix them the O-ring.
- Page 8 R/C pilots who would be willing to help you with your first few flights. Although this is an ARF(Almost- Ready-to-Fly)kit, it does have some construction features that can be challenging to the less experienced modeler. Copyright 2011 Flyrace® If you encounter difficulty in any construction sequence, please feel free to contact one of our technicians, we stand WWW.FLYRACE.COM...
Need help?
Do you have a question about the Pluswing Series and is the answer not in the manual?
Questions and answers