Table of Contents
Advertisement
Quick Links
WARNING
1. As the product is not manufactured as safety equipment, make
sure to use this product after mounting double safety device
when using it for the purpose of controlling a device having risk
of personal injury, equipment damage or huge property loss.
2. Do not cut the wire or make check-up or maintenance when the
power supply is connected.
3. Make sure to check the socket number before connecting the power.
4. Never disassemble process, improve or repair this equipment.
CAUTION
• Please carefully read and digest the operation procedure and safety related
regulations or WARNING descriptions prior to the use of product, and make sure to
operate the product only per the relevant specification or within the corresponding
capacity rating.
• Do not make wiring or install the product on motor or solenoid with large inductive
loads. When extending the sensor, use the shielded wire not extending the extension
wire length unnecessarily long.
• Do not use the components generating arc when opening and closing under same
power supply line or near to power supply.
• Keep the power supply line away from high voltage wire, and avoid installation at the
locations subject to severe moisture, oily content and dust.
• Do not install the product at places exposed to direct sung light or rain.
• Do not install the product at places subject to strong magnetism or severe noise,
vibration and impact.
• Keep the product far away from the places directly producing strong alkali or acidic
substances using separate conduit for wiring.
• Do not spray water on the product for cleaning purpose when installed at kitchen area.
• Do not install at those places under the temperature and/or moisture exceeding the
rated capacity.
• Use the product paying attention not to have disconnected sensor wiring or defect.
• Allow the sensor wiring stay away from signal, power supply, drive and load wires
using separate conduit for wiring.
• Please note that no warranty services shall be provided when the product is
disassembled or modified at user's own discretion.
• The
mark shown on Terminal Wiring Diagram is a safety notice notifying warning
or caution.
• Do not use the product at places near to the devices generating strong high frequency
noise (High frequency welding machine, high frequency sawing machine, high frequency
radio, large capacity SCR controller).
• Using the product with procedures not specified by the manufacture may incur the
personal injury or property damage.
• Not being a toy, do not allow children touch the product.
• Make sure to execute the installation only by the skilled person with related industry
or authorized personnel.
• CONOTEC shall assume absolutely no responsibility of whatsoever nature for those
damages and/or losses incurred due to the operation not complying with above WARNING
or NOTE descriptions or negligence and/or fault of user.
shock
relay
relay
relay
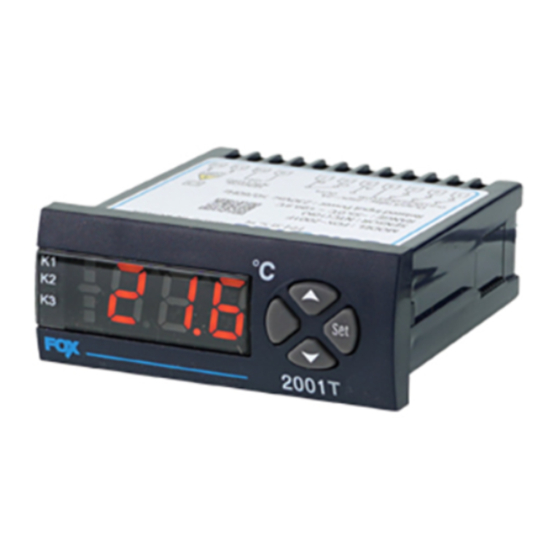
The function of each key
A key to change of the programs & setting temperature
A key to change of the temperature or the
program's set values.
In case of using the load exceeding the capacity of
the contact, it caused fused contact, connection error.
shock.
Connection
Range
Display
Setting temp. 1
Setting temp. 2
Setting
temp.
Setting temp. 3
Setting temp. 4
Setting for the
It is irrelevant to
highest limit of
the relay output
use
Setting for the
It is irrelevant to
lowest limit of
the relay output
use
Correct for discrepancy
Correction of
Program
temperature
setting
Lock function
however, except for
the set value.
Temp. 1
function select
Delay time
set for temp.1
output
Temp. deviation
for temp. 1
Refer to remark on
Temp. 2
the temp. 1 function
function select
Delay time
set for temp.2
output
Refer to the remark
Temp. deviation
for temp. 2
Refer to remark on
Temp. 3
the temp. 1 function
function select
Delay time
set for temp.3
output
Refer to the remark
Temp.3 deviation
Temp. 1 deviation
temp. setting
Refer to remark on
Temp. 4
the temp. 1 function
function select
Delay time
set for temp.4
output
Refer to the remark
Temp.4 deviation
Temp. 1 deviation
temp. setting
Setting value change sequence
Setting temperature
Display the present temperature
setting temp.
1 change
setting temp.
2 change
Remark
setting temp.
3 change
between the display
and real temp.
Lock
Unlock
setting temp.
4 change
Hysteresis +
select
Temp. 1 deviation
temp. setting
select
temp. setting
select
is displayed as a
temp. setting
Advertisement
Table of Contents

Related Manuals for Conotec FOX-2001D


Summary of Contents for Conotec FOX-2001D
- Page 1 Refer to the remark or authorized personnel. Temp.3 deviation Temp. 1 deviation • CONOTEC shall assume absolutely no responsibility of whatsoever nature for those temp. setting temp. setting damages and/or losses incurred due to the operation not complying with above WARNING Refer to remark on Temp.
- Page 2 Selection of the Temperature 2 cooling(C) or heating(H) Detailed manual See the No. 9(application models : 2001D,2001T, 2001F) Delay time of the temperature 2 ouput See the No. 10(application models : 2001D, 2001T, 2001F) : setting for the 1-stage temperature(application model : 2001D, 2001T, 2001F) Setting deviation for temperature 2 : setting for the 2-stage temperature(application model : 2001D, 2001T, 2001F) See the No.
Need help?
Do you have a question about the FOX-2001D and is the answer not in the manual?
Questions and answers