Advertisement
Quick Links
Advertisement

Related Manuals for Speaka Professional 1694483


Summary of Contents for Speaka Professional 1694483
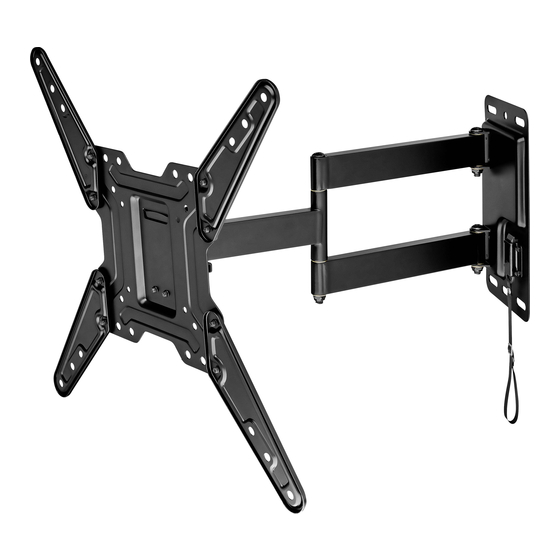
- Page 1 XD2210-MX INSTALLATION INSTRUCTION Max:400x400mm/16x16" 26"~55" Min:100x100mm/4x4" (A0)
- Page 2 Before getting started, let’s make sure this mount is perfect for you! MAX:400mm/16" Is your TV VESA equal to/greater than Yes --- Perfect! MAX: 100x100mm/4x4" and 400mm/16" No --- This mount is NOT compatible. equal to/less than 400x400mm/16x16"? Does your TV Yes --- Perfect! (including accessories) weigh less than...
- Page 3 Parts and Hardware WARNING: This product contains small items that could be a choking hazard if swallowed. Before starting assembly, verify all parts are included and undamaged. NOTE: Not all hardware included will be used. Allen Key Spacers TV Screws M4x12mm M8x22mm M4x30mm...
- Page 4 1-2 Choose Configuration ① 100mm x 100mm ② 100mm x 200mm ⑧ ⑧ ③ 150mm x 150mm ⑤ ② ② ⑤ ⑨ ⑨ ④ 200mm x 100mm ④ ① ① ④ ⑤ 200mm x 200mm ⑥ 200mm x 300mm ⑦ 300mm x 200mm ④...
- Page 5 1-2 Extended arms assembly example (for reference) 1-4 Need Spacer? 1-3 Select TV Screws No, go to PAGE 5 for detailed combination. Bracket Short Screw Washer TV back Yes, go to PAGE 5 for detailed combination. Long Screw Washer Spacer Bracket TV back...
- Page 6 1-5 Attach TV Plate to TV Back Screw and washer Spacer(s), screw and washer Tips: If you need to combine M8(d/h) screw with 2.5mm spacer(n), you have to remove the inner circle.
- Page 7 Parts and Hardware Wall Plate Lag Bolt M7x30mm Wooden Board Bolt Head UP! Min. 0.5"(12.7mm) Wall plate CAUTION: To avoid potential personal injury or property damage: All 4 lag bolts MUST BE firmly tightened to prevent unwanted movement of the wall plate assembly.
- Page 8 Before hanging TV, please conduct "wall plate installation integrity test" first. 44 LBS (20 kg)
- Page 9 4-1 Tilting angle adjustment (+5°/-15°) : Loosen handle and tilting bolt, adjust TV to your desired position, then tighten handle and tilting bolt. Tilting bolts -15° Tighten +5° Loosen To tighten or loosen the handle Handle Handle ① Turn handle (loosen or tighten) until stopped by mount.
- Page 10 4-2 TV leveling adjustment (±5°): Loosen 2 leveling bolts on the rear of TV plate by maximum 2 turns, adjust to level, and retighten to secure. Loosen Tighten Push your TV to the wall until you hear the "click" sound. Important ! Make sure to stow the TV and fully lock the mount in place before your RV moves.
- Page 11 Pull out Pull and hold the strap 436mm 400mm 78mm 140mm 400mm +5° 436mm 260mm -15° 473mm +90°/-90 °...
Need help?
Do you have a question about the 1694483 and is the answer not in the manual?
Questions and answers