
Related Manuals for rst brands SL-CT-8


Summary of Contents for rst brands SL-CT-8
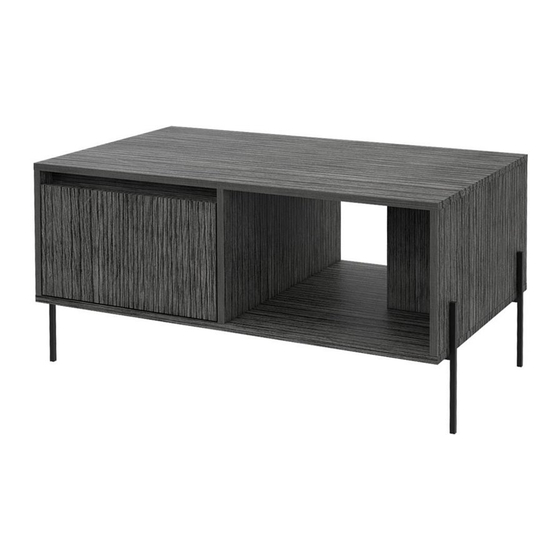
- Page 1 ASSEMBLY INSTRUCTIONS INSTRUCTIONS D’ASSEMBLAGE Hauteur: 45 cm 2 PEOPLE ASSEMBLY RECOMMENDED Height: 17,72 in ASSEMBLAGE DE 2 PERSONNES Largeur: 92 cm Width: 36,22 in RECOMMANDÉ Profondeur: 55 cm Depth: 21,65 in...
- Page 2 IMPORTANT RECOMMENDATIONS / RECOMMANDATIONS IMPORTANTES -The cabinet MUST be used exclusively indoors, do not expose to direct sun. / L'armoire DOIT être utilisée exclusivement à l'intérieur, ne pas l'exposer directement au soleil.. -Do NOT overload the cabinet (see suggested loads), Do not hit or hammer the cabinet (just when indicated) Ne surchargez PAS l'armoire (voir les charges suggérées), ne frappez pas ou ne martelez pas l'armoire (juste au moment indiqué).
-
Page 3: Required Tools
INDEX INDICE Assembly Hardware Matériel d'assemblage Assembly Parts Pièces d'assemblage Suggested Loads Charges suggérées Assembly Recommendations Recommandations d'assemblage 7-19 Assembly Steps Étapes d'assemblage 7-19 Warranty Garantie REQUIRED TOOLS* SUGGESTED TOOLS* OUTILS NÉCESSAIRES* OUTILS SUGGÉRÉS Drill / electric screwdriver Perceuse / tournevis électrique * Non inclus, et non montré... -
Page 4: Assembly Hardware
ASSEMBLY HARDWARE MATÉRIEL D’ASSEMBLAGE Please check that the hardware content is correct. Veuillez vérifier que le contenu matériel est correct. If any item is missing, please call to our customer Si un article manque, veuillez appeler notre service service line. clientèle. -
Page 5: Assembly Parts
ASSEMBLY PARTS PIÈCES DE MONTAGE A - x1 F - x1 K - x1 B - x1 G - x1 L - x1 C - x1 H - x1 M - x1 D - x1 I - x1 N - x1 E - x1 J - x1 Page 5... -
Page 6: Assembly Recommendations
MAX SUGGESTED LOADS CHARGES MAXIMALES SUGGÉRÉES 10 Kg. 22 lbs. 8 Kg. 17,6 lbs. 8 Kg. 17,6 lbs. ASSEMBLY RECOMMANDATIONS DE RECOMMENDATIONS MONTAGE Two people are recommended to assemble Deux personnes sont recommandées pour the product. assembler le produit. Assemble the cabinet on a flat, smooth Assemblez l'armoire sur une surface plane surface, preferably on a carpeted floor et lisse, de préférence sur une moquette... - Page 7 Gently hit to adjust. Repeat this process in the following steps. Frappez doucement pour ajuster. Répétez ce processus dans les étapes suivantes. Page 7...
- Page 8 Gently hit the pieces with a rubber hammer to adjust the joint. Frappez doucement les pièces avec un marteau en caoutchouc pour ajuster le joint. F r o n A v a n Page 8...
- Page 9 F r o n A v a n Page 9...
- Page 10 Rotate 180° / Gire 180° Turn minifix cams to the right to tighten. Tournez les cames minifix vers la droite pour serrer. Gently hit to adjust. Frappez doucement pour ajuster. Page 10...
- Page 11 Rotate to tighten. Tournez pour serrer. Gently hit to adjust. Frappez doucement pour ajuster. Page 11...
- Page 12 Rotate to tighten. Tournez pour serrer. Gently hit to adjust. Frappez doucement pour ajuster. Page 12...
- Page 13 Gently hit to adjust. Frappez doucement pour ajuster. Rotate to tighten. Tournez pour serrer. Page 13...
- Page 14 1 1/8" Page 14...
- Page 15 Rotate to tighten. Tournez pour serrer. Gently hit to adjust. Frappez doucement pour ajuster. Page 15...
- Page 16 Rotate Faites retourner WHEN PLACING THE SLIDE ON THE SIDE OF THE CABINET: LORS DE LA POSE DU FILM SUR LE CÔTÉ DE L'ARMOIRE: The plastic stop must be placed on the rear. La butée en plastique doit être placée à l'arrière. Rotate Faites retourner...
- Page 17 2" Page 17...
- Page 18 Rotate to tighten. Tournez pour serrer. Gently hit to adjust. Frappez doucement pour ajuster. Slide the drawers inside the cabinet Faites glisser les tiroirs à l'intérieur du meuble After you finish the After you finish adjustment of the cams, assembling the cabinet, cover them with the take off the adhesive cover caps.
-
Page 19: Warranty Policy
WARRANTY POLICY POLITIQUE DE GARANTIE Nous nous engageons à votre satisfaction en vous offrant une garantie compétitive pour nous assurer que tous nos produits sont exempts de défauts, de matériaux et de fabrication, à l'acheteur d'origine pendant une période d'un an à compter de la date de votre achat. Comment ça Fonctionne Nous sommes heureux de vous fournir un remplacement sans frais dans le cas où...
Need help?
Do you have a question about the SL-CT-8 and is the answer not in the manual?
Questions and answers